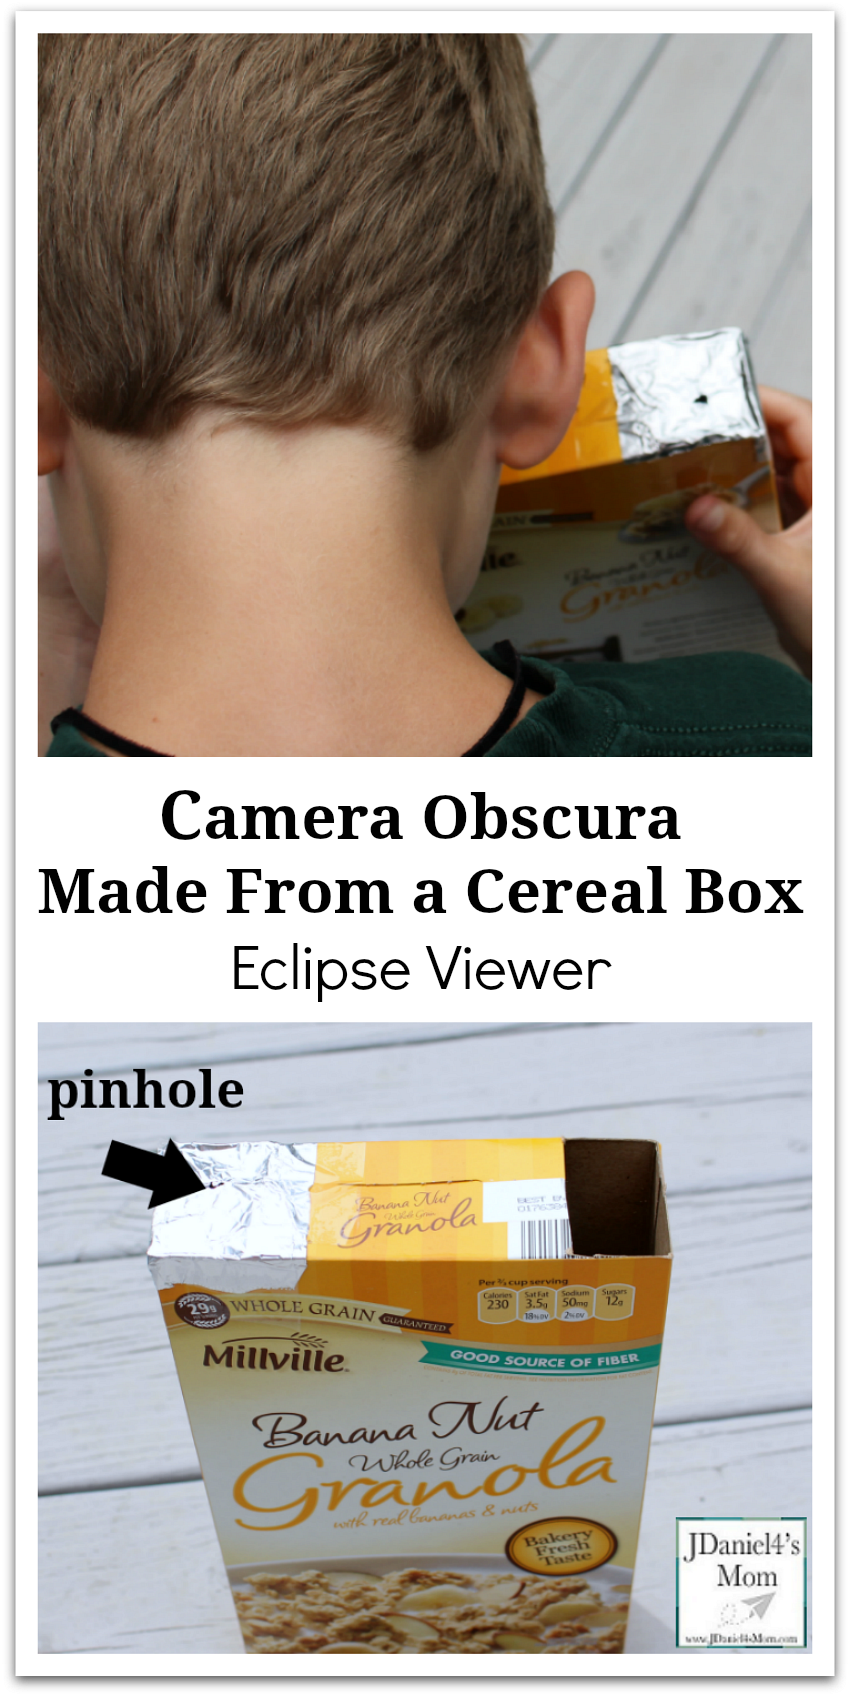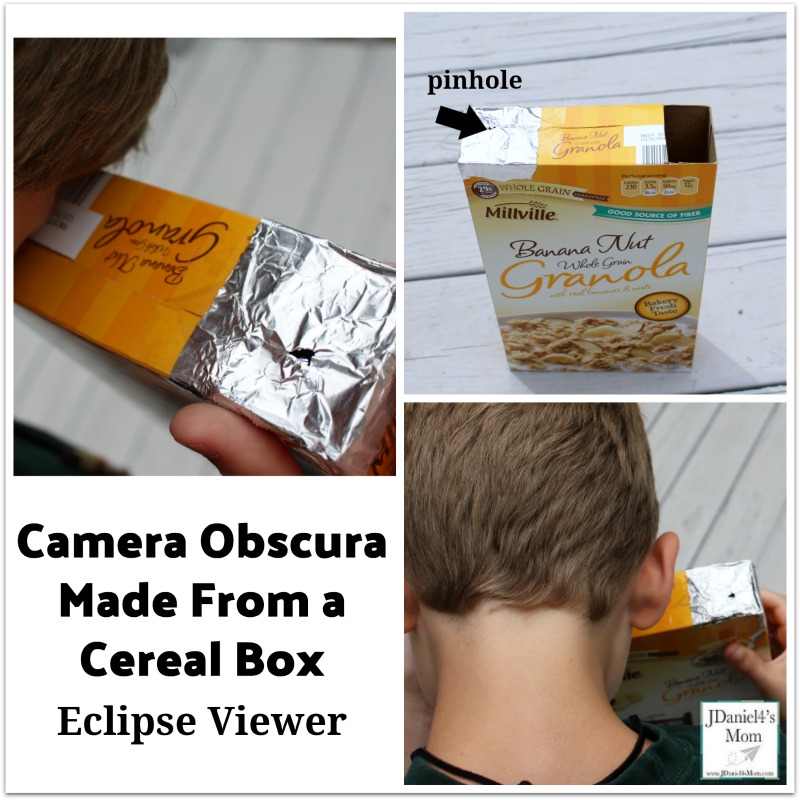
Earlier in the week, I showed you how to make a pinhole camera with an oatmeal container and a STEAM solar eclipse paper plate craft. If you have young children, it is a little bit easier to make then the camera obscura it. Your children will probably notice that the cardboard is thicker on the oatmeal container. The cardboard on the camera obscura is a little thinner and may need some re-enforcement.
Why am I sharing how to make the camera obscura with you if is tricky? Well, it gives your children the opportunity to plan the best way to add support to their boxes.
Creating the Camera Obscura
Supplies
- Cereal Boxes (Small boxes are easier to work with.)
- Bag from Inside the Cereal Box
- Scissors
- Clear Packing Tape
- Small nail or pin
- Foil
- Glue
- Support Materials (Chopsticks, Straws, Strips of Cardboard, Toothpicks)
- Ruler
- Pencil
Putting the Camera Obscura Together
Making the Viewing Screen
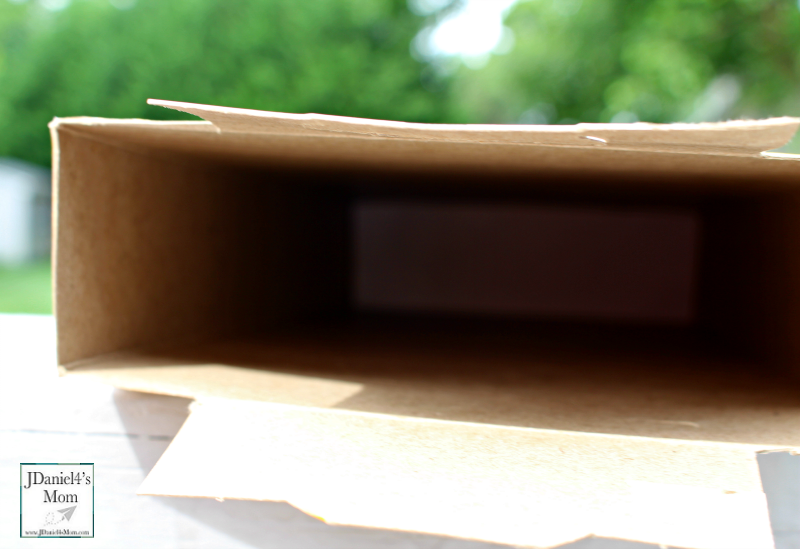
You will need to trace the bottom of the cereal box onto the bag from inside the box. Then you will need to cut out the rectangle. Next, you will glue it to the bottom of the inside of the box. You have just created your camera obscura screen.
Getting the Flaps Ready
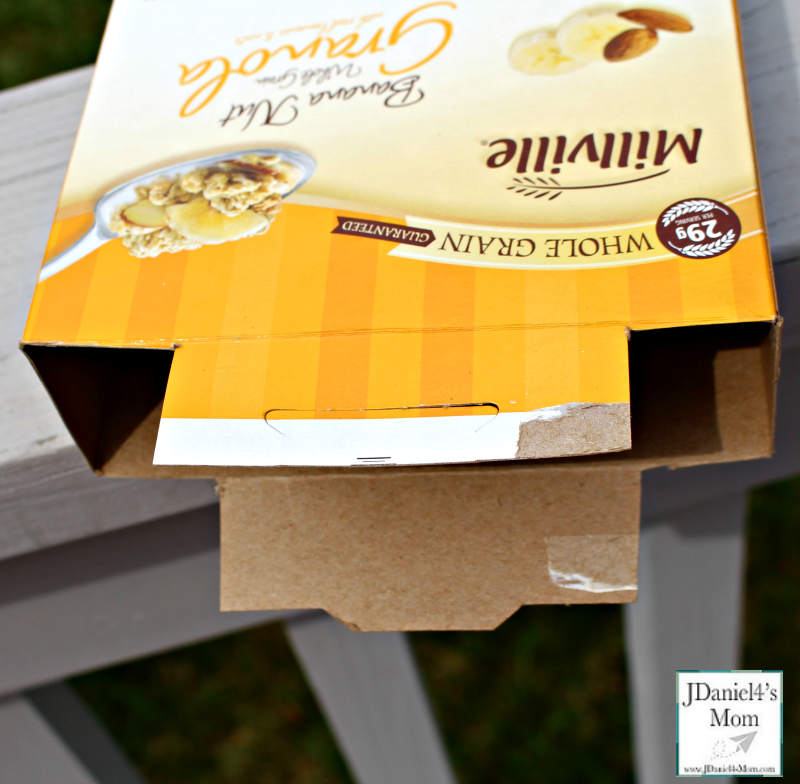
Now it is time to create the projector. You will need to make two partial cuts from either end of the in the top flap. You don’t want to cut it into even thirds. The middle section should be two or three times bigger than the side sections.
Then will cut the two outside sections away from the box. They will be your viewing sections.
Adding Support
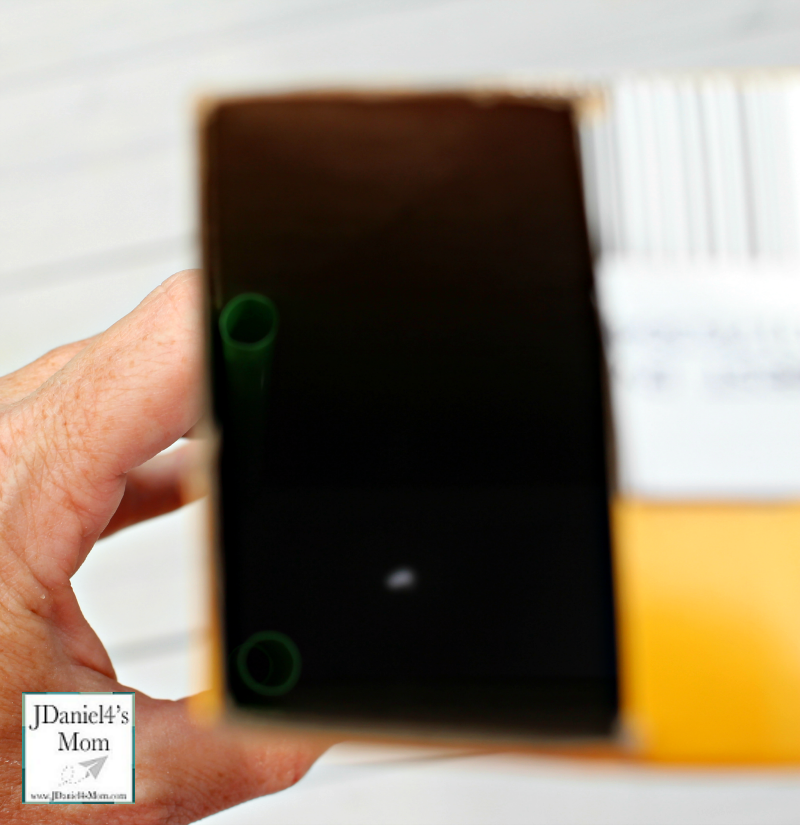
Before work on the viewing sections, you may need to add corner supports to your box. If your cereal boxes lean or squish down when you try holding the box with both hands, you can tape straws or another tall object into the corners on the inside of your box. It will make your camera obscura box much easier to hold.
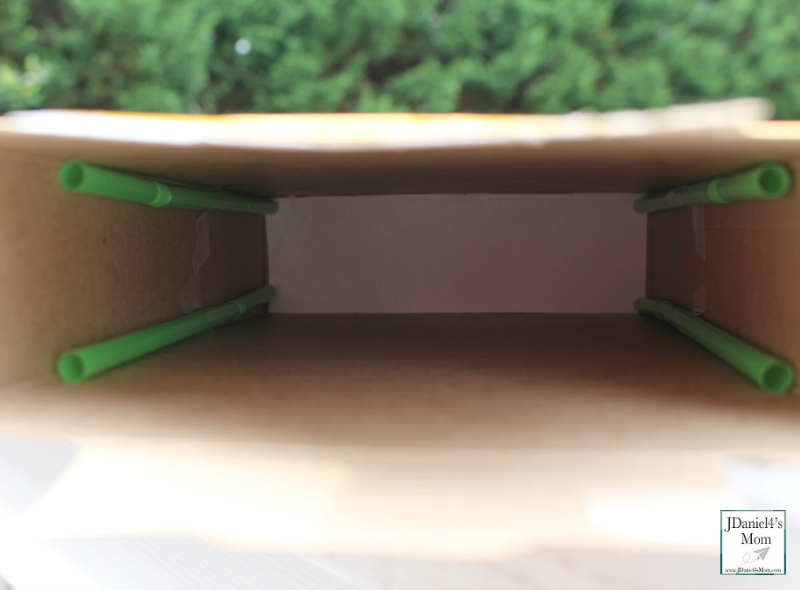
Finishing The View Area
The side section on the left will be left alone. You don’t have to do anything to that area.
Next, you will need to close the flaps in the center section. You can permanently seal this section with clear tape if you like.
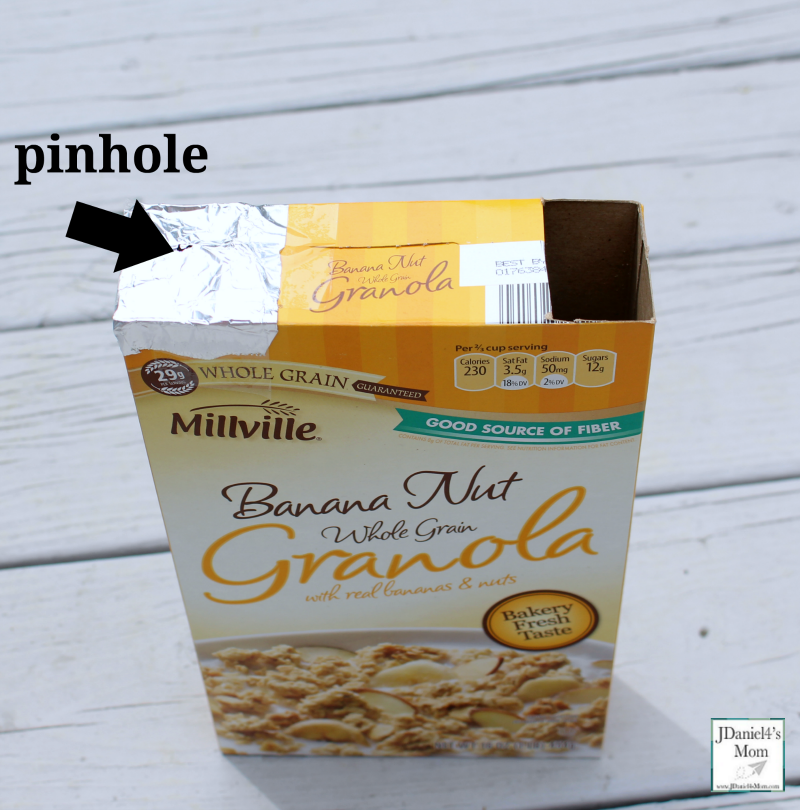
Finally, you cut out a piece of foil a little bigger than the right-hand section. Before you attach the foil to the box, you will need to place a small hole in the center of it. Then you can attach it to the right-hand section with tape.
Using the Camera Obscura
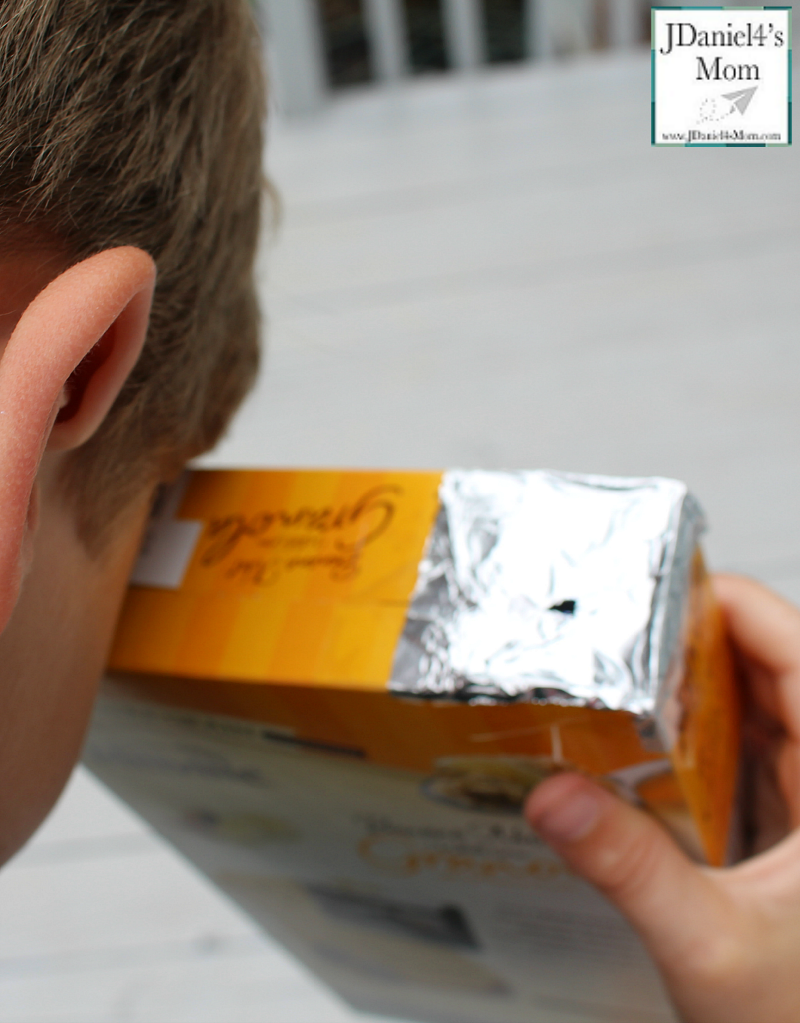
You will need to hold the camera obscura so the sun is shining through the hole. That means the sun will be behind you.
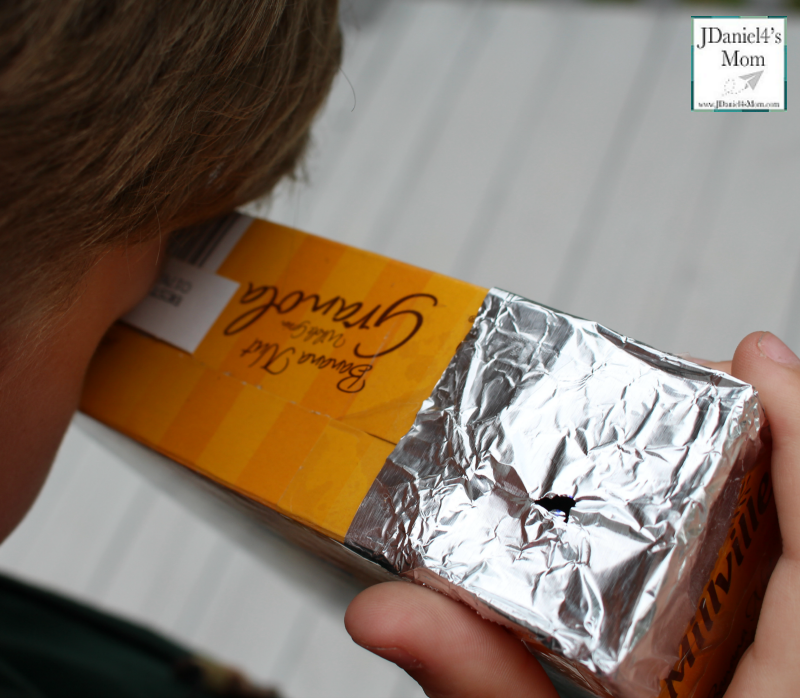
You will look into the left-hand section to view the sun.
More Eclipse Activities
How to Make an Oatmeal Container Pinhole Camera
Pinhole Activities (You will need to click on translate for this page, but it is worth it.)
