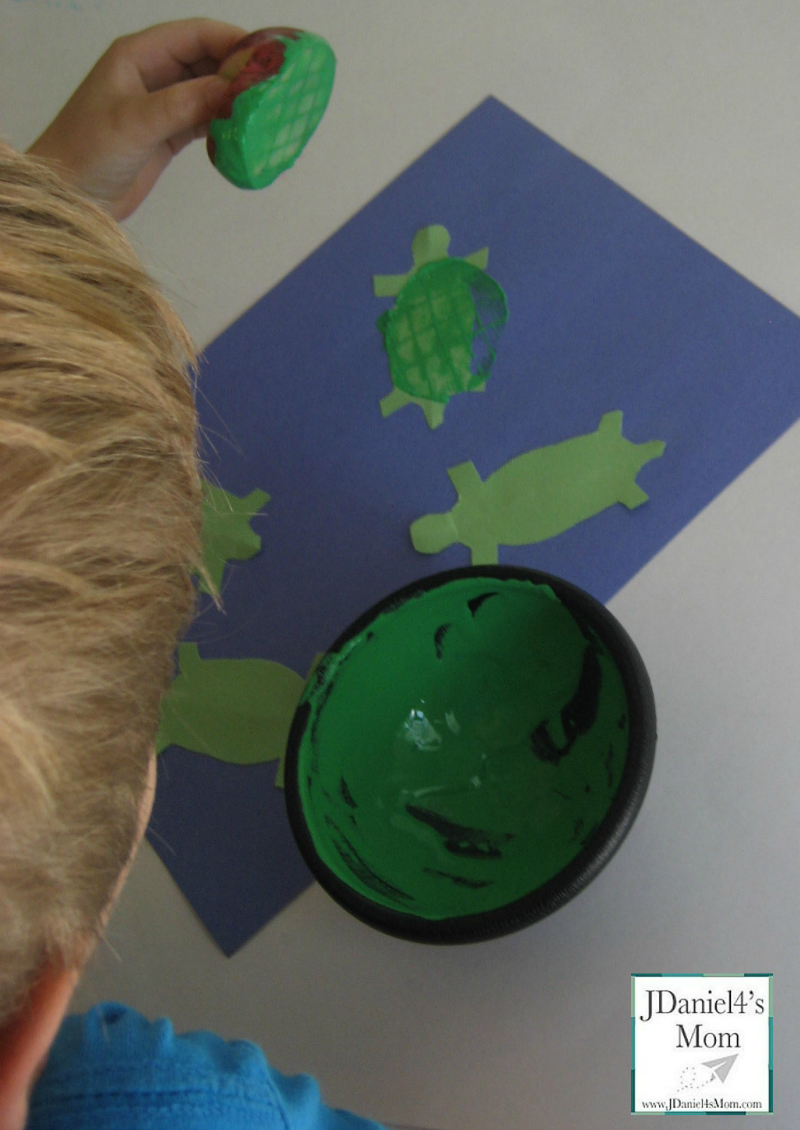
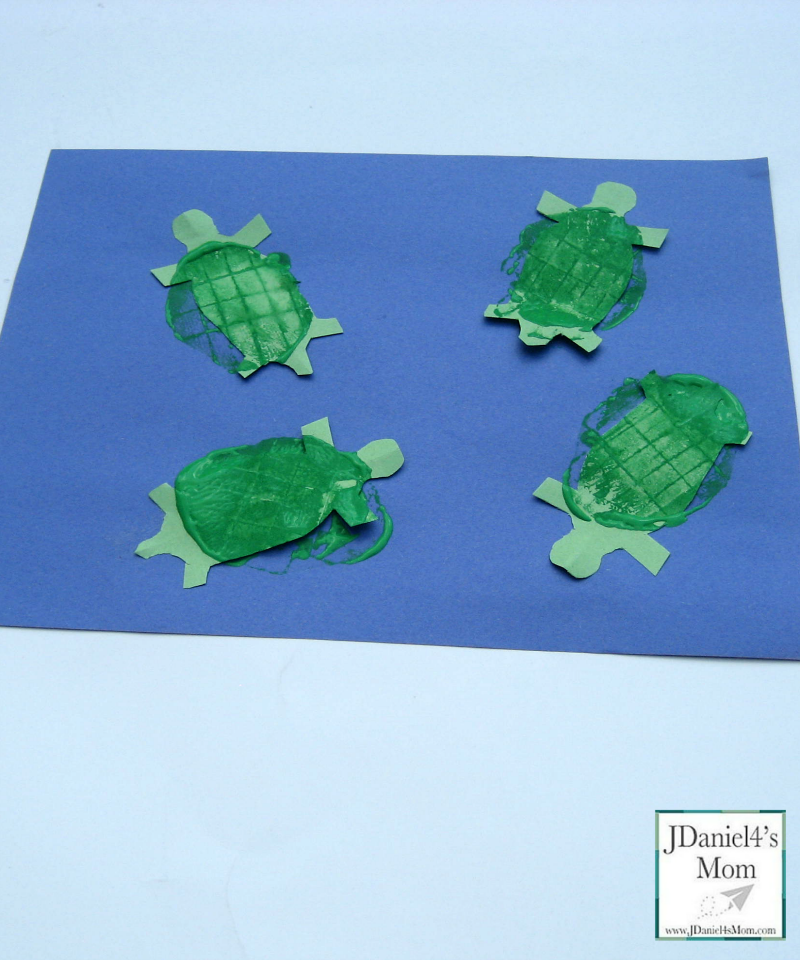
Kids crafts done with vegetable stamps are a lot of fun. We found potato is the perfect shape for carving a turtle shell onto that you can use as a stamp to a shell onto a paper turtle’s back. We also found that sometimes the shell gets right on the turtle’s back and other times the shell can be slightly coming off the turtle kind of like the turtle is walking out of the shell. Kids crafts work that way. If the child creating the print tends to be careful and methodical, the shell may be more on turtle. If the child creating the print tends to like to stamp quickly due to the fact they love to hear the potato slathered in paint squish or slam down on paper, the shell may end up a little off the turtle.
At my house I was able to observe printmaking being done using both techniques. Thus we ended up with a totally original craft that displays its creators personality. Sometimes he is slow and methodical and other times (sometimes seconds later) he is into the noise created while crafting.
Here is how we put this potato print turtle craft together:
Gathering Kids Crafts Supplies :
- Potato
- Green paint
- Green construction paper
- Knife (Will be used by an adult)
- Scissors
- Blue construction paper
Putting the Kids Crafts Together:
Preparing the Potato For Printmaking
You may feel comfortable with your older children creating the potato printmaking tools for kids crafts. I decided to create it for my son. The first thing that I did was create a handle in the upper third of the potato by cutting out two wedges. One wedge on the left side of the potato and one of the right. Next I cut off about an inch from the bottom of the potato to create a flat surface for printmaking. Finally I cut horizontal and vertical lines into the flat surface on the bottom of the potato. This grid ends up looking like the design on the back of a turtle shell.
You could cut a more elaborate design out for your turtle’s shell, but I like kids crafts that can be easily replicated by others. To do that I made our turtle shell pattern really simple.
Creating Turtle Bodies
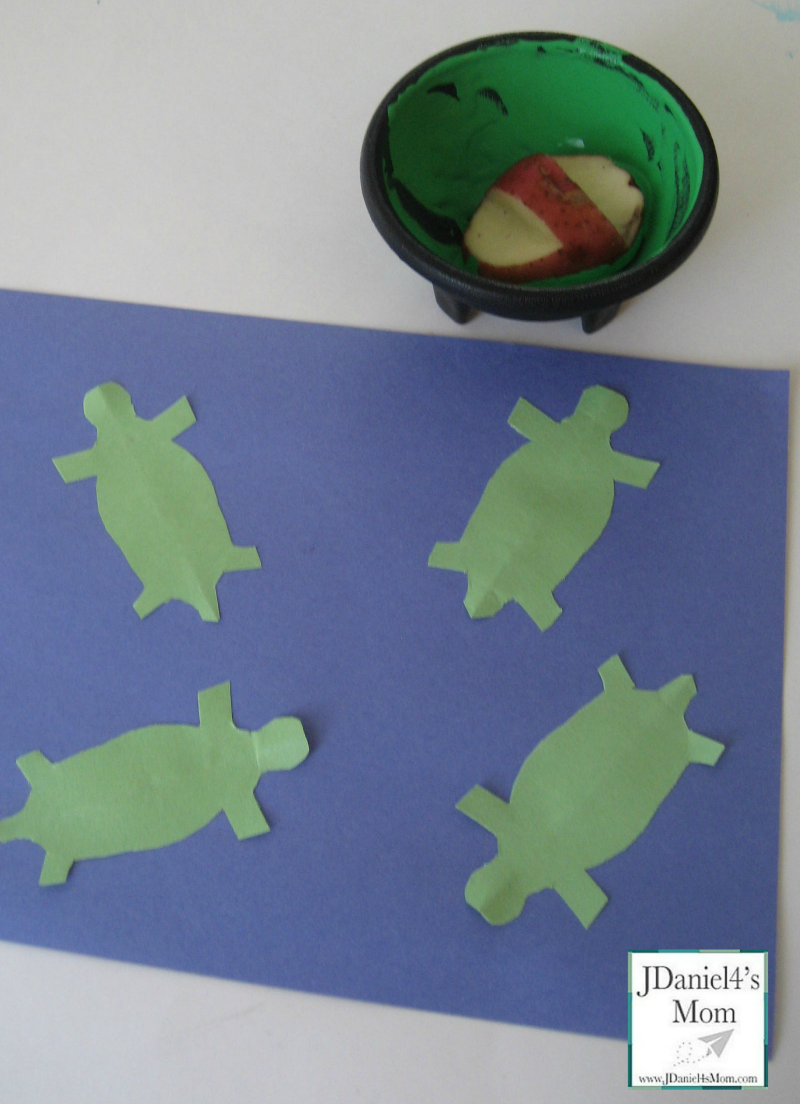
To create our turtle bodies I folded a piece of green construction paper in fourths and than in half. Half of a simple turtle was draw onto the paper with the center of his body and head on the fold. Than the turtle was cut out. Remember I created several layers of paper so, when I opened up the paper I had four turtles.
This step could be done by your child if you would like to work on their cutting skills.
Getting the Turtles Ready for Shells
The turtles were glued randomly (without much thought) onto a piece of blue construction paper. You could encourage your child to have the turtles swimming up to the surface or across the paper. Our turtles ended up swimming wherever they wanted to swim.
Creating Turtle Prints
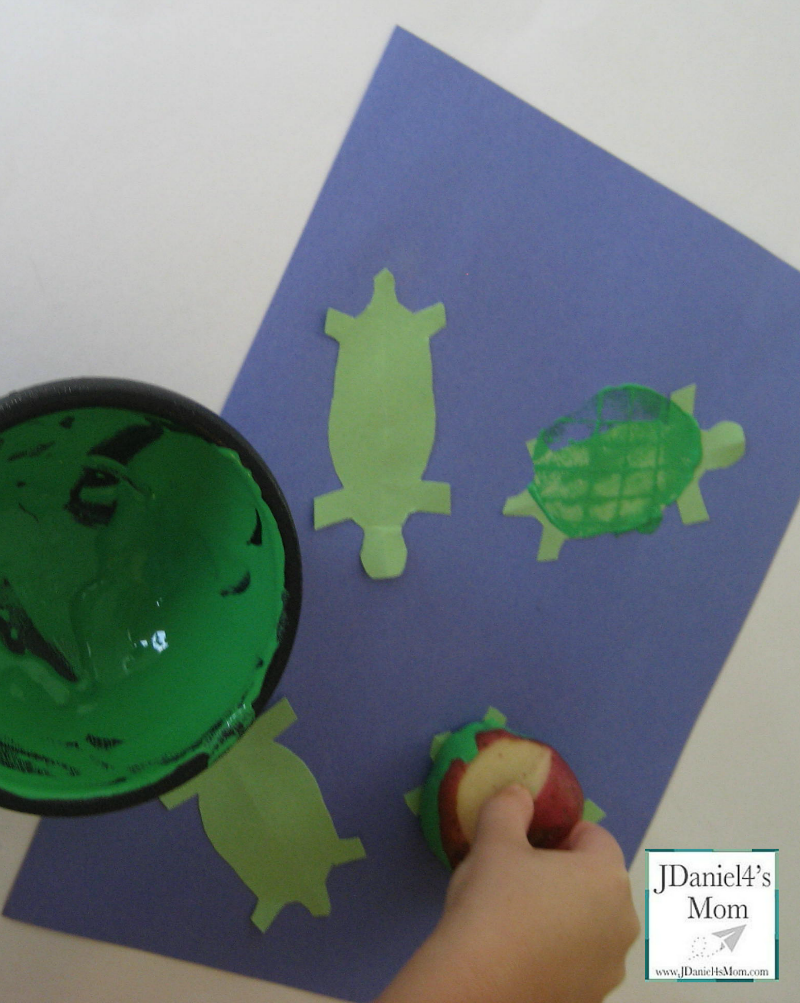
Let me start by saying that I did not pick the appropriate paint application area. The black snack bowl I chose didn’t allow my son to get paint on all of the potato at the same time. A old meat tray would have been a much better choice. My son ended up having to use a small paint brush to spread paint around on the shell patterned surface of the potato.
When the potato was completely covered with paint, the potato was picked up by its handle and stamped onto a paper turtle. Paint was reapplied to the potato after creating the second shell. There was concern that the shell of turtle three would be too light.
Other Kids Crafts Turtle Ideas
You could create the shell prints first and then have children draw a head, legs, and tail with crayons.
You could create the shell prints first and then add a head, legs, and a tail cut out of foam to add more texture to the craft.
You could try layers various shades of green onto the potato to create a multicolored shell.
You could add wiggle eyes to the turtles to give them a fancier look.
Here are some of the summer themed crafts and activities found on one of my Pinterest boards.
Follow JDaniel4’s Mom’s board Summer Crafts and Fun on Pinterest.


