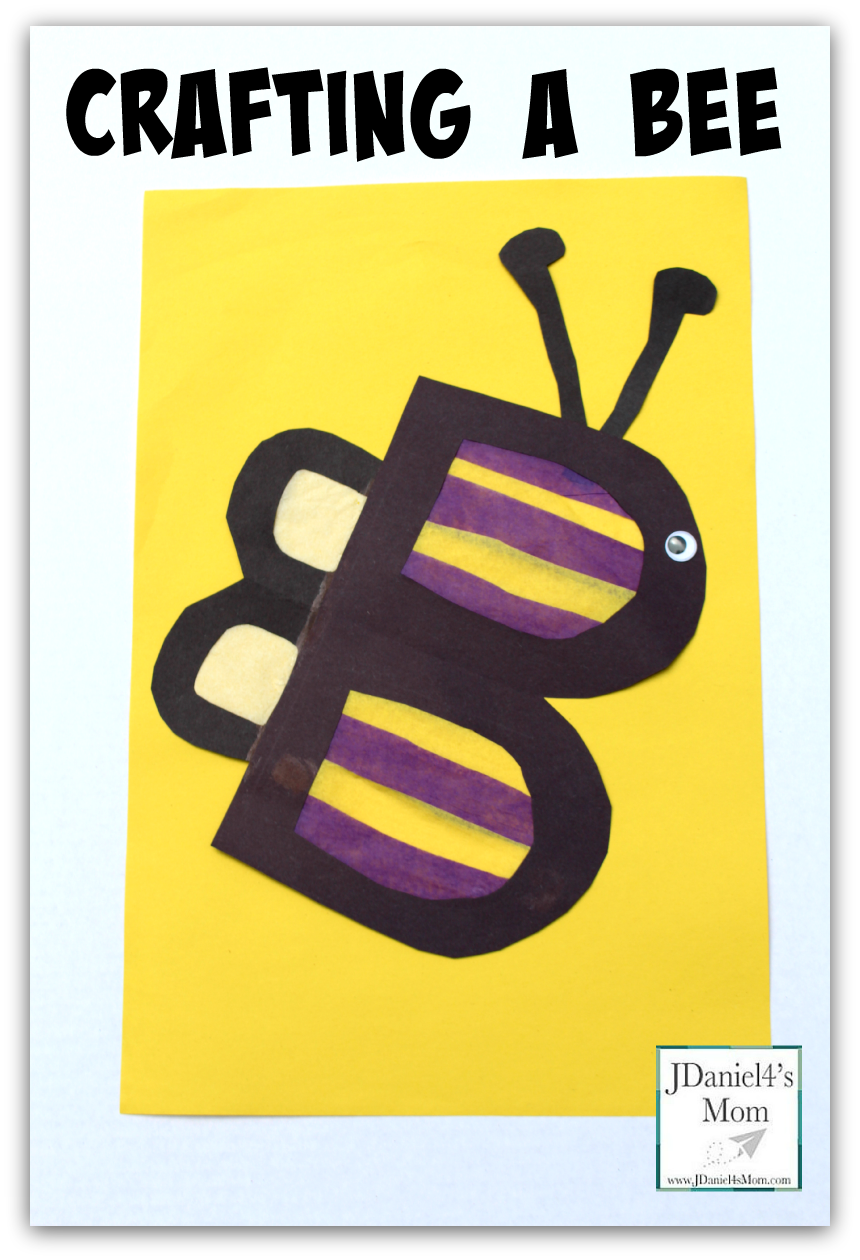
Springtime seems to be when the bees start buzzing in our house doing a science experiment. We see them all over our yard. Recently we crafted a big bee to have in our house to display in our kitchen. We didn’t just make a bee craft! We made a “B” craft.
A giant “B” seemed to be almost the perfect shape for a bumble bee. It is missing one of the three sections that a bee has in really life, but we decided to just let that be.
Crafting a Bee
Out of a large piece of black construction paper we cut the giant uppercase “B”, a small uppercase “B” and some antennae. If your children are not ready for this type of cutting yet, you can have all these bee parts cut out in advance for them.
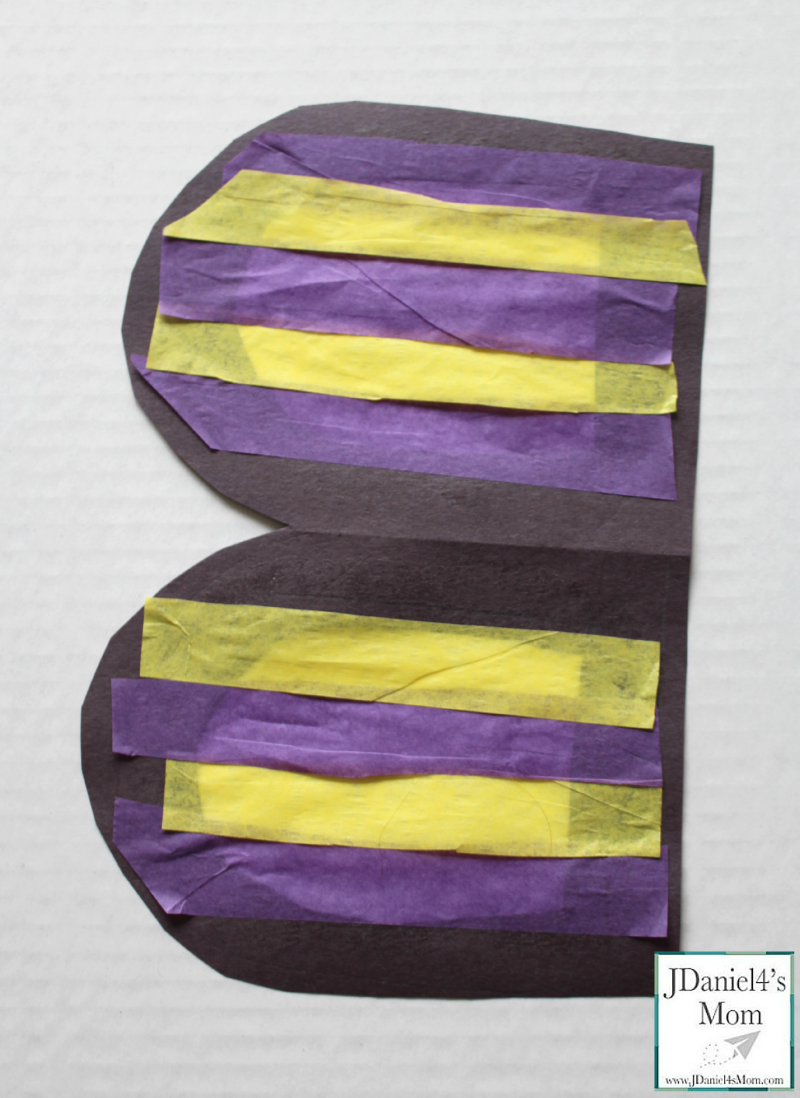
Then my son and I cut six inch long strips out of dark purple and yellow tissue paper. If you have black tissue paper, that would be great. We just couldn’t find any. Again you could pre cut the tissue strips for your children if that would work out better for them.
When we thought we had enough tissue strips, we glued them to our “B”. We talked about how the strips could go horizontally or diagonally, but probably not vertically.
A second letter “B” was cut out. This “B” would be the bee’s wings. White tissue paper was glued to the back of this “B” to add texture and make the wings stand out. When the smaller “B” ‘s glue had dried it was glue onto the big “B”
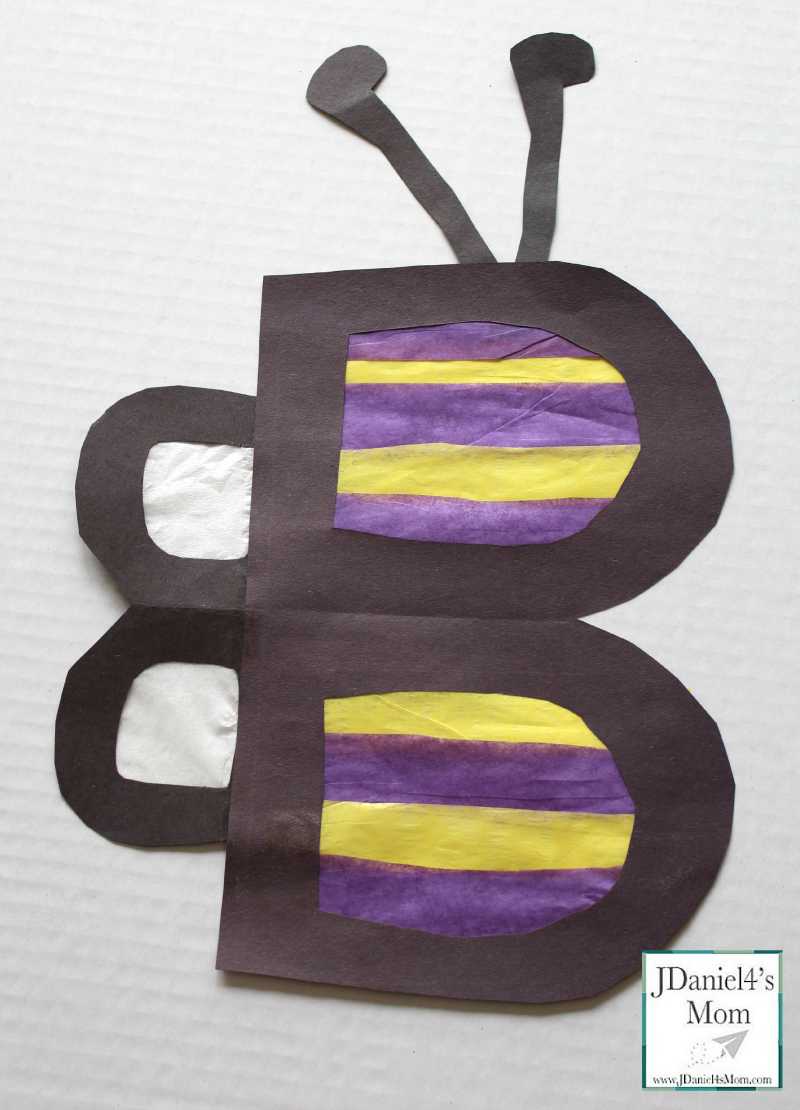
Finally we added antennae and a eye to the bee. The antennae were cut out of the same piece of paper the letters had been. You could add pipe cleaner antennae instead it you like or go with the construction paper antennae and add pom poms on the ends.
We went with a wiggly eye rather than a paper eye. One because we have some and two it added some whimsy to the craft project.
I didn’t create a craft for every letter of the alphabet with JDaniel when he was little. A number of bloggers have. I have added a bunch of their abc learning crafts and activities to my Working on the Alphabet board on Pinterest. I hope you will stop by and check them out.


