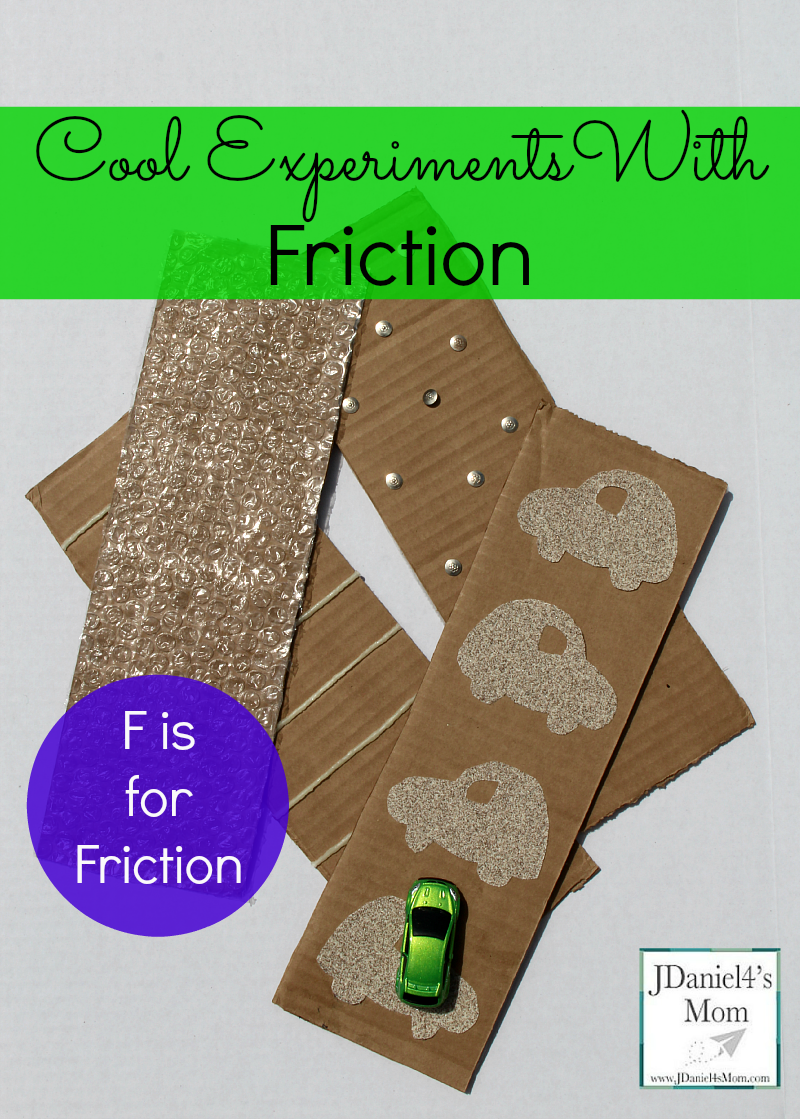
Friction is the resistance that one surface or object encounters when moving over another according to a dictionary definition I read. As a part of the the A-Z Science Experiments for Kids series hosted by Frogs and Snails and Puppy Dog Tails, my son and I conducted a series of cool experiments that explored friction. We used items we found around the house to create four different roadways for one of my son’s toy cars to travel on. Each cardboard road needed to have something placed on it that would add resistance. The objects we placed on the roads had to slow the car down, but not keep it from moving forward totally.
The link below is an affiliate link.
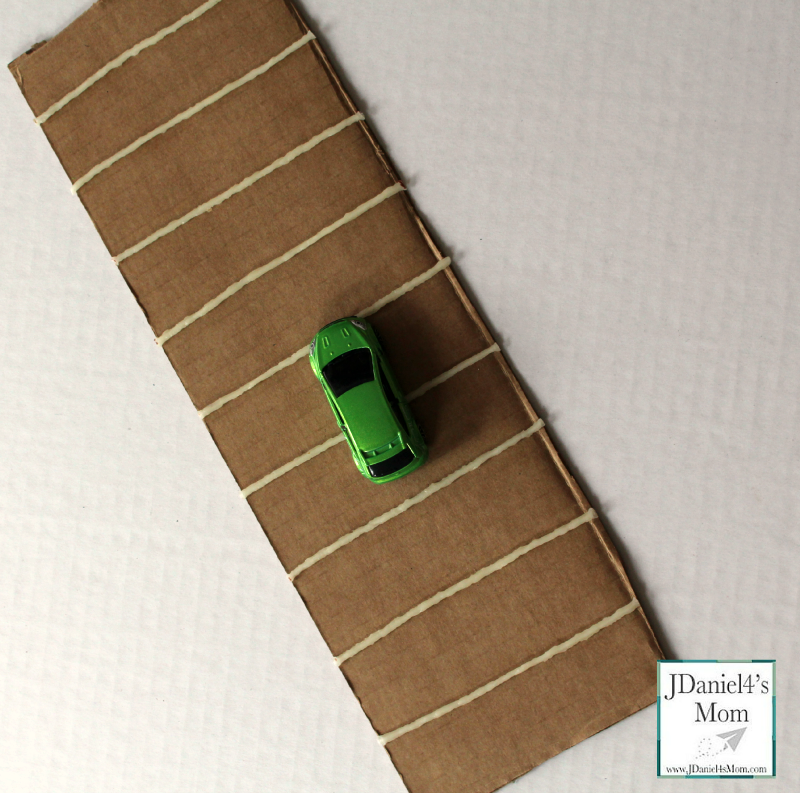
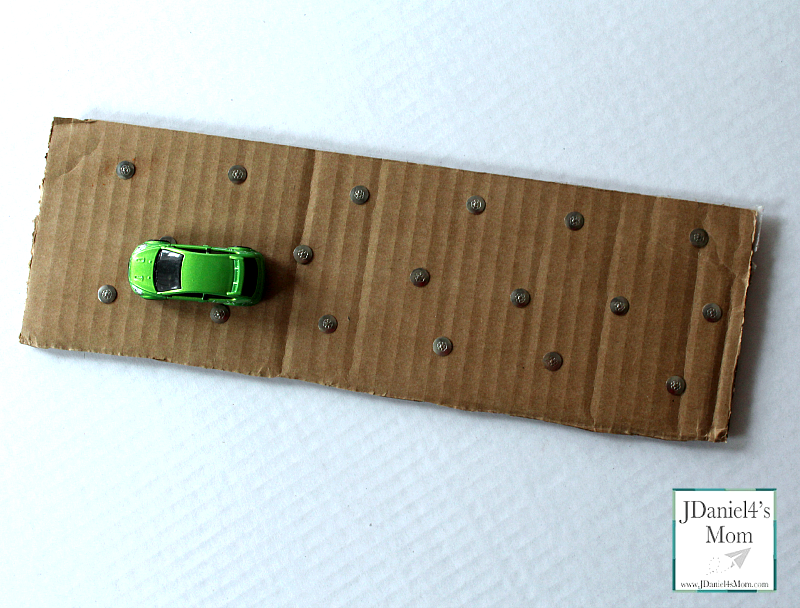
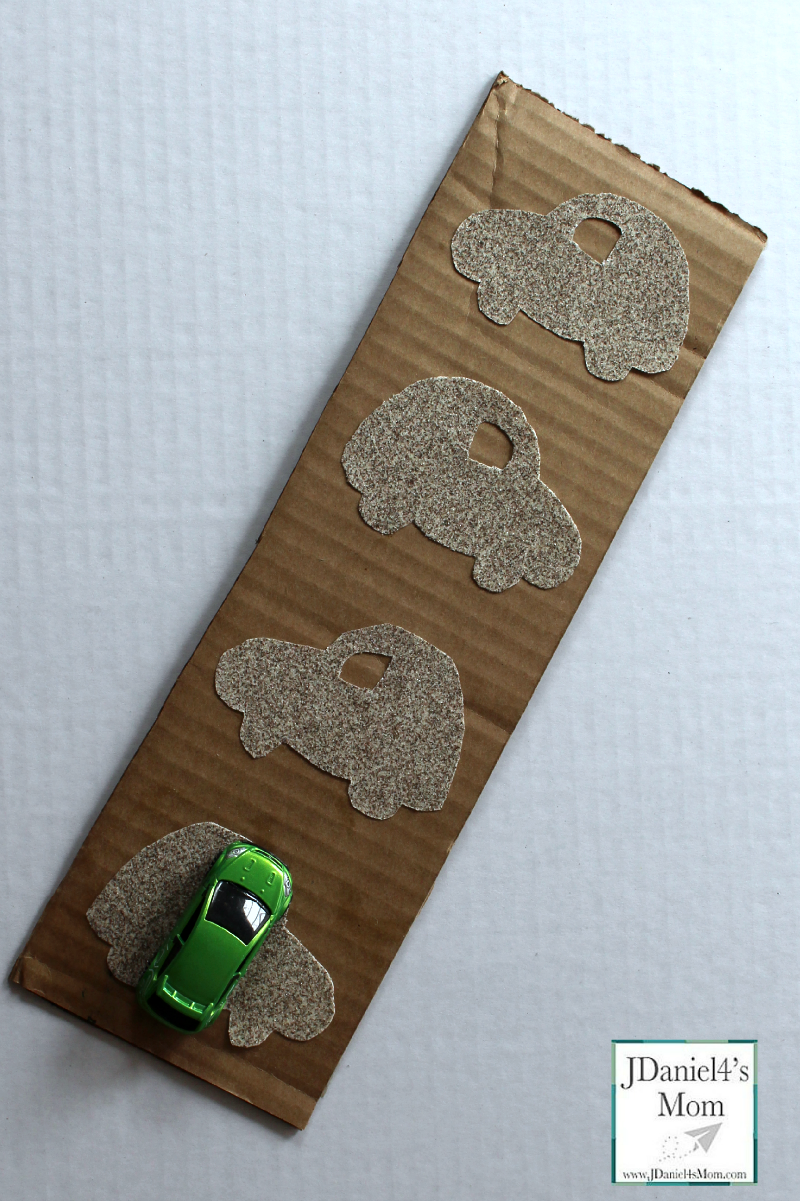
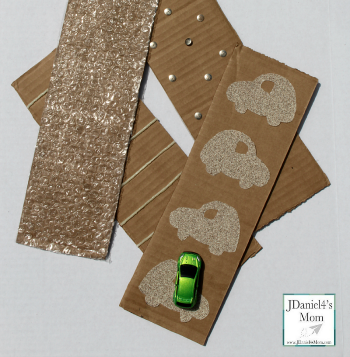
We ended up placing sandpaper, Wikki Stixs, short thumb tacks, and bubble wrap on our roads. If you don’t have any of these items available you might try using one of the following:
- small grains of sand sprinkled on glue
- crushed Styrofoam peanuts or cup bits
- staples stapled into the cardboard
- glitter sprinkled on glue
- rubber band wrapped around the cardboard road’s width
- bread tags glued to the cardboard
Procedures For Conducting These Cool Experiments With Friction
Create A Hypothesis
Start by asking your children to create a hypothesis as to which road will be the easiest for the car to travel on. You can explain that a hypothesis is like a prediction or guess. Children can record their hypothesis on a piece of paper individually or you can record everyone’s hypothesis on a chart. Young children record their own guess or hypothesis by drawing the road they think will be easiest to travel on rather than write it out in words.
Conducting the Cool Experiments
Getting Started
I did these cool experiments with my son at home. We just needed one car and one set of roads. If you are going to have more than one child conduct these cool experiments, you may want to have them try one of procedures below.
Here are some ways to do these cool experiments with multiple children:
- They could each test to one road each in a small group.
- They could rotate the roads so each child could test out each road. You will probably want to have one car per child if you experiment this way.
- You could select a few students to test out one of the roads for the whole group.
- You could put the roads and a car in the center that your children can visit.
Getting the Car Moving
At my house the car was given a big push from behind to give it momentum while the car was on the beginning of the road. (A tap just didn’t work.) You may decide that the car should start off the road at a distance or just off the road. It really doesn’t matter where you start it as long as you are consistent with your starting place for all the roads.
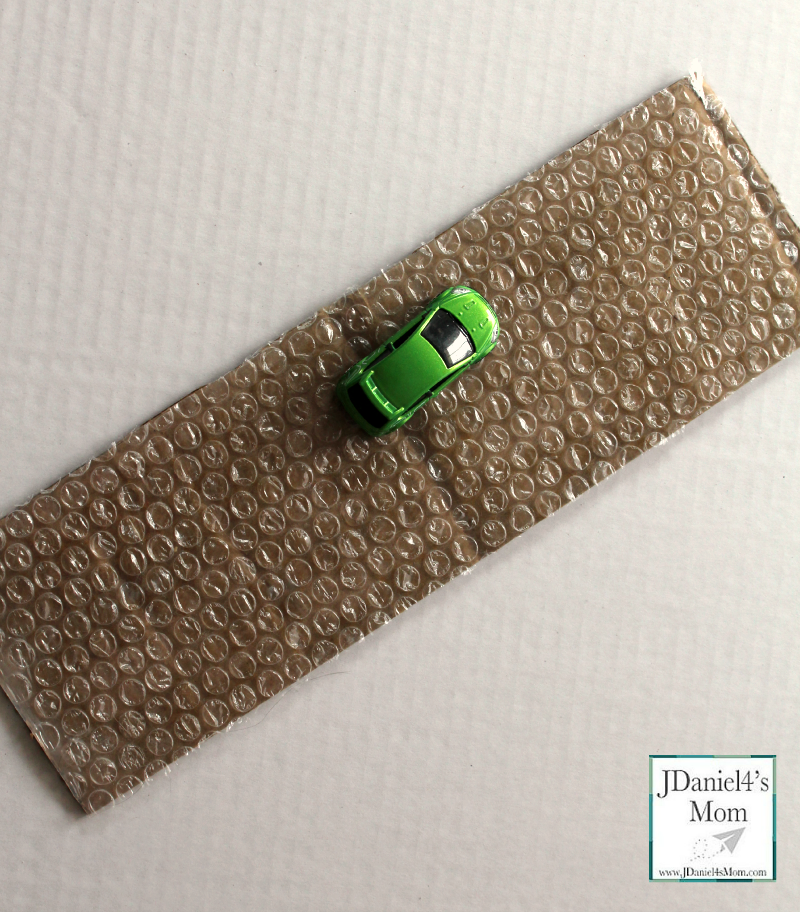
Noting Where The Car Stops
You can mark where the car stops with a paper clip if you like. You can someone hold the place where it stopped with their fingers. We chose not to mark the cars stopping spot with a pencil or crayon. (I wanted to be able to use the roads again.) If the car rolls off the road, you may want to use a ruler to measure how far it has gone off the road.
Reviewing Your Results
While getting to car to travel across the roads was fun, the reason we did it was to learn about friction. After conducting the experiments it is now time to talk about what materials made it hardest to move along the road. We talked about the attributes of each material and how they to created a little bit of friction or a lot.
It was interesting to go back and look at our predictions. One of the predictions was off. The others were correct. I wonder if your children will assume that one of the materials will be hard to travel on and find it was much easier than they thought.
Please stop by and check out all the other A to Z of Science Experiments for kids. There is a complete list of them on Frogs and Snails and Puppy Dog Tails.


