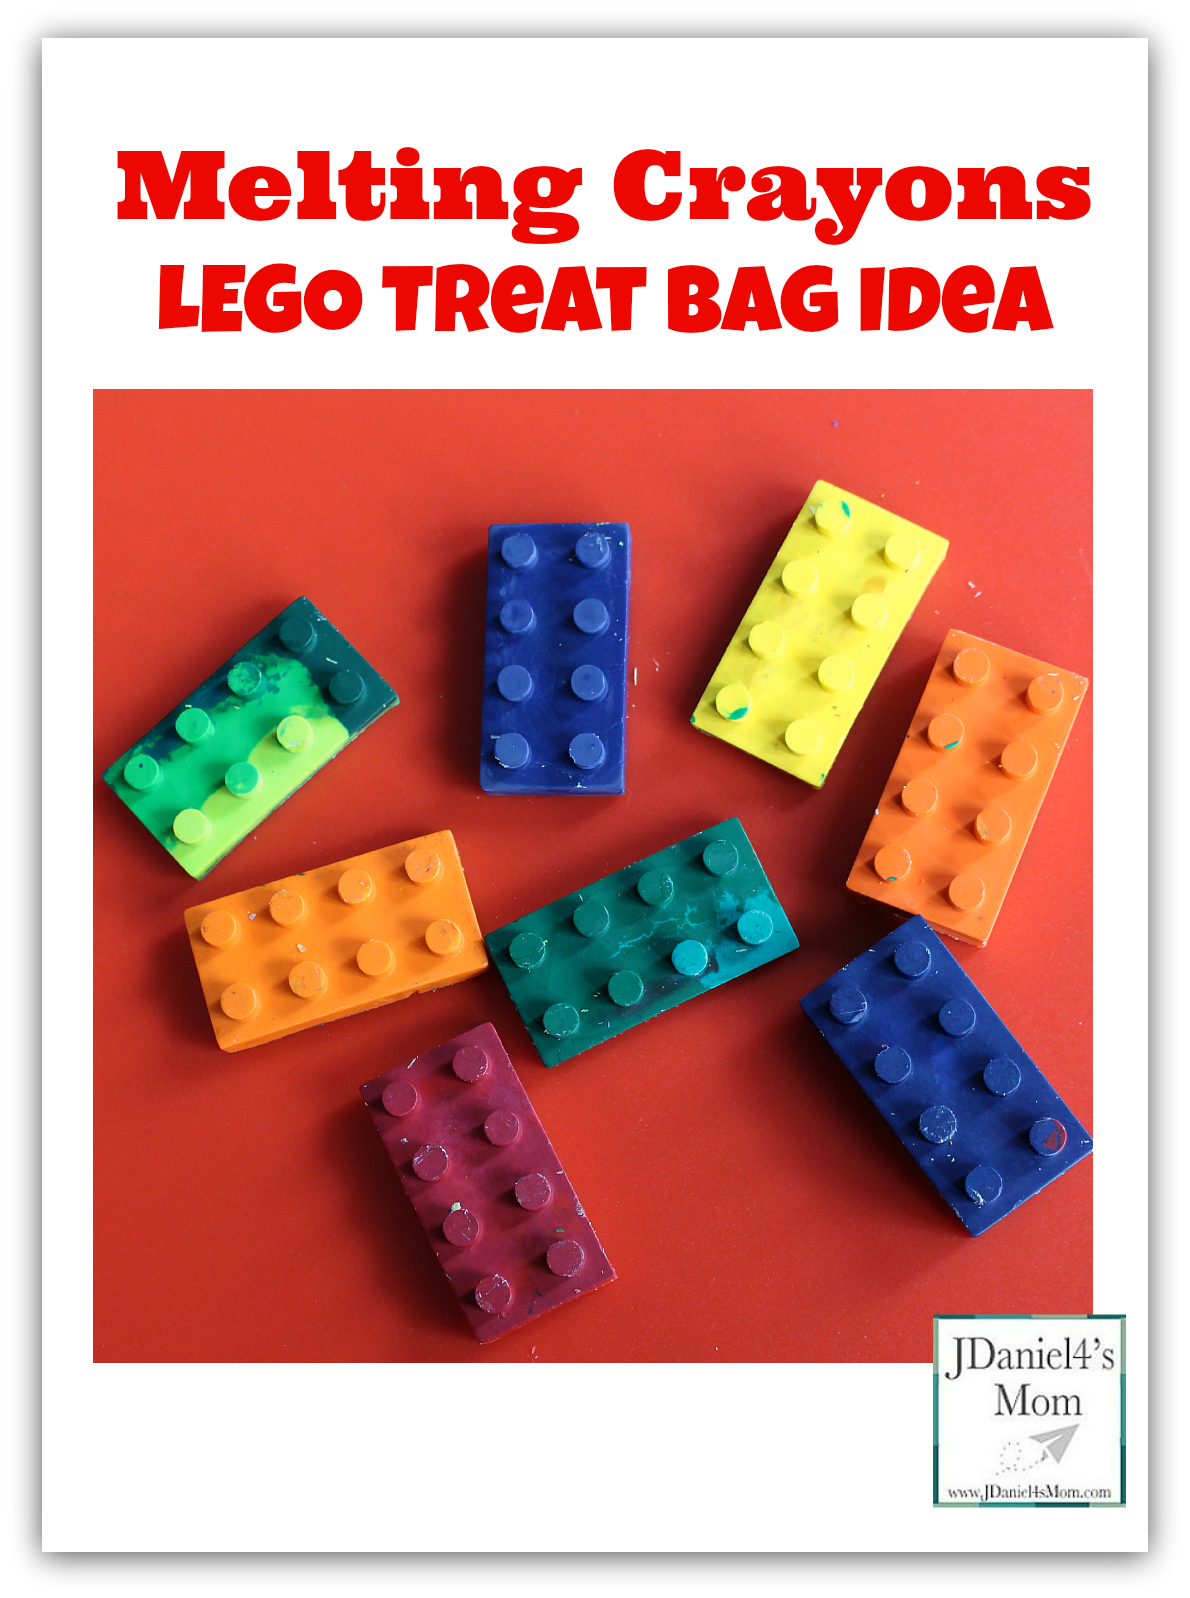
Have you ever seen those homemade crayon pictures on Pinterest? You know the ones made my melting your old crayons. Well, I have and I decided to make some for my son to take to school for Valentine’s Day along with the LEGO Valentine’s cards I made in treat bags. After searching the internet for the very best way to make them, I decided to try two and see which one worked the best.
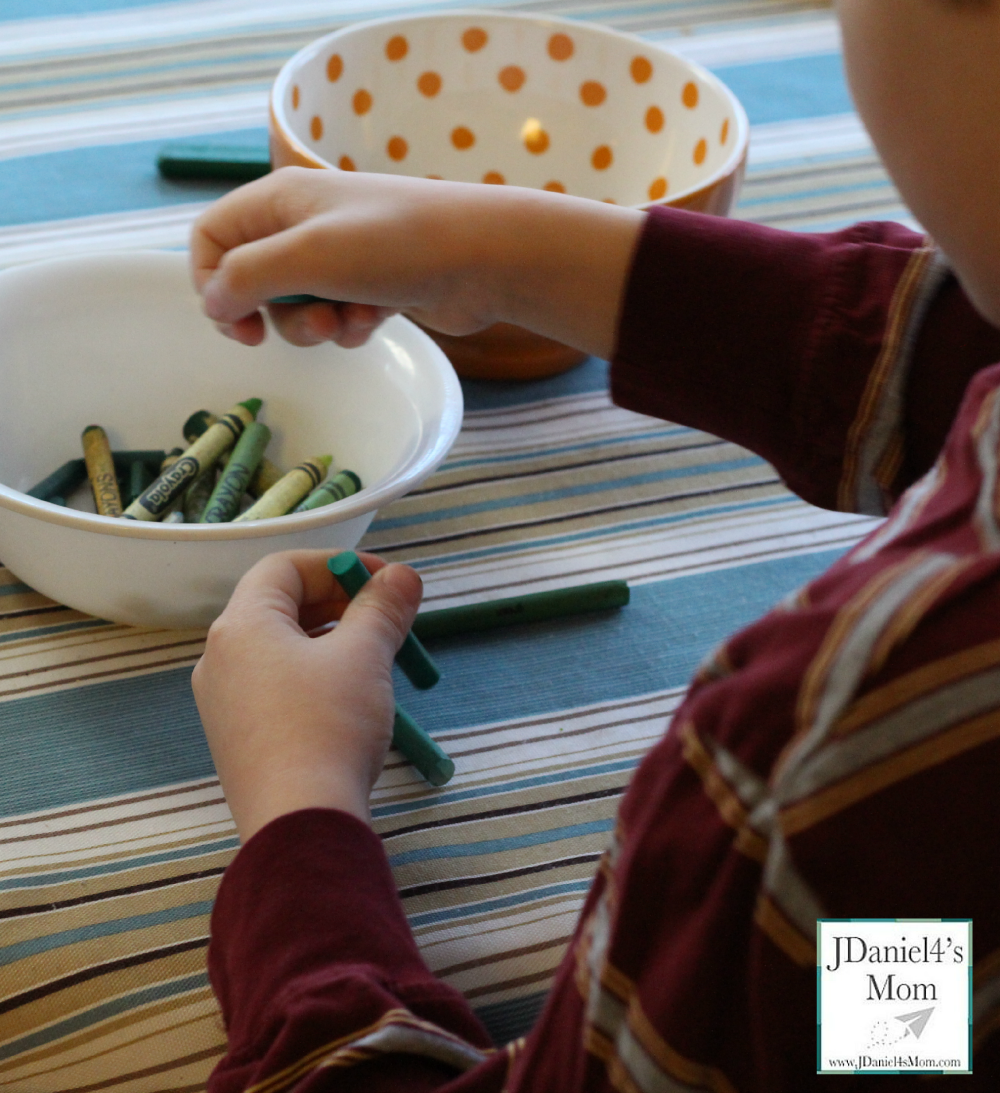
JDaniel helped me prepare the crayons to be cast into a new shape by taking off each crayon’s paper wrapper. We have a bag of broken crayons that I thought would be easy for us to remove the wrappers from. It was challenging to say the least. Some of the wrappers on the older or on really cheap crayons. They came off easily. The wrappers of the new crayons were tough. We tried scraping our finger nails from an outside edge down. That was not super effective. Then we tried scraping a section of the wrapper with the inside edge of a pair of scissors very carefully that worked.
Next the crayons that were whole needed to be broken into small pieces so that would melt easily. We broke many by hand. I used a dull knife to break the challenging crayons.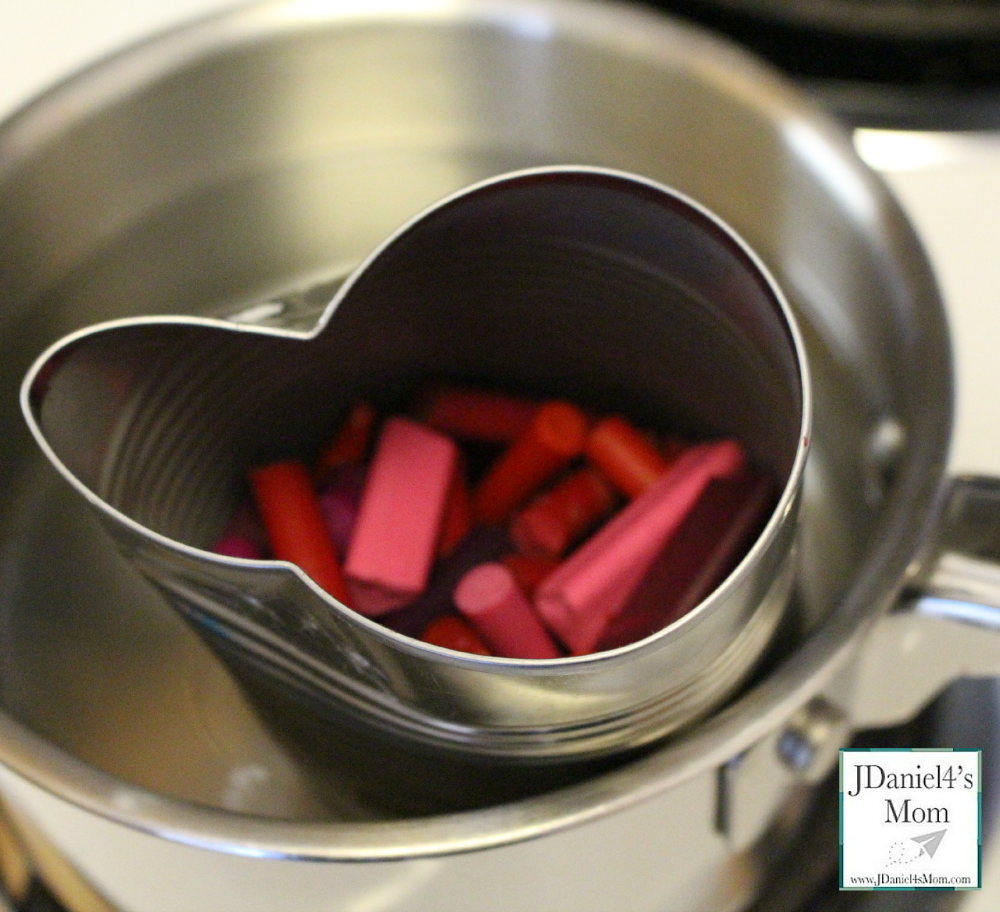
The first approach involved an empty metal can and a pot of boiling water. The post said to place the crayons in a can that had small spout bent into it. Then place the can in a pot of boiling water. We found that when there was a lot of water in the pot the can tended to tip over. With only a little water in the post the can jumped around.
The crayons did melt or some of them did. I was able to pour some of the melted crayons into a LEGO ice cube tray I had purchased. Some of the crayon stuck to the bottom of the can and froze solid there.
Since I didn’t need a can with crayons coating the inside, we stopped this method. Thank goodness there was a second method to try.
The oven method was super easy and super-fast to do. All we had to do was place several broken crayon of the same color into each ice cube section. It was important to fill each section to the top. (When we didn’t, we ended up with thin crayons that broke in half when we tried to get them out.)
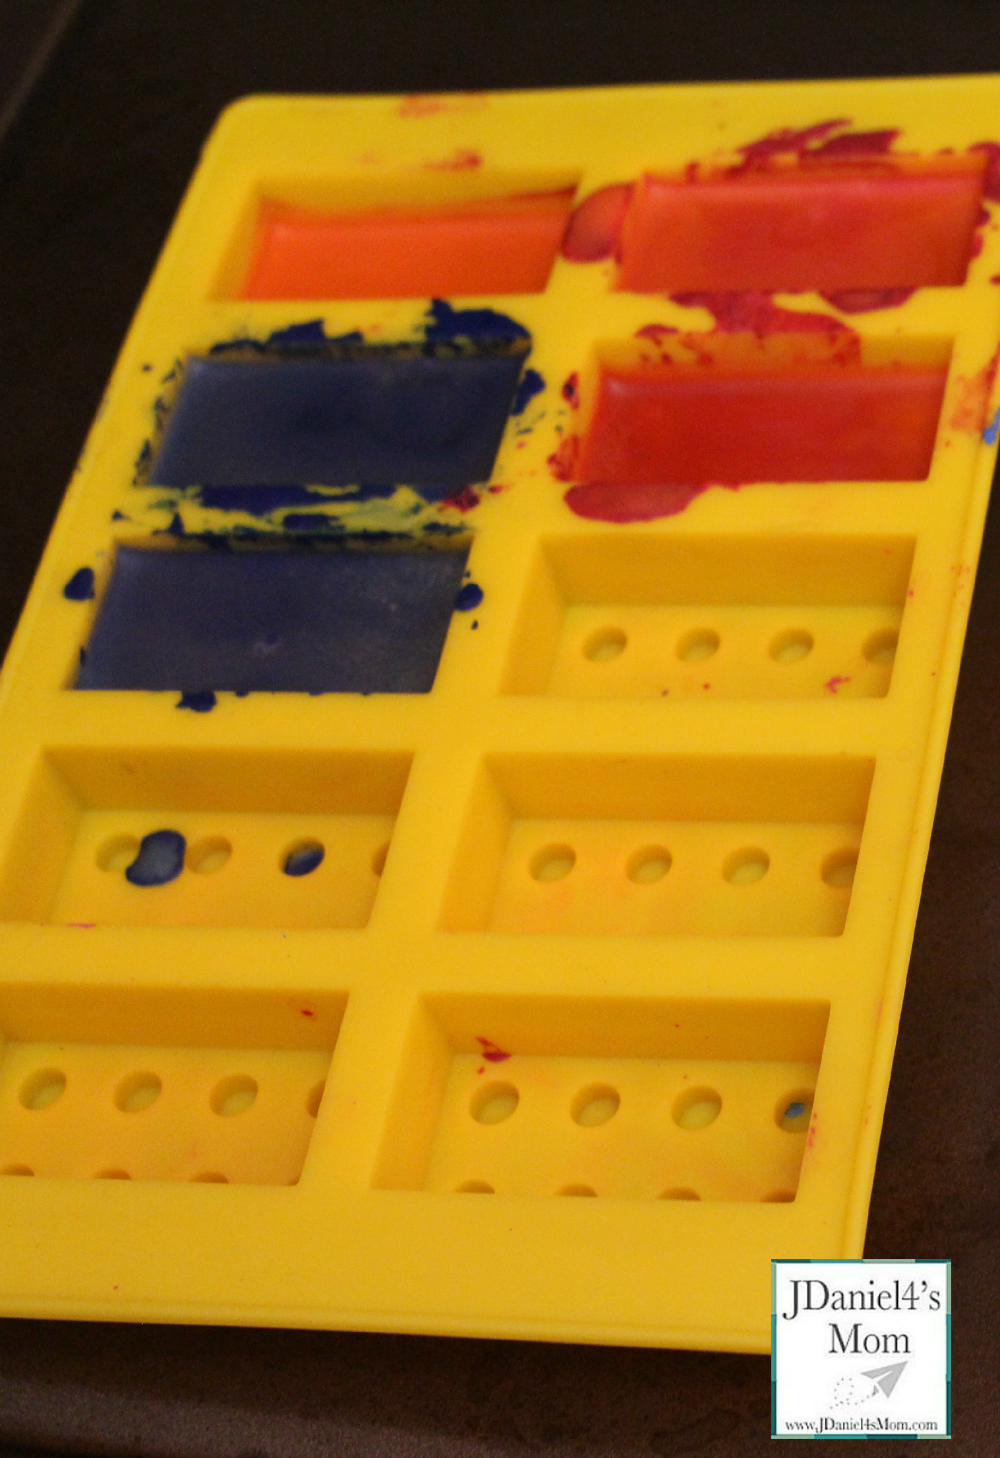
The silicone trays were placed on an old cookie sheet in 250 degree oven for ten minutes. After ten minutes, I carefully lifted the tray out of the oven and set them on the counter. The crayons in the ice cube trays were in liquid form.
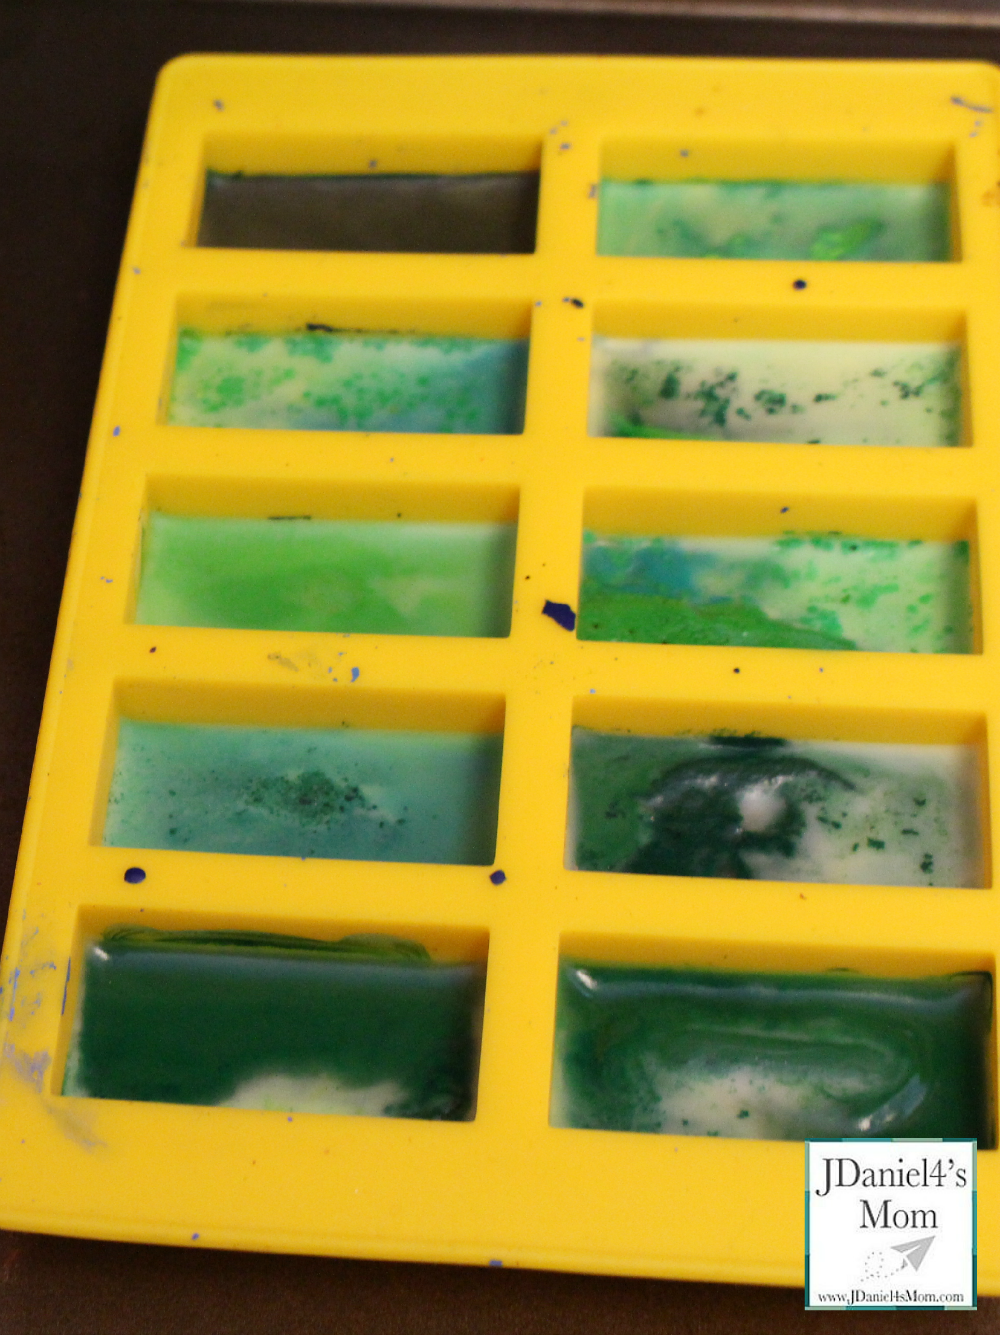
I left them on the counter for an hour and half to let them cool. Some directions I read for making homemade crayons said to put them in the freezer. I didn’t have room in my freezer so; the counter was the only option.
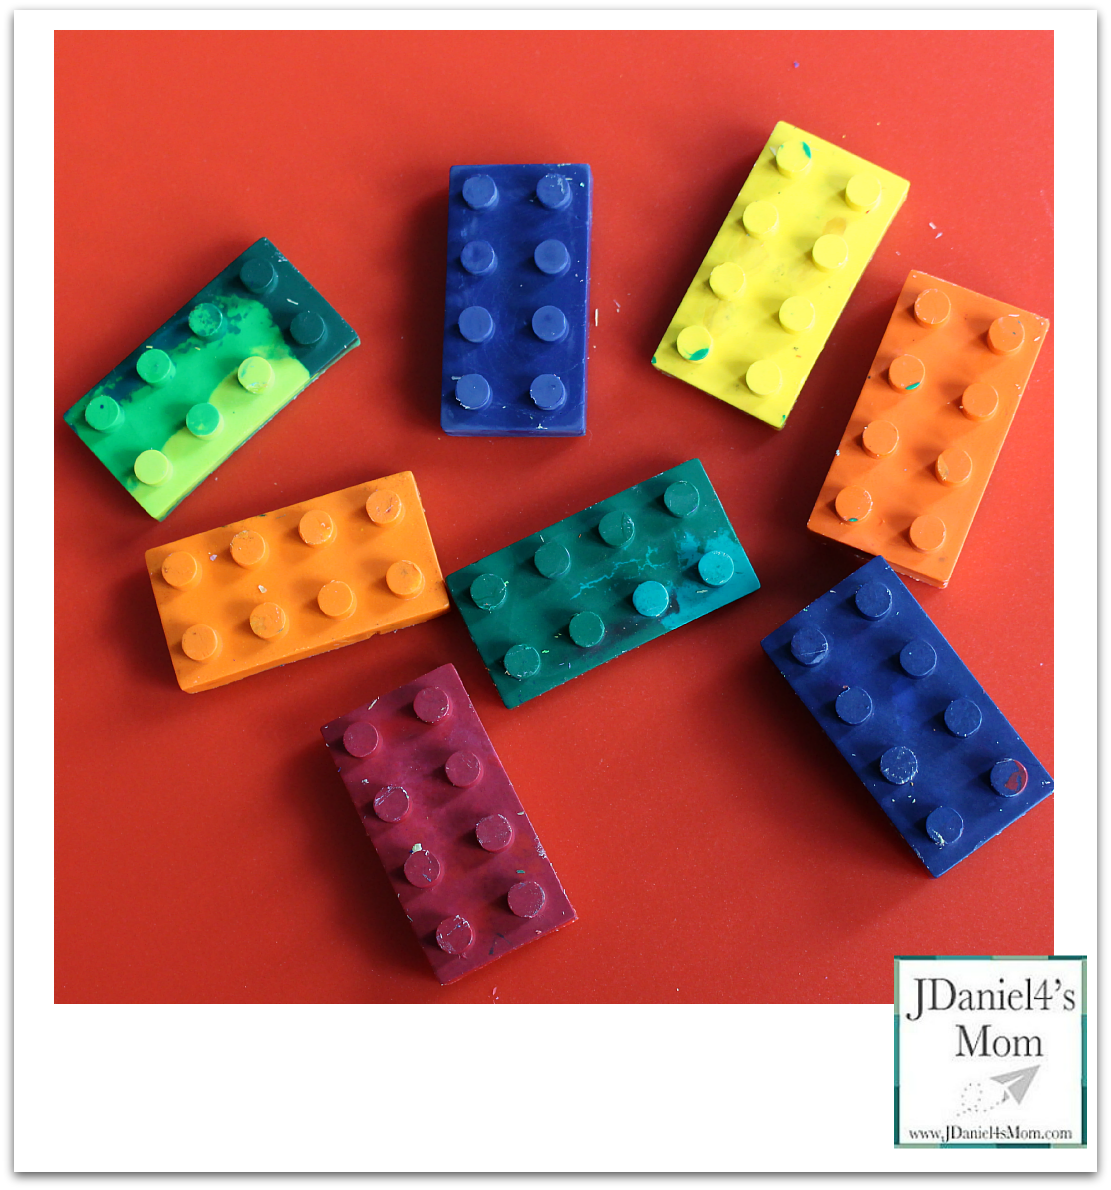
To get the homemade crayons out of the olds I pushed them gently from the outside while holding the trays upside down. Molds without a lot of detail probably won’t be so tricky to work with. I didn’t want to break any of the bumps on the LEGOS so, I pushed very gently.
JDaniel and I both think that they turned out well. The homemade crayons will be fun for him to pass out in class on Valentine’s Day.
Here are some other melting crayons into new crayons ideas that I love:
Heart Shaped Crayon from Things I Can’t Say
Traditional Muffin Tin Crayons from Hands On- As We Grow
Sun Melted Recycled Crayons from No Time for Flashcards
Love and Marriage made Snowman Crayons
If you try or have tried melting crayons to make new fun crayons with your kids, please leave me a comment below telling me about it or share a picture of it on my Facebook page.


