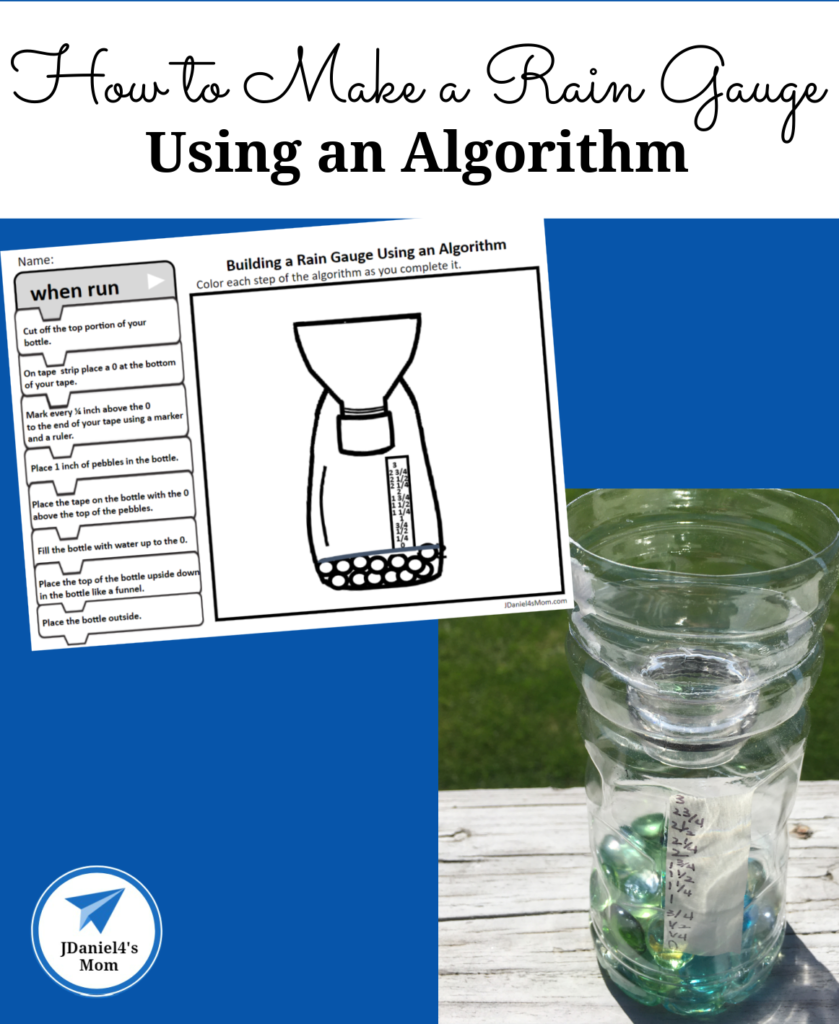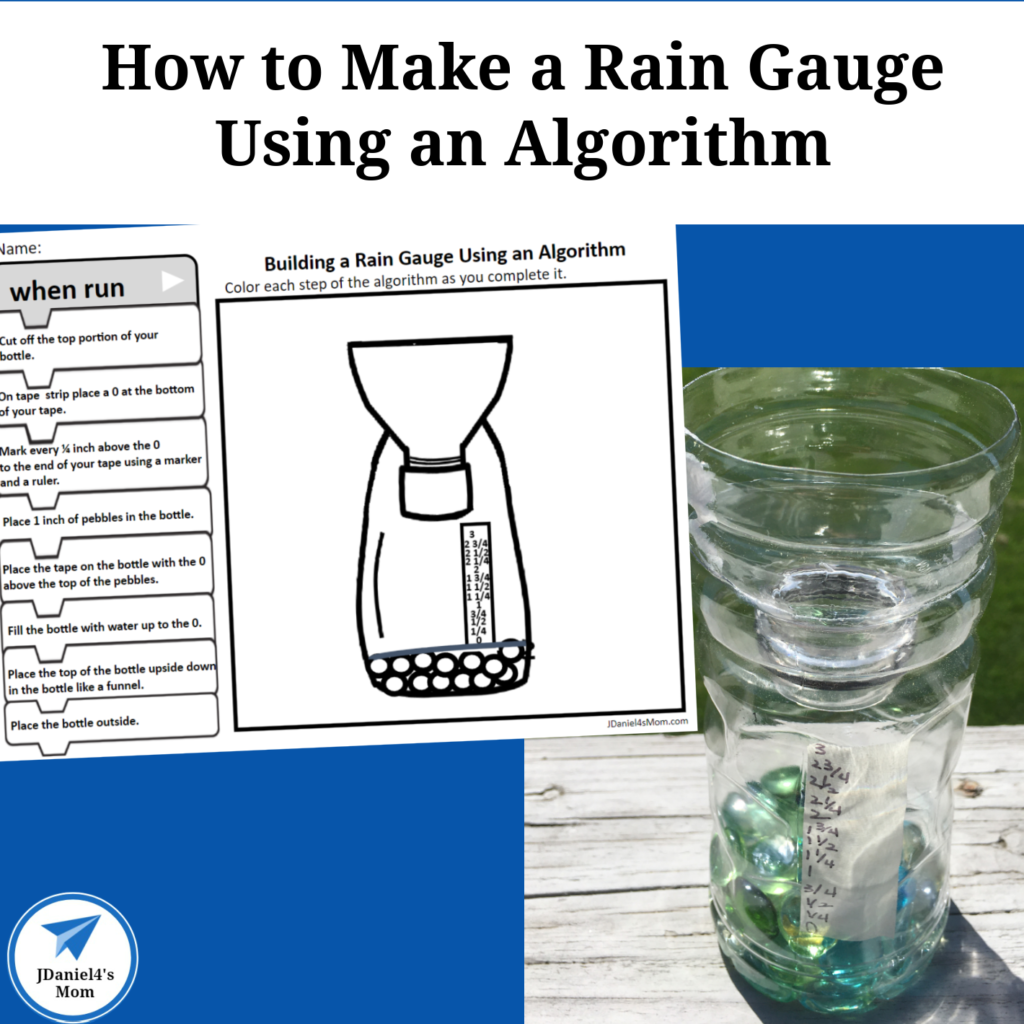
The How to Make a Rain Gauge algorithm page walks children through the steps needed to create a rain gauge. The steps or directions are displayed on Blockly coding blocks. Coding directions are called algorithms. Children will get the opportunity to see how a coding algorithm works while building a rain gauge. This page lets children explore Blockly blocks before they use them online.
After completing each step, children are asked to color in the part of the rain gauge they have completed. The act of coloring in each step will ensure that they don’t forget a step. Children can also color in the Blockly blocks as they complete a step. However, they will need to color lightly or use light colors. You will want them to double-check that they have completed all the directions. It will be hard to read the words on blocks that have been colored over darkly.
Getting the How to Make a Rain Gauge Page
The pages are part of a PDF set. You will need to have a PDF reader like Adobe Acrobat on your computer to open the set.
Once you have printed out the How to Make a Rain Gauge page, you are ready to start.
Gathering the Supplies
You will need to gather the following supplies needed to create the rain gauge. You probably have many of the supplies already at home.
- Plastic Water Bottle
- Fine Tip Sharpie Marker
- Masking Tape
- Scissors
- Small Pebbles or Flat Glass Marbles
- Water
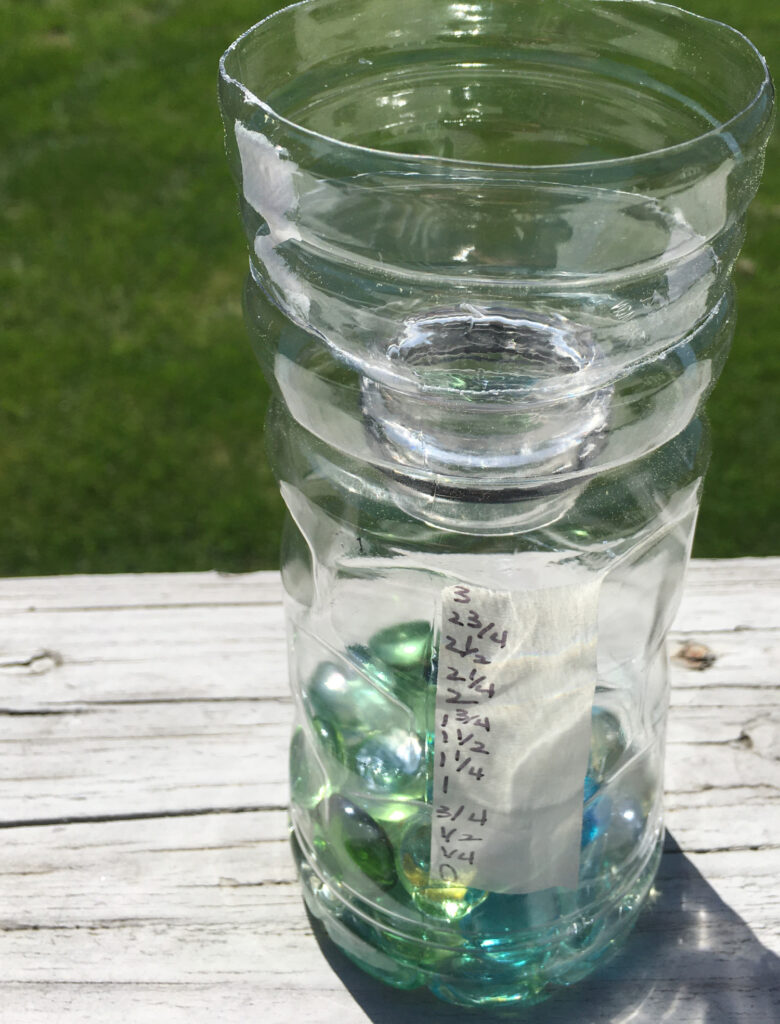
Steps for Creating the Rain Gauge
- First, you or your children will need to cut the top portion off of the plastic bottle. Scissors can be used to poke a hole in the bottle. Then they or you can cut around the bottle.
- Second, tape used to check the amount of rain that has fallen will need to be created. A zero will be placed at the bottom of the tape. After that, every quarter of an inch will need to be marked on the tape. If a fine-tipped marker is used, it will be easier to create numbers that are easy to read. Using a sharpie marker will make the numbers waterproof.
- Third, the tape will need to be placed one inch from the bottom of the bottle onto the bottle.
- Fourth, one inch of pebbles will need to be poured into the bottle. The weight of the pebbles will keep the bottle from falling over.
- Fifth, just enough water to cover the pebbles. The rain that falls will be measured from the zero on the tape to the top end of the tape.
Putting the Rain Gauge Together
Children can follow the directions to put the rain gauge together. Here are some questions to ask yourself before having them work on their own.
- Will they be able to cut the top part off the bottle on their own?
- Do they know how to mark the tape to display quarter inches?
- Can they write numbers small enough to fit on the tape?
- Will they spill the water as they pour it into the bottle? They may need a funnel to help guild the water into the bottle.
If you answered no to any of the questions above, your children may need your guidance or help to create the rain gauge.
Building Background
It would be fun to read books that feature rain before starting this activity. Below you will find a number of wonderful books with a rain theme.
The links below are affiliate links. As an Amazon Associate, I earn from qualifying purchases.
More Weather-Related Learning Activities
Windy and Cool Science Experiments
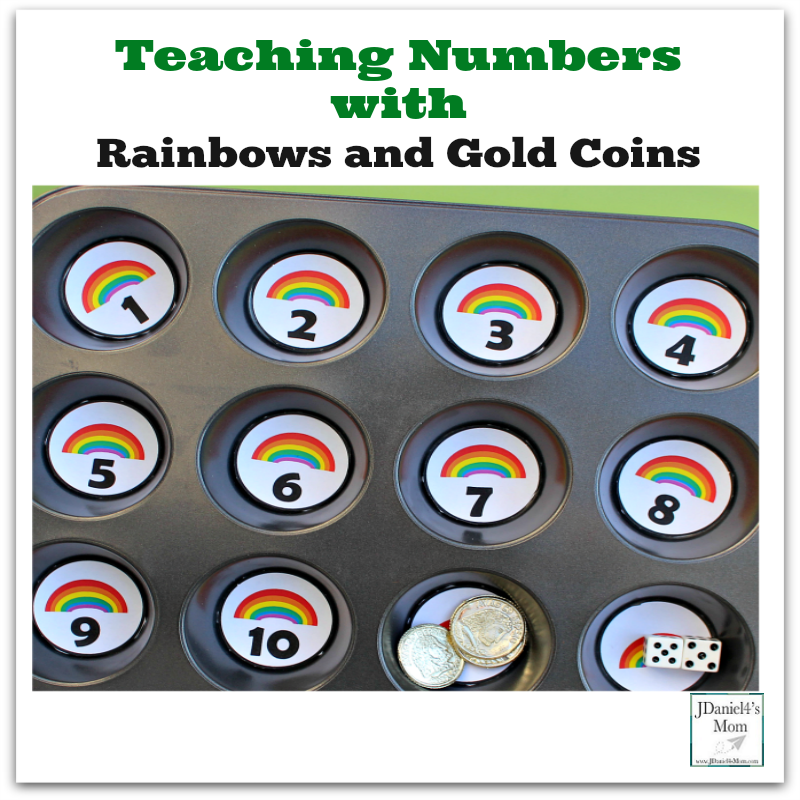
Teaching Numbers with Rainbows and Gold Coins
