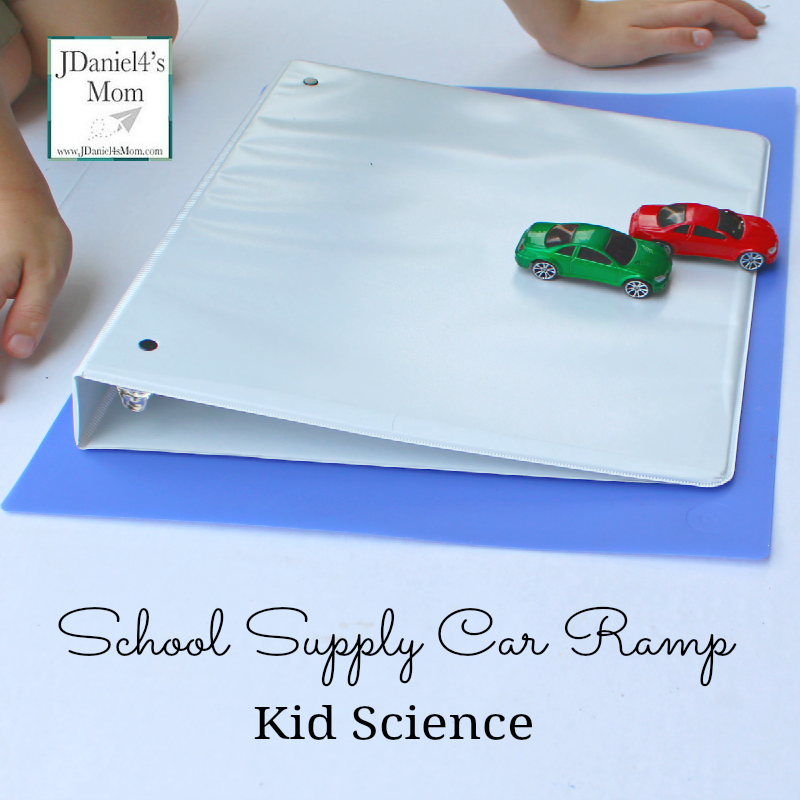
My son and I went Back to School shopping to find all the items on his school supply list early this summer. I wanted to shop while there was a good selection of supplies in the stores. After walking by the bag of supplies for a few weeks, I decided we needed to do something with them. They would be great for a series of STEM kid science activities I decided. This school supply ramp for cars is the first exploration in the series.
Kid Science Notebook Ramp Exploration
Some of the links below are affiliate links.
Supply List
- Binder Clips
- Three Ring Binder
- Toy Cars
Exploration Questions
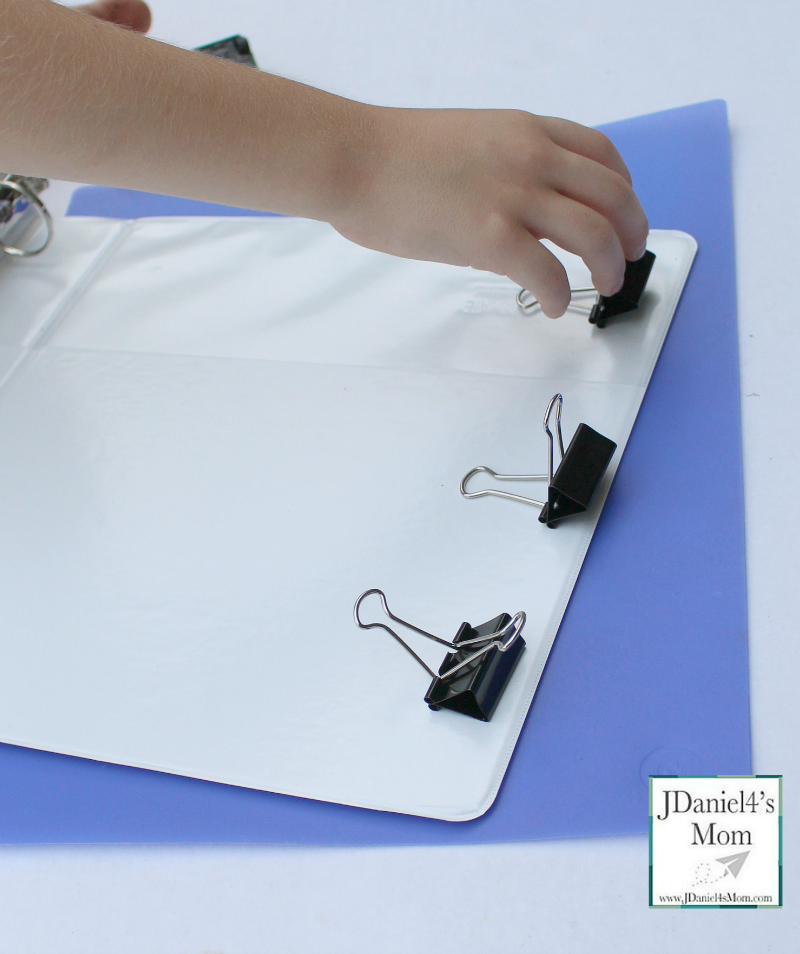
How can the clips be arranged inside the notebook?
Where inside the notebook should the binder clips be placed?
How should the clips be placed to get the toy cars to travel the farthest?
Will the cars travel down a ramp that is almost parallel to the ground or will they fall off?
Kid Science Exploration Thoughts
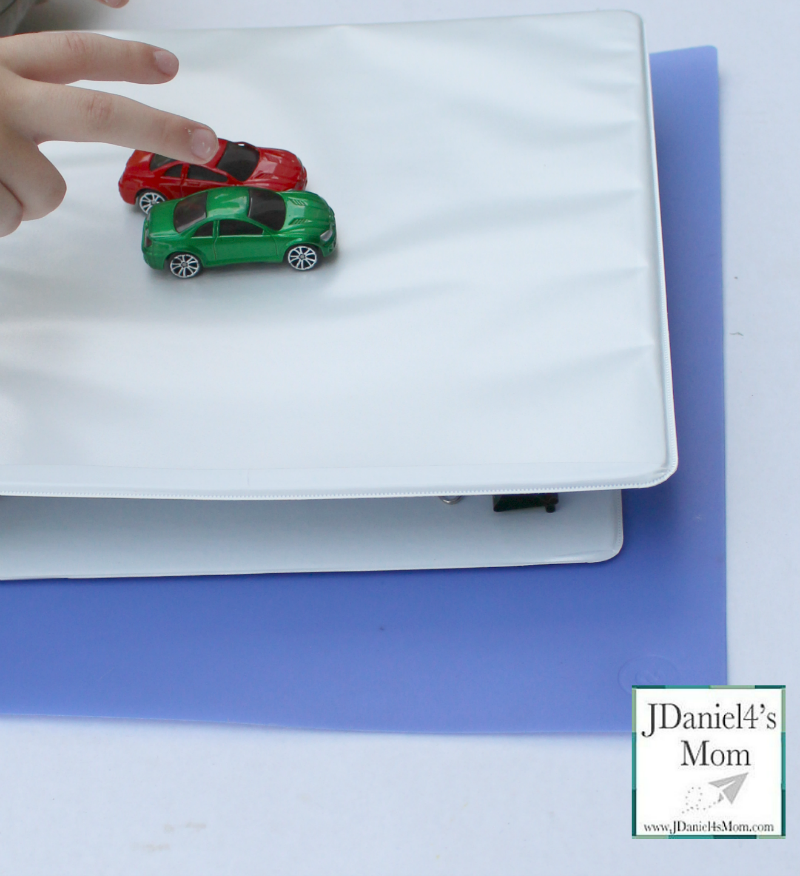
You could place the exploration supplies out for your children to explore on their own. I think they will glean more from the exploration by discussing the questions above with you or another partner. They will have some ideas of what to do planted in their minds before they start.
You could also give them time to explore the binder clips before starting. There are several ways that the silver areas of clips can be placed on the ground. Children may come up with all of them on their own. On the other hand, they can pick up some insight from hearing what others come up with.
While we had the cars travel from the closed end of the notebook to the open end, you could have your children’s cars travel the other ways around. It would be fun to see if it makes a difference in how far the cars travel.
Guided Discovery with Ramps
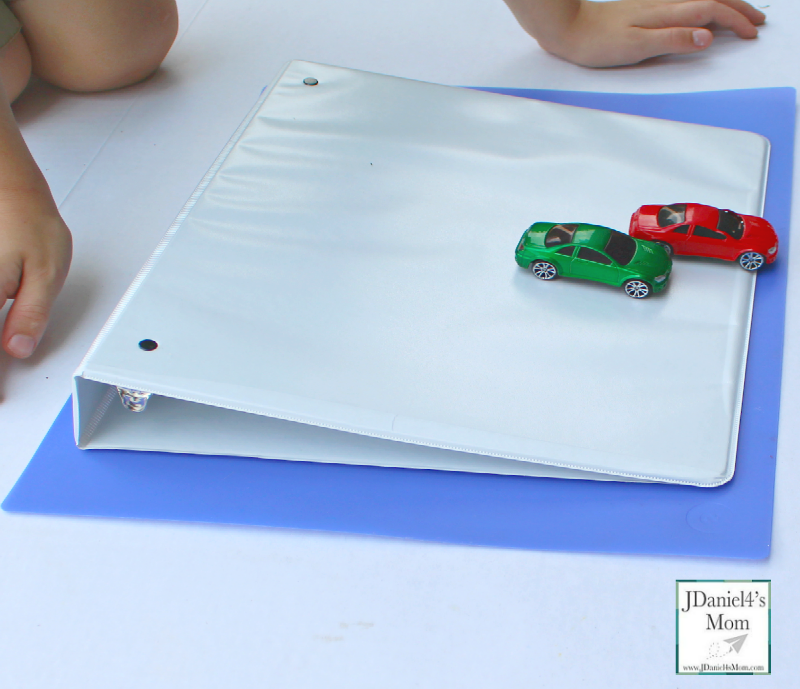
You can go through this step by step with your kids in a group or with you. You would still want start with the questions above.
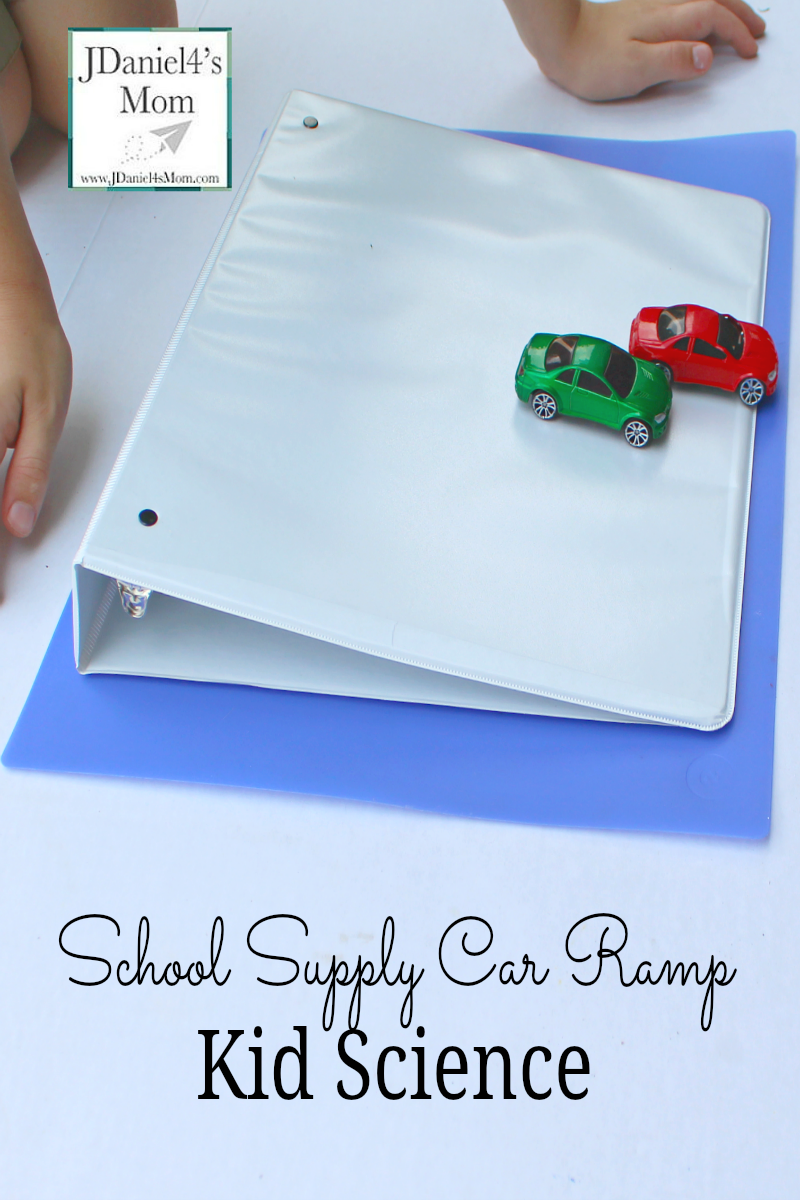
After discussing the questions, you might want to start with the clips flat inside the notebook near its opening. Then the cars can be placed at the top of the ramp. The cars will be pushed down the ramp. Your children can then mark the distance their cars go with tape if you like.
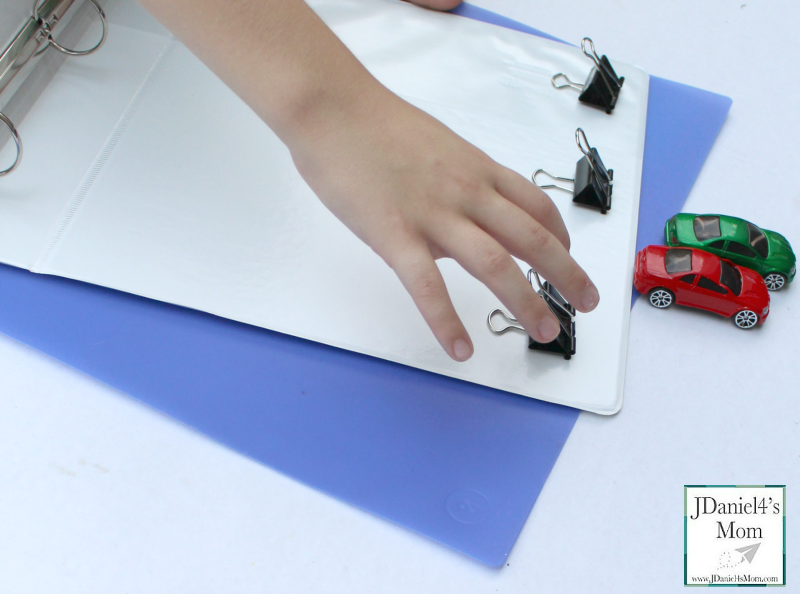
The next ramp can be created with the metal clip upside down and the silver end spread out. Your ramp will be a little taller. Then you can have your cars travel down the ramp.
Next will continue arranging the clip at the end of the ramp. Each time you will make it taller and taller. After each clip change, you will want to mark of how far the cars have traveled.
STEM Science Kids Activities You Will Love
How to Make a Balloon Boat Move


What a great activity. This is such a simple and effective way to make a ramp. Lots of options for kids to experiment with.
Thank you! I tried to make it a true STEM activity!