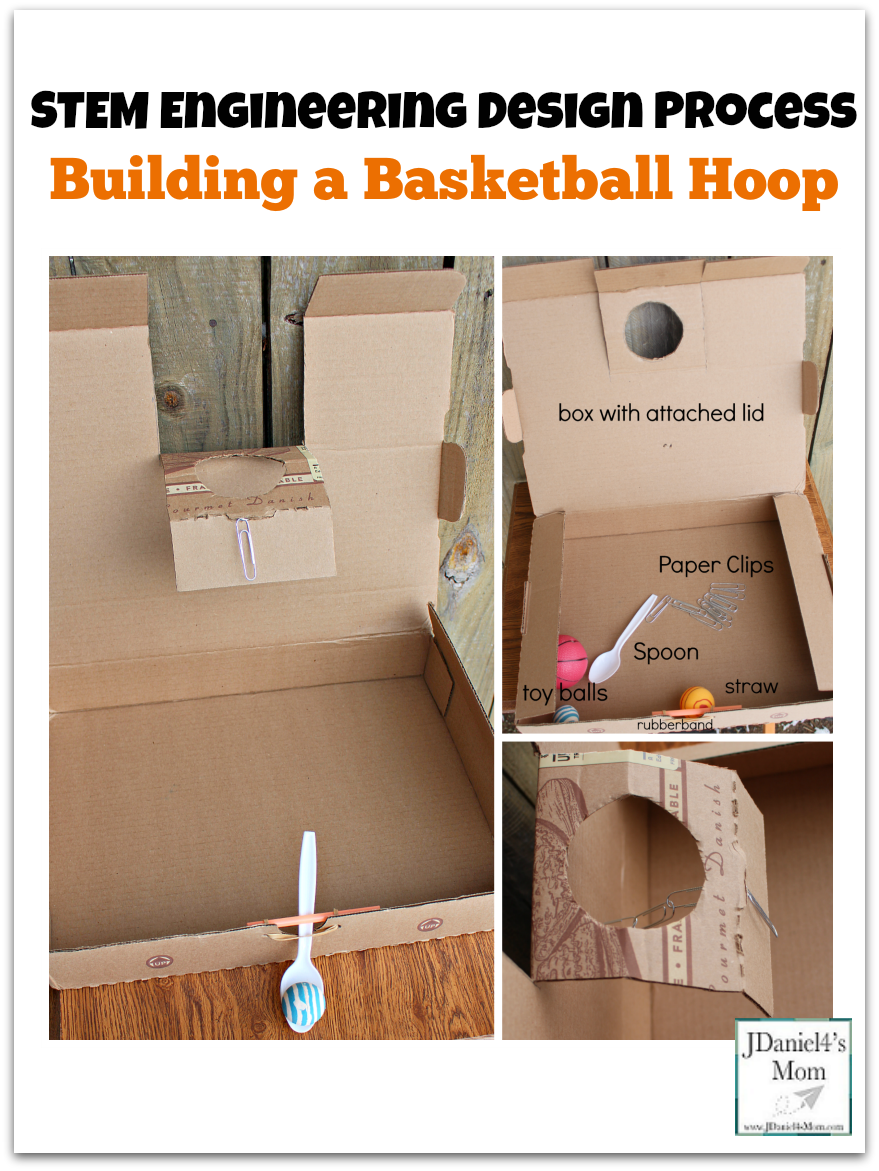
Yesterday I describe each of the steps in a STEM engineering design process. A copy of the steps in the process display in a printable poster and a student planning document are shared in that post. Today I want to walk you through the STEM Engineering design process steps. I will be sharing a recent project we did at my house.
Walking Through the STEM Engineering Design Process
Ask
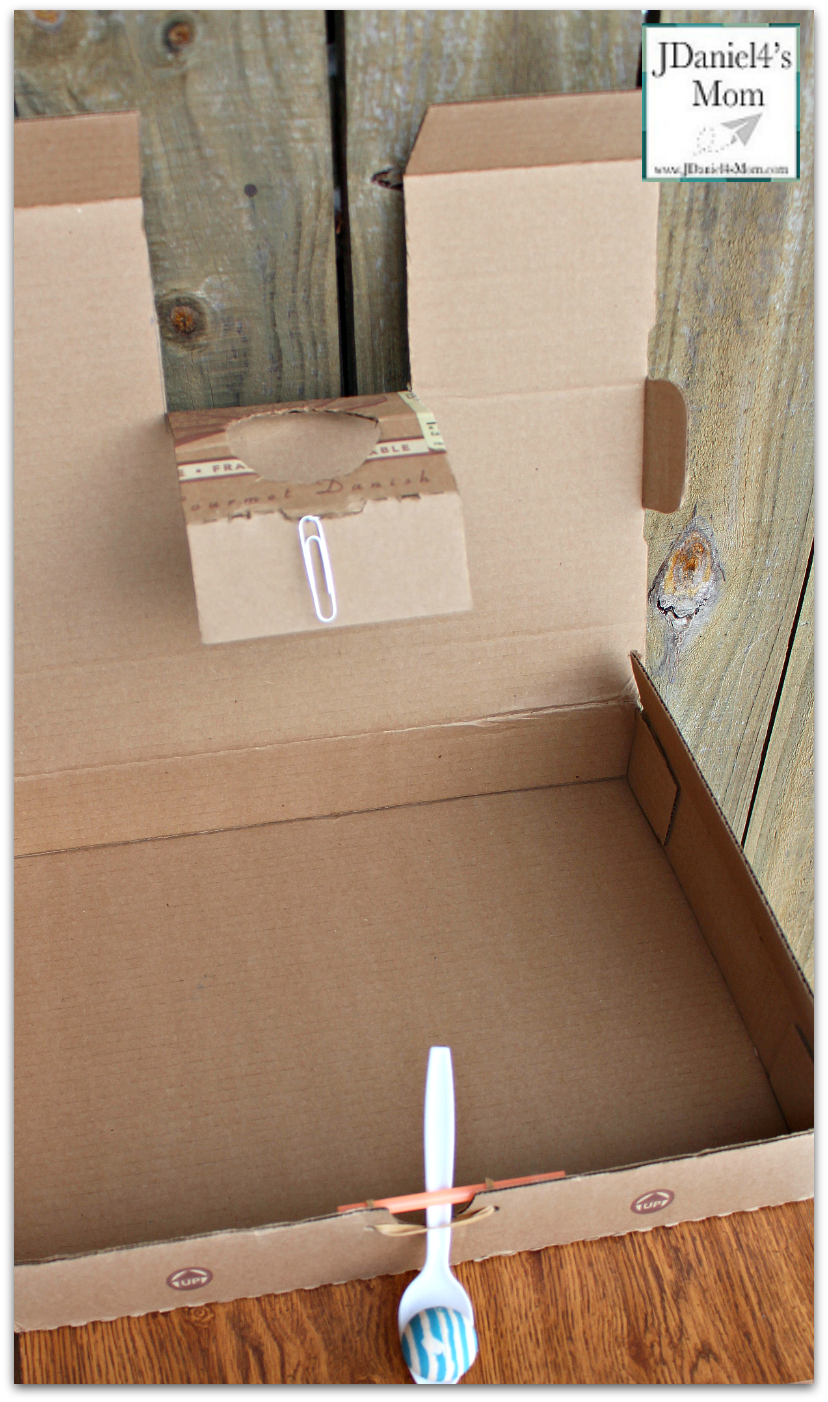
The first step in the process is to define the problem. JDaniel has been exploring levers as part of a Scout enrichment unit. The problem we focused on had to do with creating a lever to do a simple task like put a basketball in a basket. If you want to leave your project more open ended you could ask your children to find a way to use a lever to complete a simple task.
After defining the problem, you will need to look at the constraints of the project. The supplies available to you and the availability of boxes for the project would really be a constraint of this project. (We had a variety of engineering supplies available to us.) Time might also be another constraint.
Imagine
Brainstorming is a challenging part of the STEM engineering process. Your children will let their imaginations shine as they share their ideas.
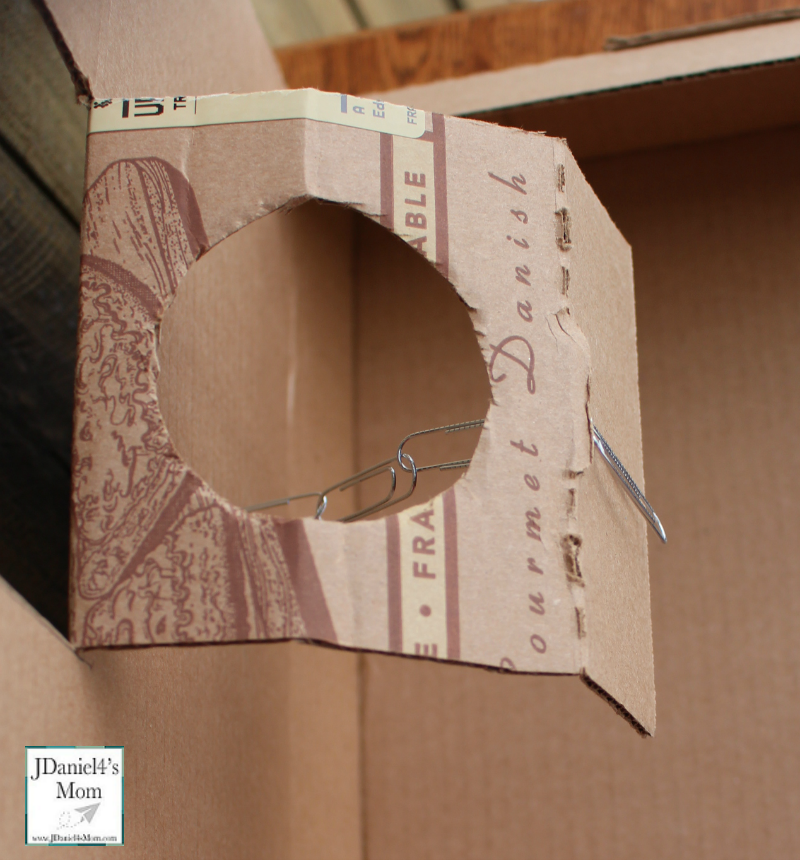
One of the key elements we needed to brainstorm was how to create the hoop for the basketball. There were two main ideas that were discussed. The first was to attach something like a plastic spool leftover from Christmas ribbon to the box. The second was to create the hoop from a part of the box. After a little discussion, it was time to decided that we would use part of the box.
Plan
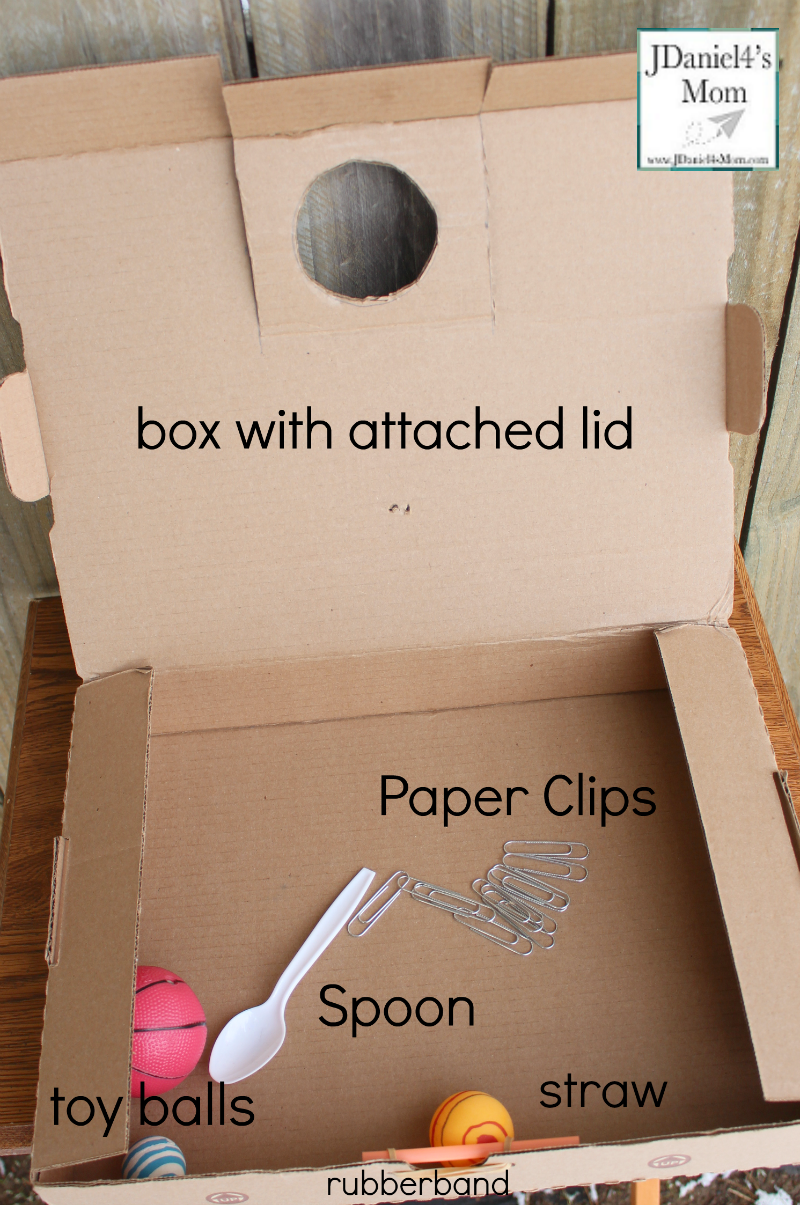
The planning set involves creating a diagram of what you are going to make. Then you will create a list of the supplies you will need.
Here is a list of the supplies we used:
- Box with attached lid
- Paper clips
- Plastic spoon
- Rubberband
- Variety of toy balls
- Jar lid
- Scissors
- Ruler
- Pencil
Create
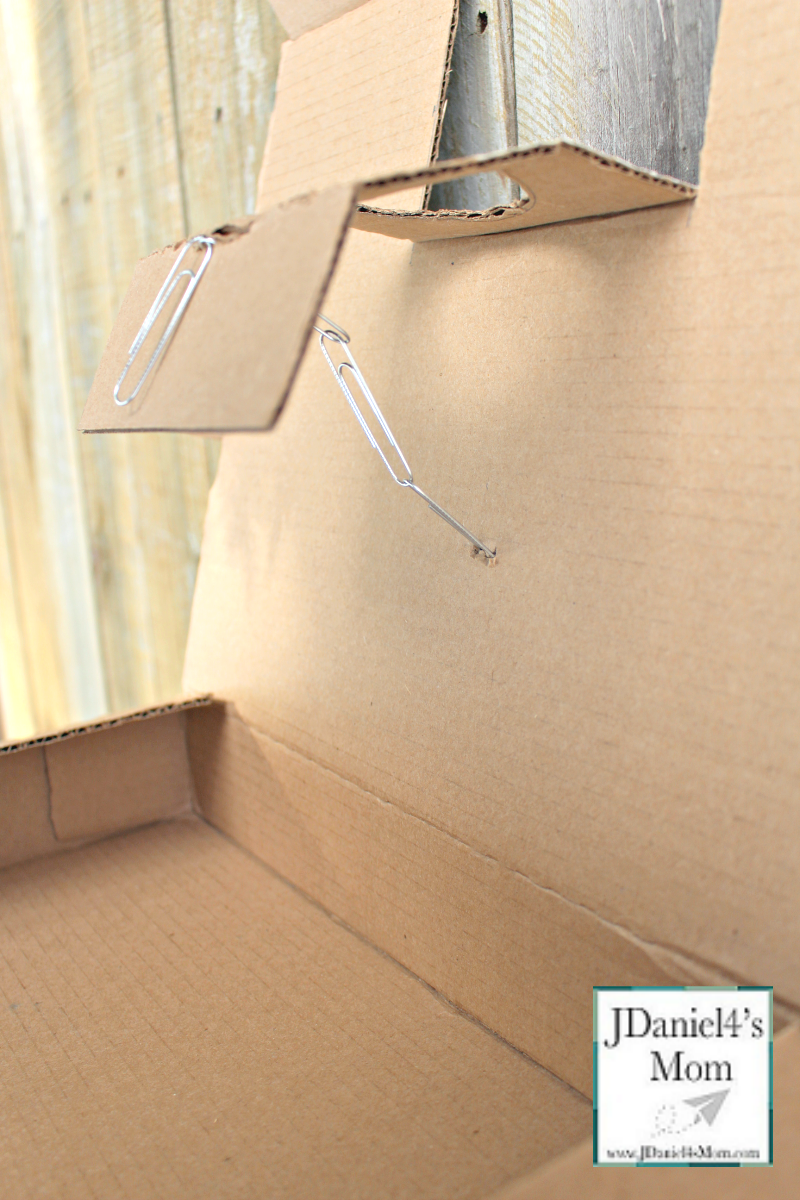
After planning our creation, it was now time to put it together and test it out.Our task had several distinct tasks. First, a hoop needed to be traced onto a section of the box and then cut out. Then the hoop section needs to be attached to the box with paper clips. Finally, a lever needed to be created.
Once everything was put together. We needed to test it out the lever and see if we could make a basket.
Improve
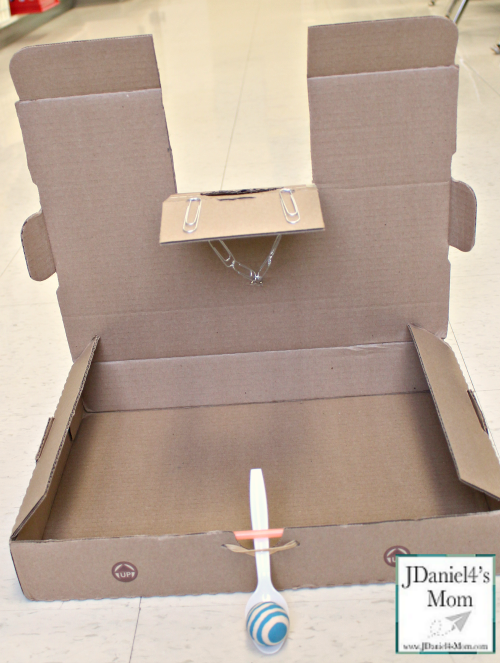
It is during this step in the process that you look at what worked and what needs to be improved. We decided we need to test out a way of attaching the paper clips that made it easier for the ball to fall through.
This post is part of STEM series hosted by Little Bins for Little Hands on understanding STEM for A-Z.


What a great way to repurpose a pizza box!