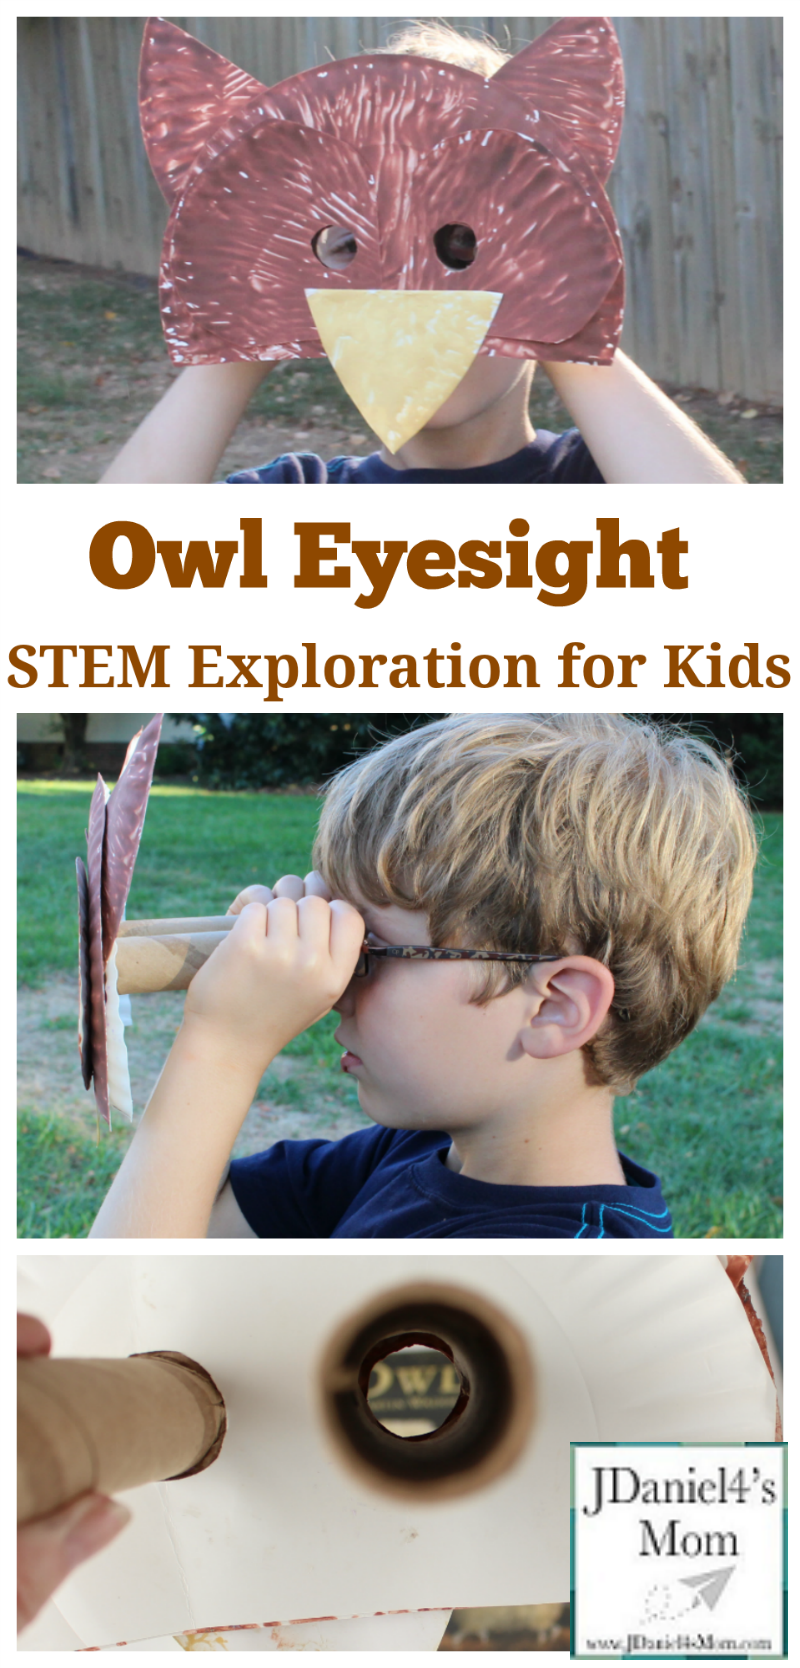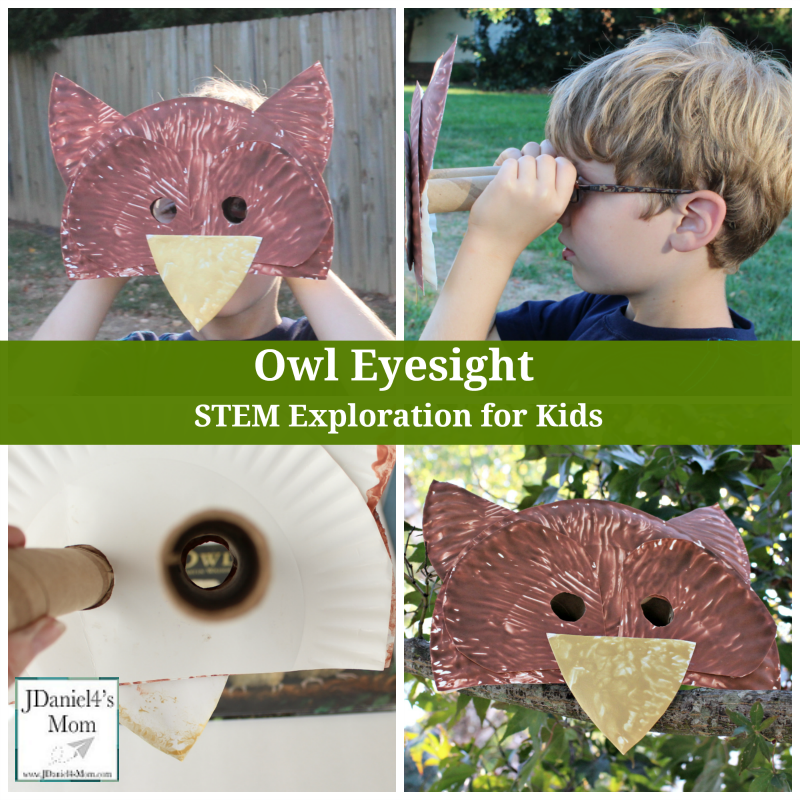
Did you know that owls have unique eyes? They have something called binocular vision. No wonder they have to turn their heads almost completely around to see the world around them. This unique owl eyesight keeps them from seeing well from side to side.
The link below is an affiliate link.
This week the Virtual Book Club is exploring the book Owl Babies Today’s I am going to share an experiment with you that focuses on owl eyesight.
Constructing Your Owl Eyesight Viewer
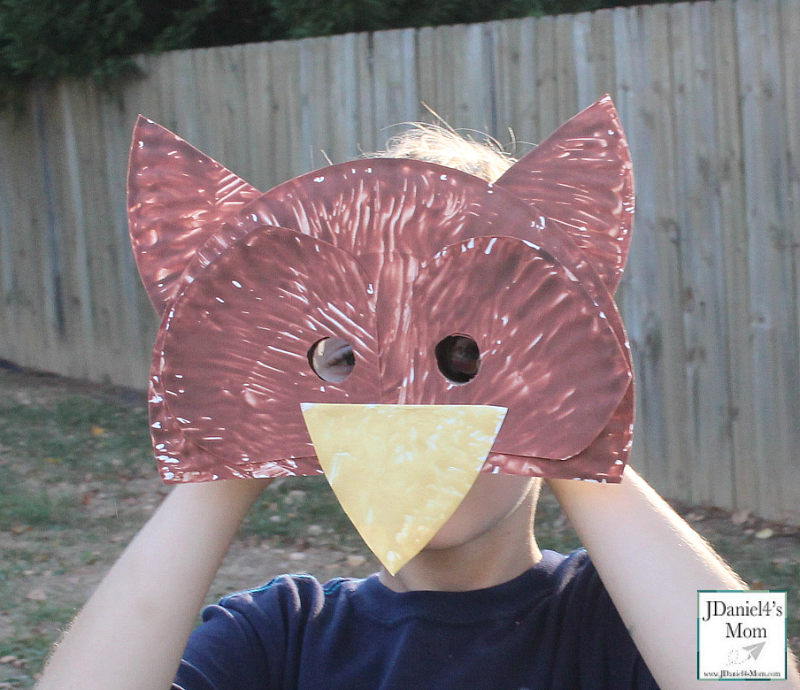
You may decide that you want to construct one owl eyesight viewer that the whole class can use although you could have your children construct their own eyesight viewer.
Supplies:
- three paper plates per owl eyesight viewer
- one long cardboard tube per viewer
- scissors
- glue sticks
- brown and gold paint
- two plastic forks
Putting Your Owl Eyesight Viewer Together
Cutting Out the Paper Plate Sections
You will start by cutting out the main headpiece by removing the bottom fourth of two of the paper plates. The top fourth will be your use for your viewer.
Then cut eye holes in one of the paper plates. Trace the location of those eye holes onto the second headpiece paper plate. Next cut out all the eye holes.
You will cute the third paper plate into fourths. Two of the sections will be used to create the eye sections for the viewer. The position of the eye holes in the main headpiece will need to be traced onto them and then cut out.
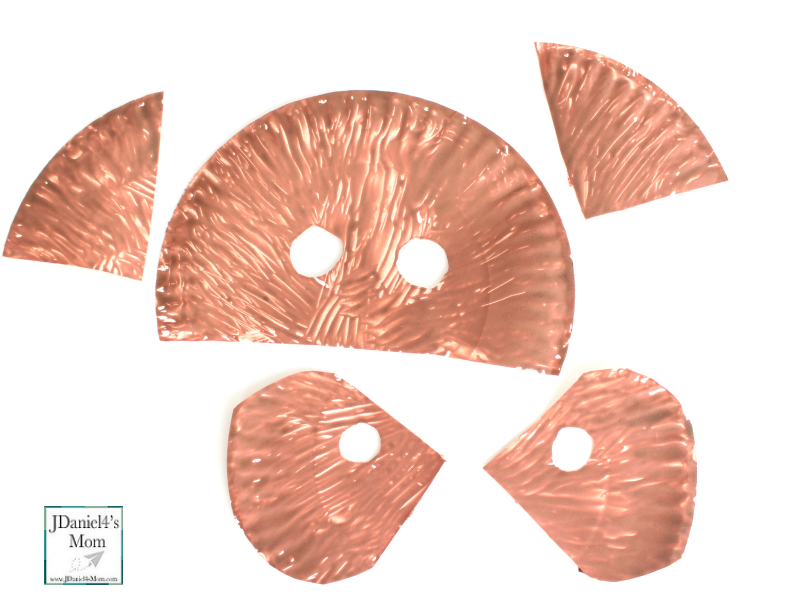
Finally, you will cut a beak and two ears out of one of the remaining paper plate sections.
Painting the Paper Plate Sections
You will use a fork to paint the beak section of the paper plate gold. The remaining sections will be fork painted brown.
Getting the Cardboard Tube Ready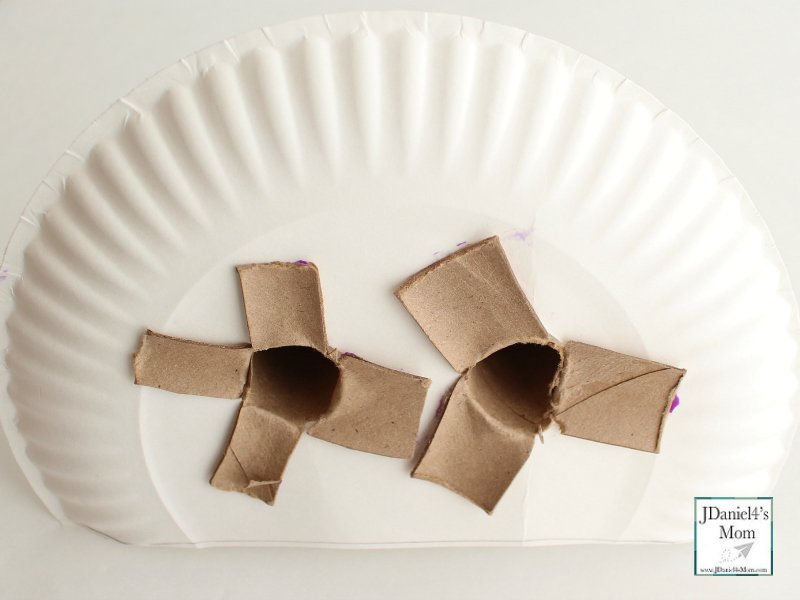
The cardboard tube will need to be cut in half. One end of each of the tubes will need to have three or four slits cut into it. These slits will be folded backwards so the tubes can be attached to the plates.
Constructing the Owl Eyesight Viewer
You will start by gluing the eye sections and the beak onto the front of the paper plate.
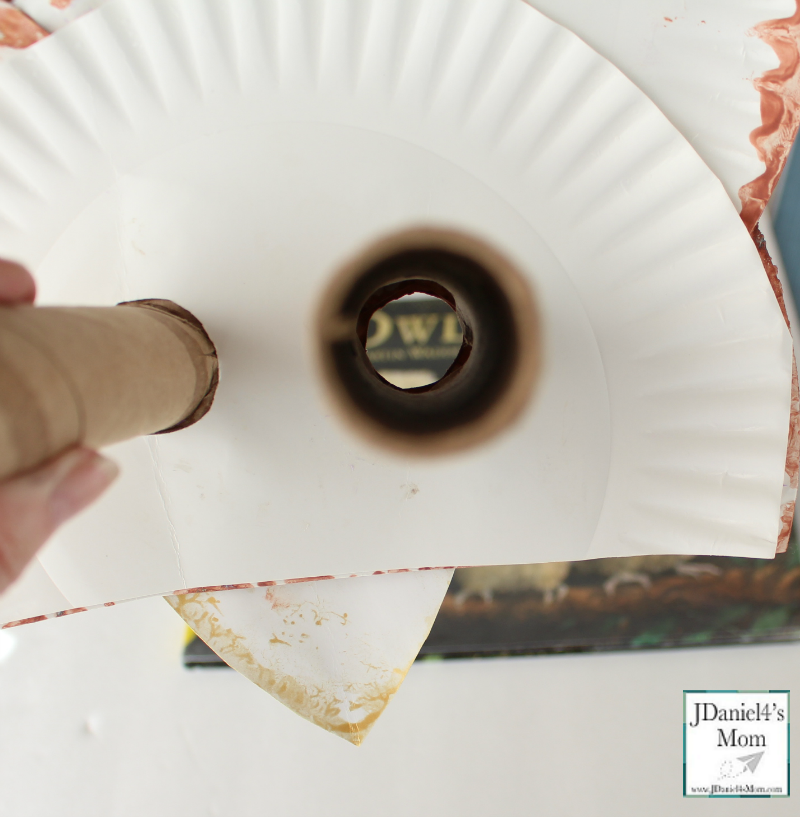
You will place the long end of the tubes through the eye holes in the unpainted plate. Then you will glue the flaps onto the front of that plate.
Next, you will glue the painted paper plate to the side of the unpainted plate that has the flap section on it.
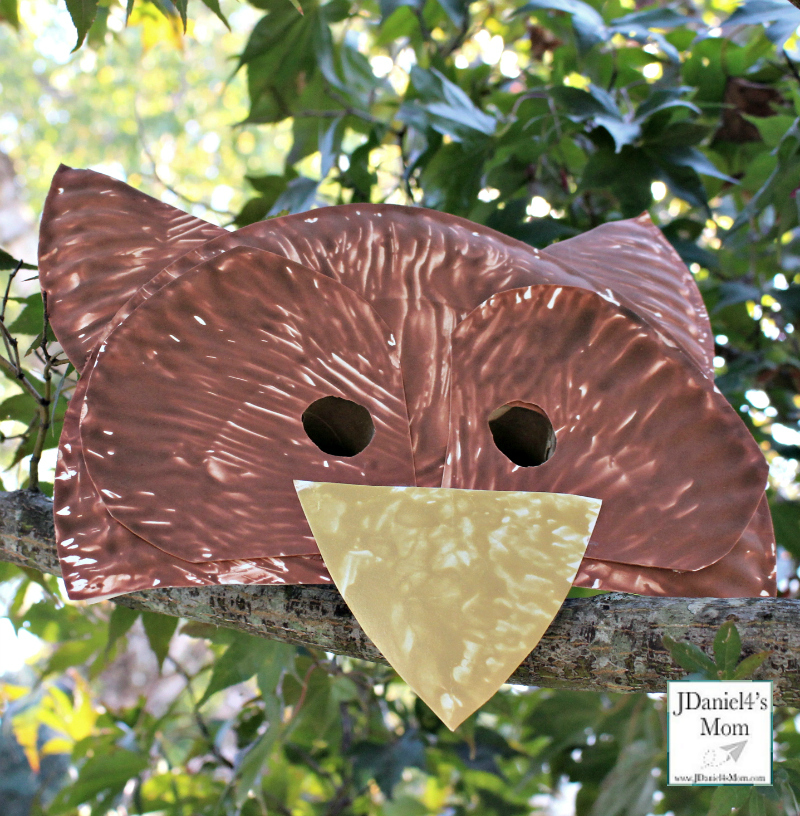
Finally, you will glue on the beak and the eye sections to the painted plate.
Another Owl Mask Option
If you would prefer to have your children decorate an owl mask template, you can download this Free Printable Owl Mask Template.
STEM Exploration
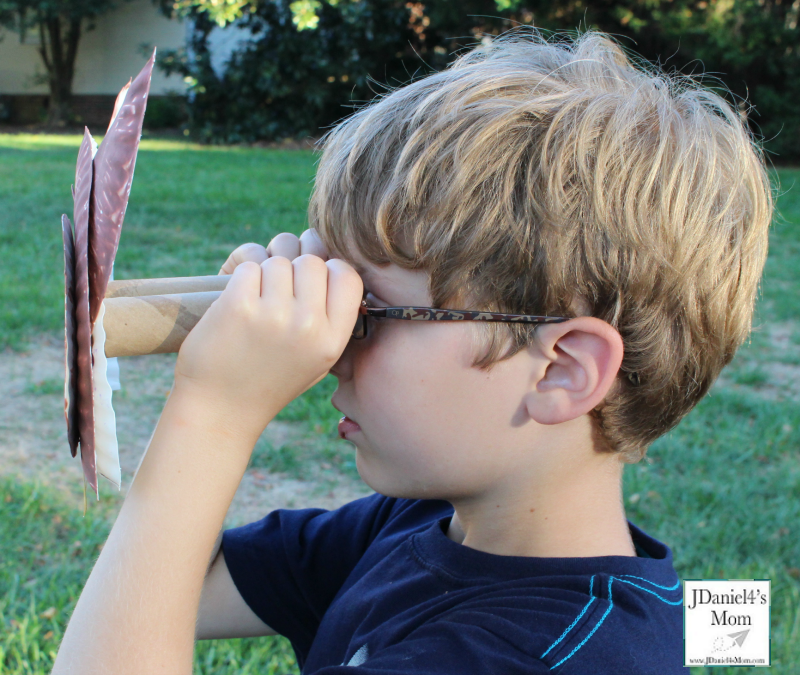
Your children can try to look through the tubes to look around. They will notice that they have to turn their heads the same way an owl does to see thing that are not right in front of them.
More Owl Activities
- Letter Roll & Color from Sea of Knowledge
- Owl Babies Book Craft and Alphabet Activity from Mosswood Connections
- Counting Playdough Mats with Owls from Preschool Powol Packets
- Whooo are you? Writing Activity from Craft Create Calm
- Owl Alphabet Game from The Educator’s Spin on It
- Owl Puppets from Powerful Mothering
- Movement Tricks to Help Ease Separation Anxiety from Sugar Aunts
- Scratch Art Owl from School Time Snippets
- Dissect an Owl Babies
- Build a Nest STEM Activity for Kids from Views From a Step Stool
- Owl Babies Sponge Painting from Adventures of Adam
- Owl Babies Shape Activity for Preschoolers from Rainy Day Mum
