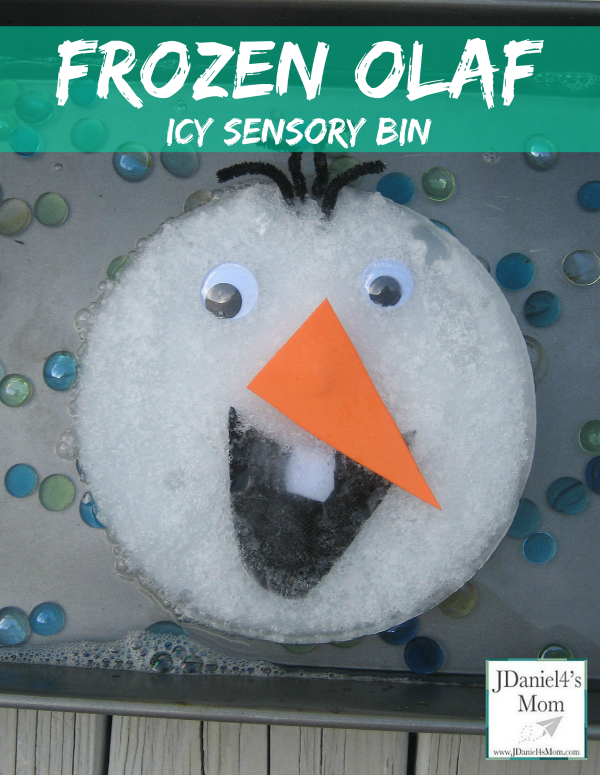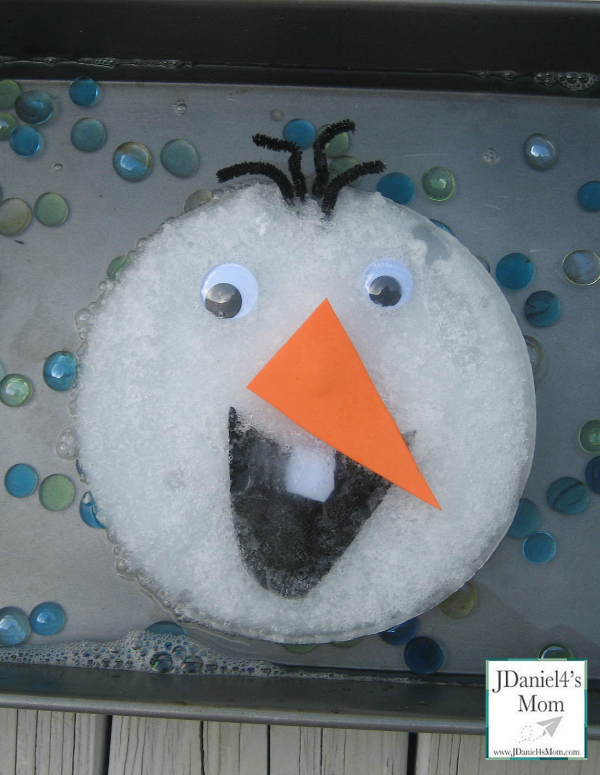
Last week I shared with you a Frozen Olaf cup craft for kids and you absolutely loved it! I decided to share another Frozen Olaf idea with you that features a sensory bin filled with Frozen Olaf himself and some really cool glass pebbles. Hope you love it too!
The goal of this sensory bin was to create a fun bin (hence having Frozen Olaf in it) that contained a wide variety of textures. The pipe cleaners, pebbles, Frozen Olaf’s eyes, and smile are all various textures. By place, an icy Olaf and cold water in the bin this activity explored temperature too. The water wasn’t super cold but was cold enough to keep Olaf frozen for a little while.
Would you like to make a Frozen Olaf for a sensory bin?
Let’s start with the supplies you will need. Here is what we used:
(For your convenience this post contains affiliate links)
- Sky Blue Fusible Pebbles( I got a bag at a dollar store.)
- Orange Foam Sheet
- Peel and Stick Wiggle Eyes
- Black cloth ( I cut up a reusable insulated bag from the grocery store.
- Black Chenille Stems
- Round cake pan
- Dish detergent
- Scissors
- Roasting Pan
Directions for Creating Frozen Olaf:
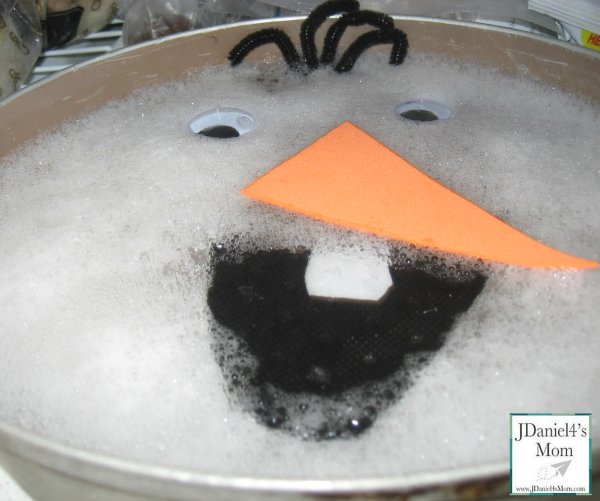
We started by placing cold water and some dish detergent in a round cake pan. It is the dish detergent that gave us the bubbly white look Frozen Olaf was going to need to look like a real snowman.
The cake pan with soap water was put in the freezer for about twenty minutes to get the ice to start to form.
While Frozen Olaf’s head was starting to freeze up, we cut a nose out of orange foam. (Foam can handle the wet. Construction paper would have started to disintegrate.) We also cut his smile out of a reusable insulated bag. Just under the black layer of cloth was batting. I was able to cut through the black fabric to create a tooth for Frozen Olaf. (If you can’t find a bag like that, you could use black foam for his mouth and white foam for his tooth.)
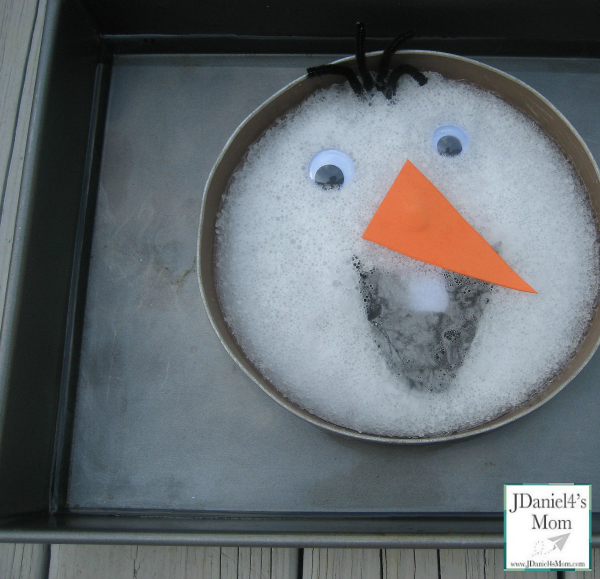
When soapy water in the cake pan looked slightly frozen, we placed his facial features on. They sank below the surface a little, but not by much. If your facial feature seem to be sinking a lot, you may want to take them off wait a few minutes more for the ice to freeze up before trying to add them again. We also added several sections of black pipe cleaner at the top for his hair.

Once the facial features were on, we added a little more soapy water to help hold them in place.
Then we waited overnight before taking Frozen Olaf out to play.
When we were ready to play, we put the round cake pan in a roasting pan with cool water and let it sit for a few minutes to loosen our icy creation up. It didn’t take long.

We lifted it gently up and put it into the water. I added cold water to the bin to make Frozen Olaf last longer.
Then we added the glass pebbles to the bin to give it a more frozen feel.

Exploring Frozen Olaf
I didn’t give any direction about how to explore this bin. It was just fun to feel, play, and explore. Children tend to build their own activities this way. For this activity self-direction worked well.
For more early learning activities you may want to explore my Early Learning Board.
Follow JDaniel4’s Mom’s board Early Learning on Pinterest.


I didn’t know you could freeze bubbles and they would keep their form. The soapy water looks just like a snowman when it’s frozen. Very cool!
what a great idea to add soap and freeze the soapy bubble water…
never would have thought of that…
Your Olaf is a fun handsome guy he is 🙂 Put it in our to-do list – thank you so much for sharing!
Cool idea with freezing soapy water! Thanks for sharing with After School Link Up!