This post contains affiliate links.
Pete the Cat was introduced to us in a Mommy and Me class when my son was little. The book had just come out. The librarian who taught the class was so excited about sharing it with us. When I was looking for Back to School themed books to share with you, two Pete the Cat books came to mind. Both Pete the Cat: Rocking in My School Shoes and Pete the Cat: Too Cool for School are fun Back to School books I am excited to share with you.
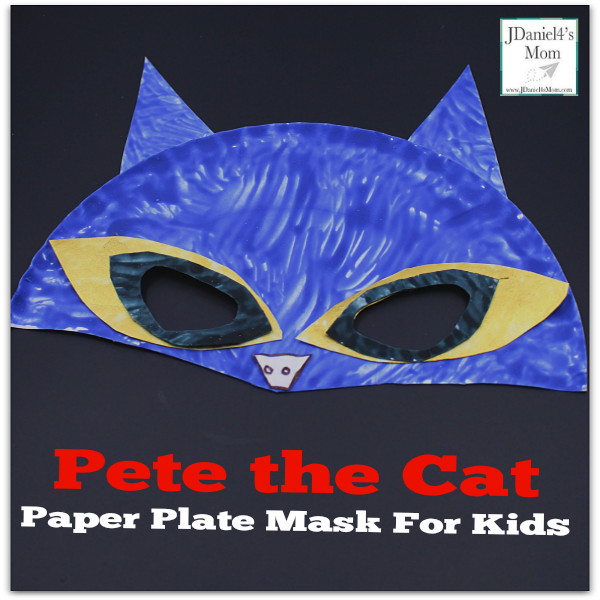
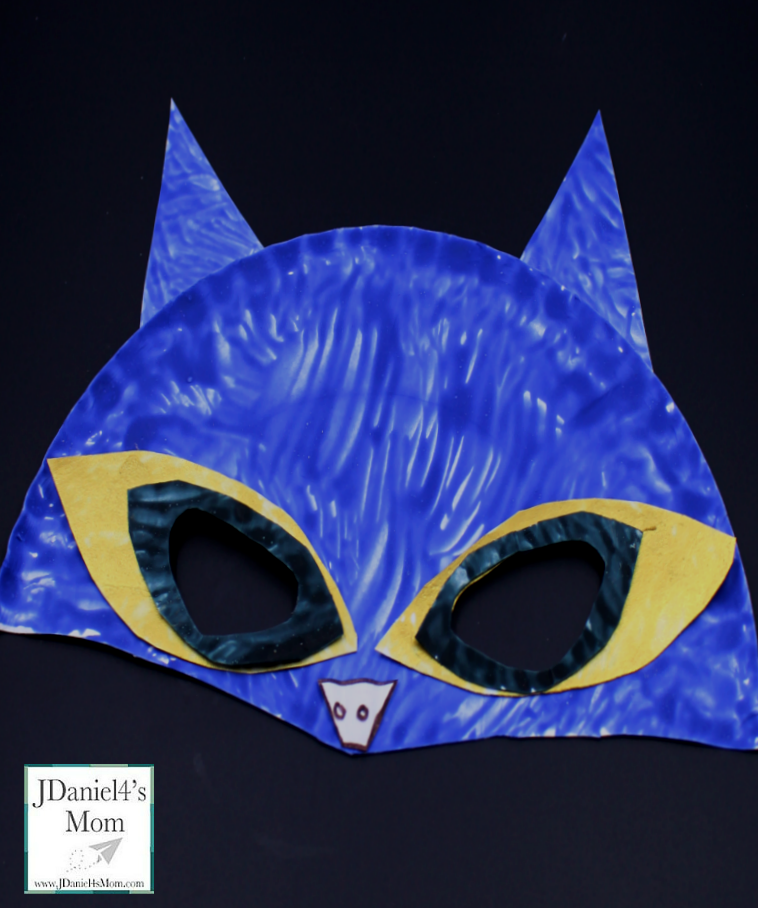
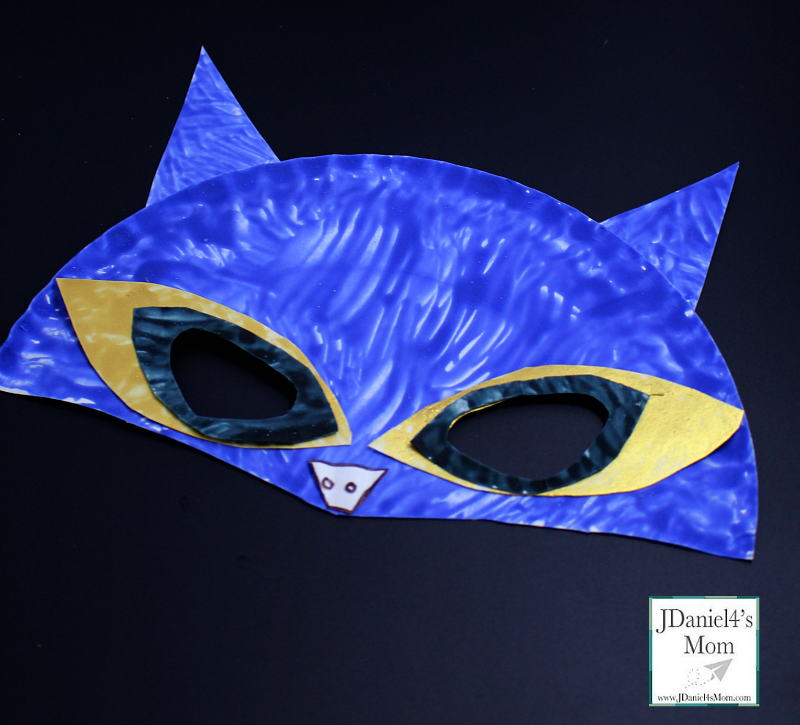
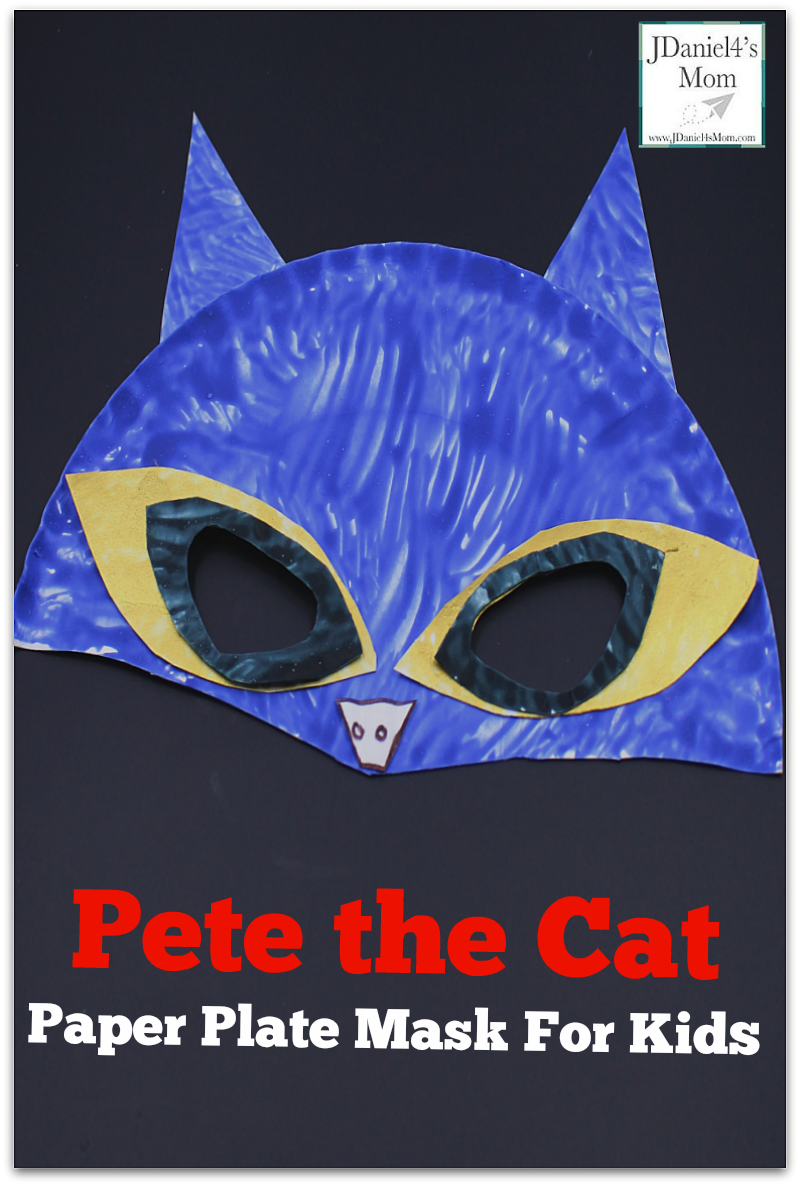
After reading one or both of the books to your children, I thought it would be fun to make a Pete paper plate mask. Last week I shared a few other paper plate masks. There was an If You Take a Mouse to School , a There Was an Old Lady, a Llama Llama and a Kissing Hand raccoon masks.
Making the Pete the Cat Mask
Supplies
- Paper Plates
- Scissors
- Blue, Gold, and Black Paint
- Glue Stick
- Plastic Fork
- Paint Brush
Directions for Cutting Out the Mask
First you will cut a paper plate in half. The top half of the plate will be the face portion of the mask. The bottom half of the plate will be used to cut out the ears and the nose. Next your will cut out the four almond shaped eyes sections out of half of a second plate. Two will cut smaller and they will be glued on top of the larger sections later on.
Once you have all of the mask pieces cut out of the paper plate, you will cut the eyes out of the face section. You will find it is easier to cut the eyes out before you paint. Then you will trace the shape of your eye holes onto four almond shaped sections. Next you will cut eye holes out.

Directions for Painting the Mask
You will start by painting the face section and the ears blue. We used a fork to paint those sections of our mask.
Then you will paint the large almond shaped eye sections gold. You can fork paint them or use a paintbrush.
Finally you will paint the small almond sections black.
The cat’s nose is white and so is the plate. You will not need need to paint the nose. You may want to outline the nose with black at the same time you are creating nostrils on it.

Final Mask Creation Steps
The final step is to glue each of the sections to the facial part of the mask. You can glue the ears anywhere on the top of the head that you like. The black eye section will be glued to the gold section. Then the gold section will be glued to the plate. If they eye holes don’t match up anymore, you can trim them a little.
If you make a mask, please share a picture of it on my Facebookpage.


