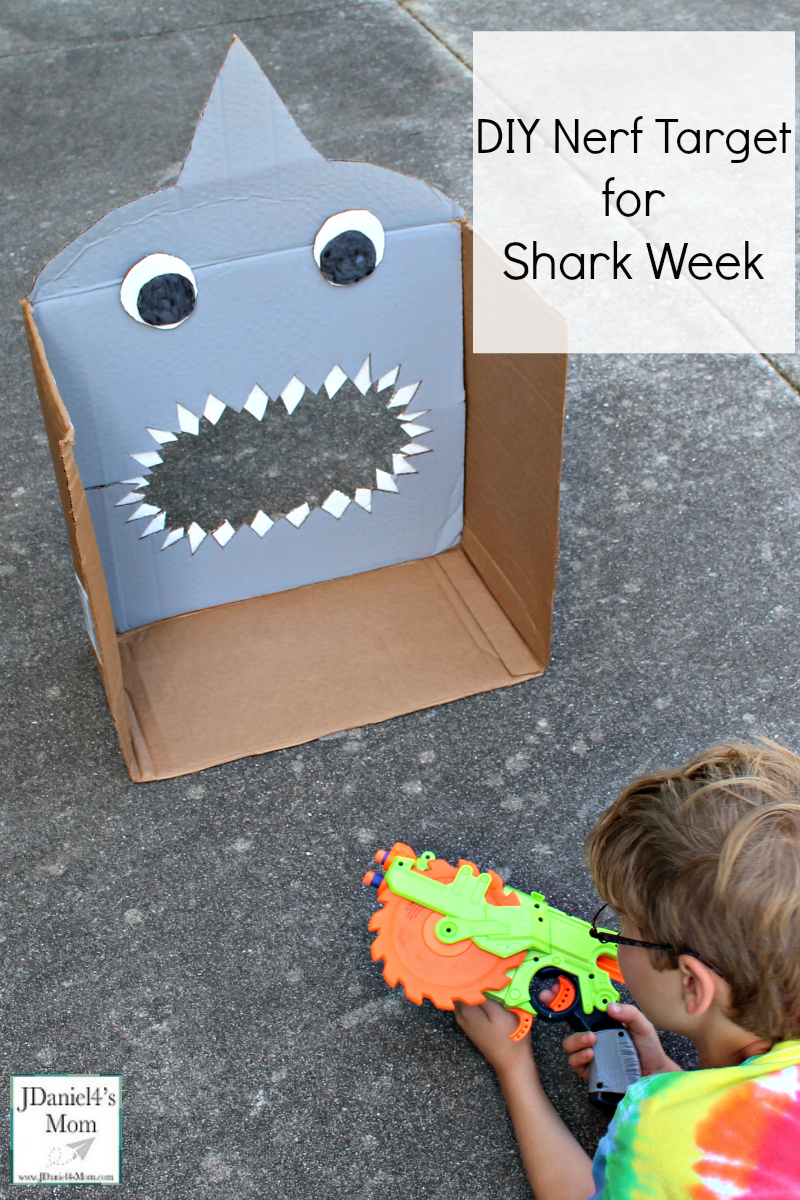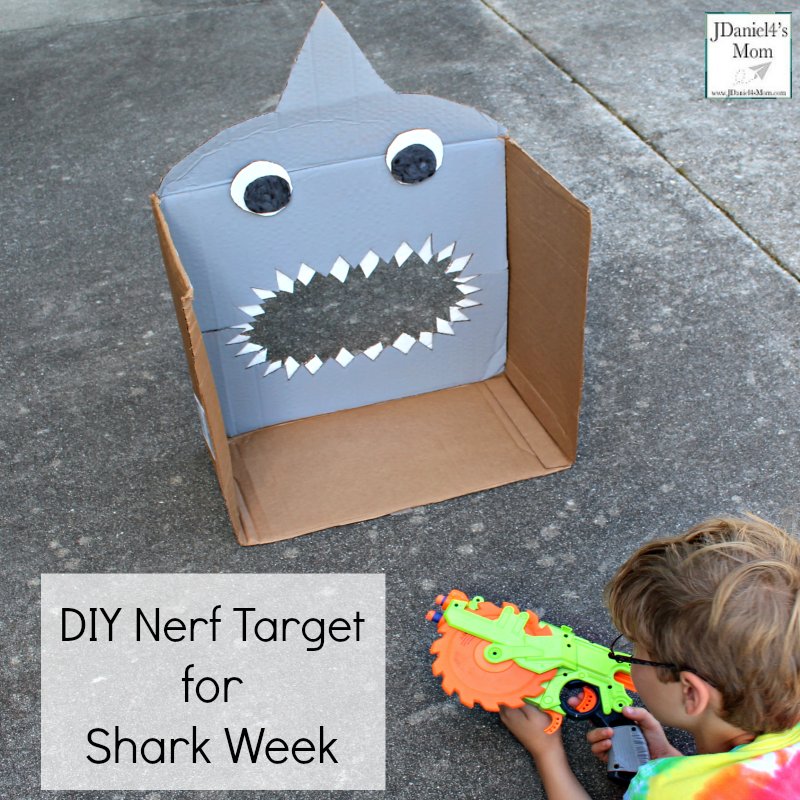
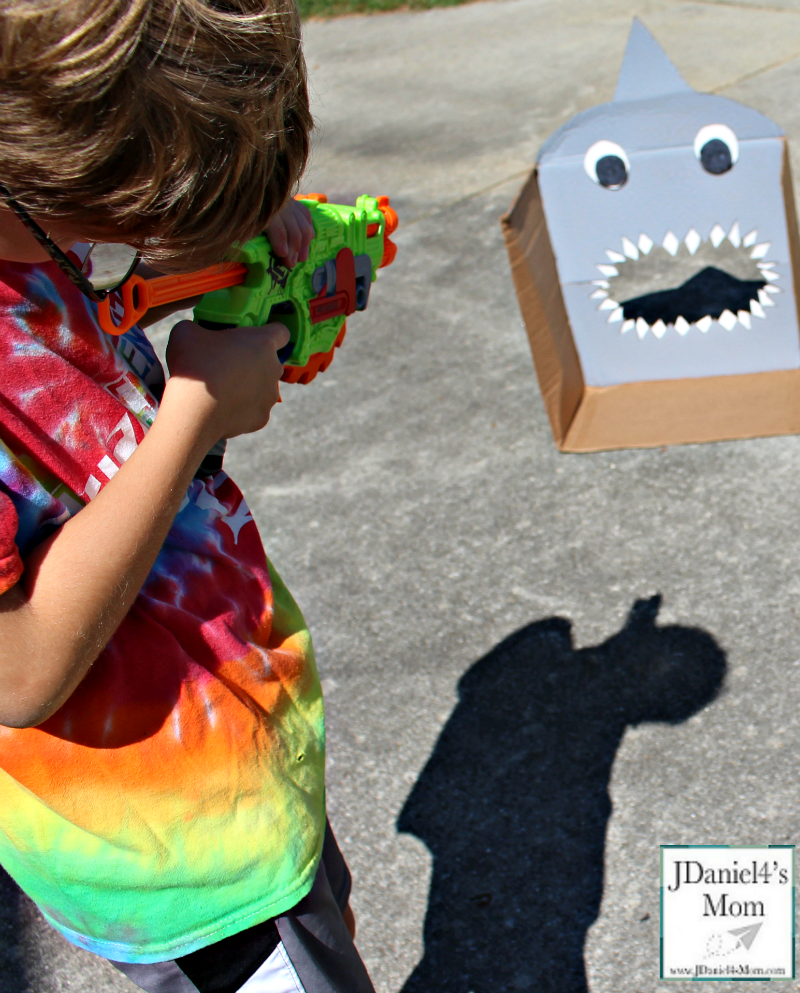
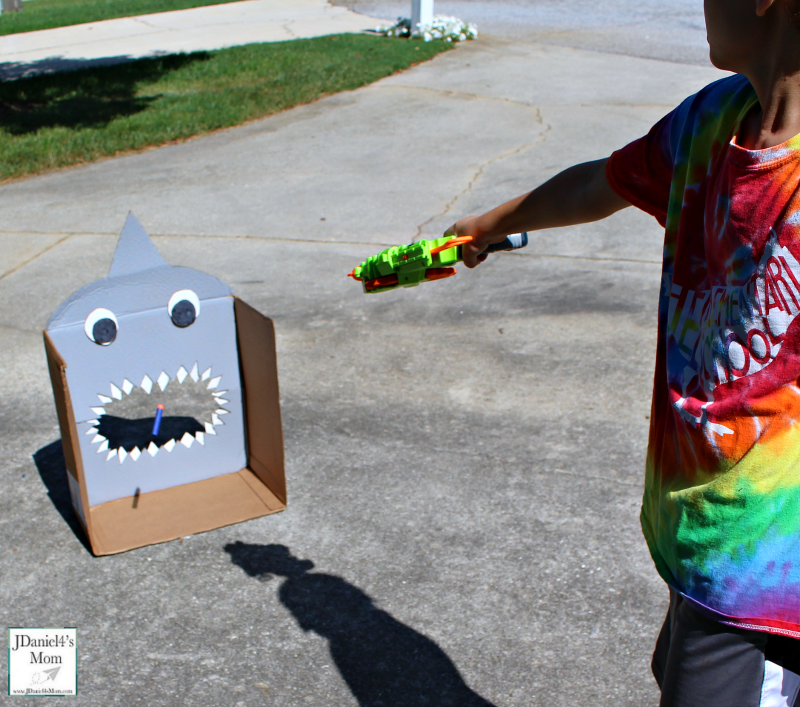
We have tons of Nerf guns at my house. My sister Shell has handed down at least twelve to JDaniel from his cousins! (Your children may have a number of them too.) While we have a number of guns, we don’t have a Nerf target. I thought it would be fun to make him a shark themed nerf target for Shark Week. If your kids need a nerf target, you can follow the directions below for creating your own shark target.
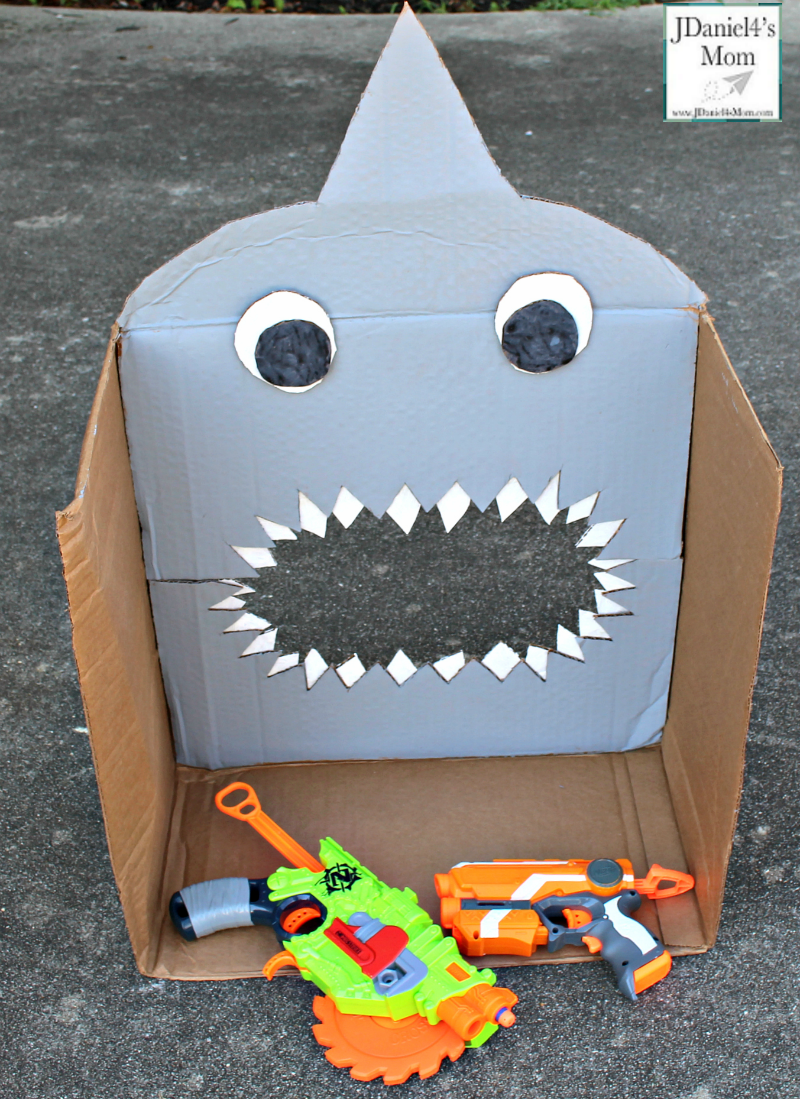
DIY Nerf Target for Shark Week
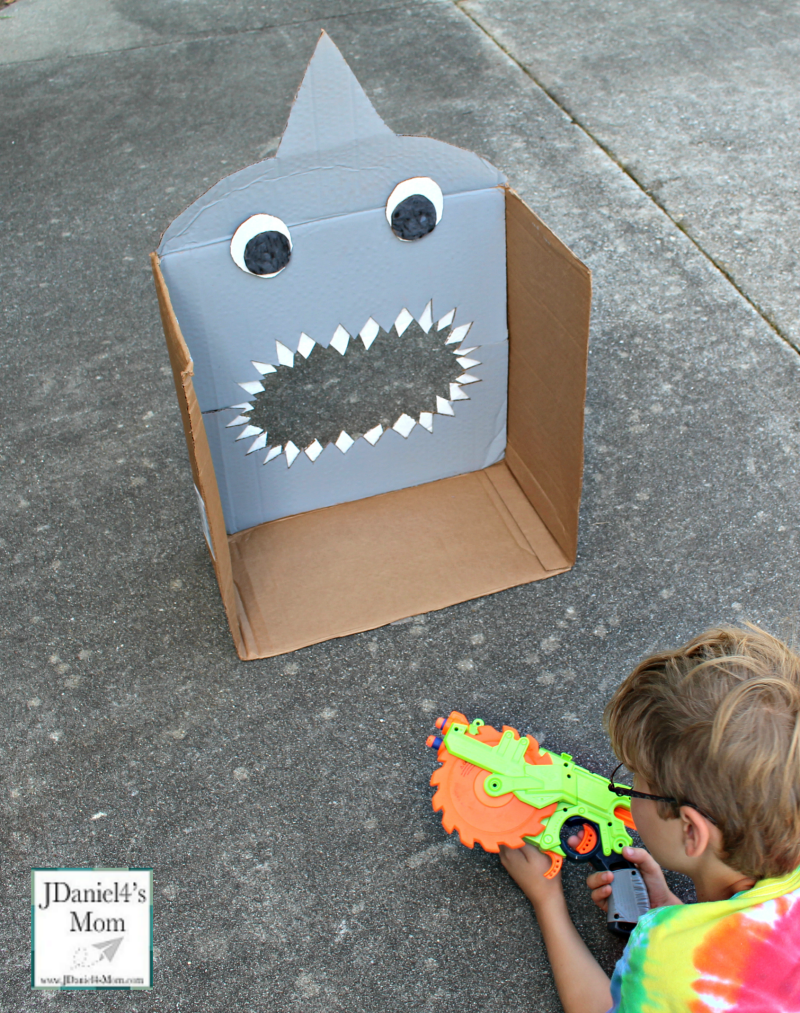
This target isn’t hard to put together. I put our shark target together in an afternoon.
Supplies
- Box 18 inches Tall and 10 inches Deep
- Gray Acrylic Paint
- White Acrylic Paint
- Ruler
- Scissors
- Paintbrush
- Duct Tape
- Three Wooden Paint Sticks
Creating the Nerf Target
Getting the Box Ready
The first thing you will need to do is cut off the two long flaps and one of the short flaps off the front of the box.
Then you will place the box face down and flip out the bottom flaps. If the flaps are not horizontal, turn the box so that they are.
Creating the Teeth
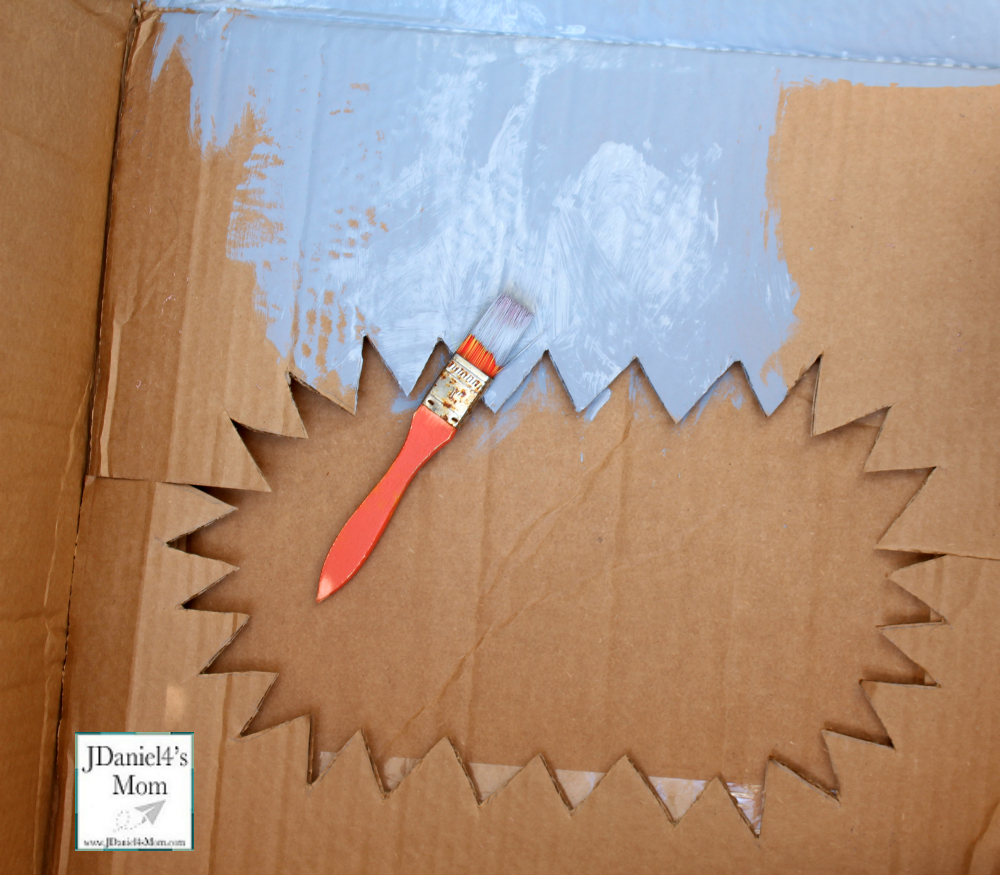
You will need to trace an arch on each of the flaps. You or children can then use a ruler to add triangular teeth to the arch that are about an inch and half long.
Next, you will cut out the teeth that you have drawn on both flaps.
Finally, you will count the number of tooth slots you have cut out. You will need to cut out enough diamond shaped cardboard pieces to fill each of the tooth slots.
Making the Eyes
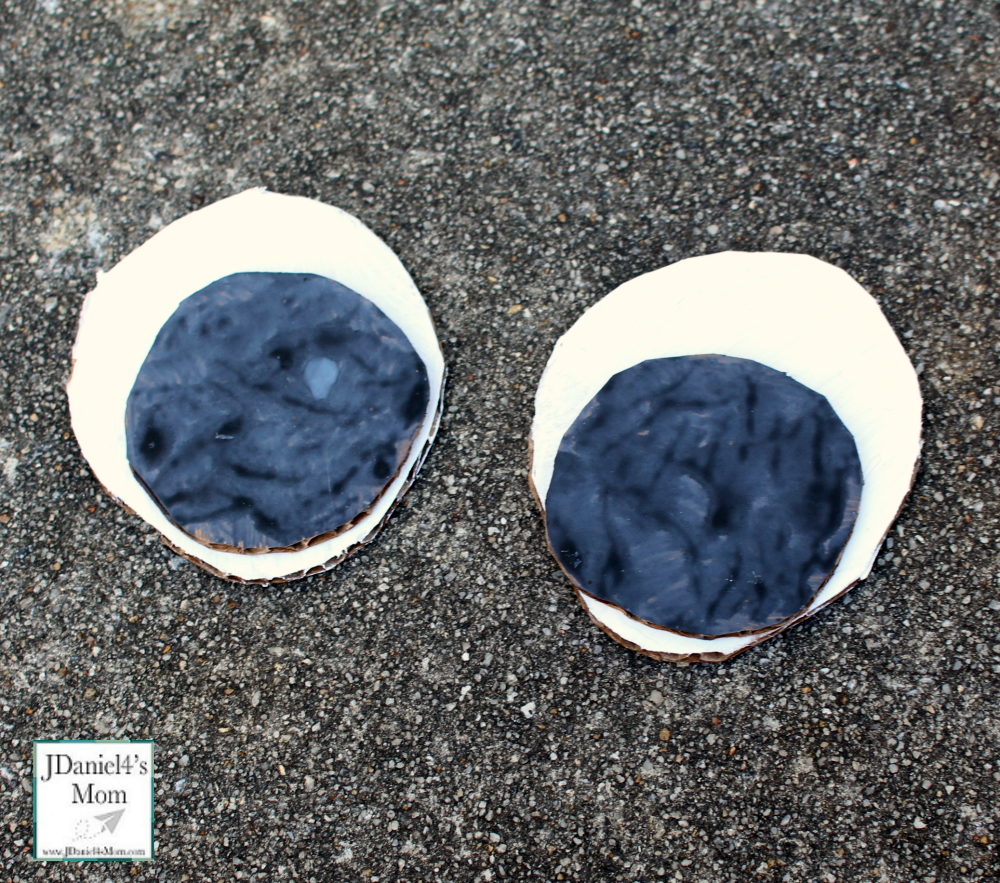
You will need to trace two large ovals and two medium sized circles onto some of the cardboard you have cut away. They will be used for the shark’s eyes.
Making the Shark’s Fin
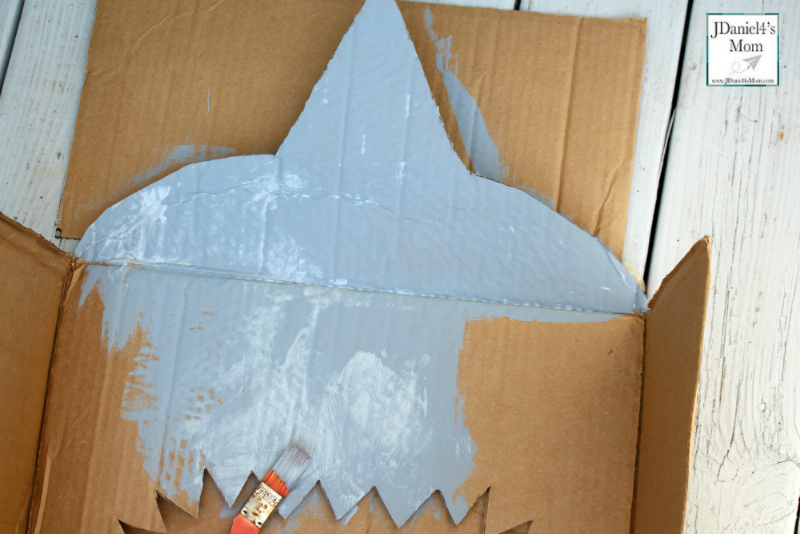
Now it is time to make the shark fin for the top of the shark’s head. You will start by tracing a half circle on side of the box that will be the top of the shark. The half circle will need to be on the side of the box that remains attached to the box. Then draw a triangle sticking out of the top of the circle. The point should reach up to the open edge of the box.
Then you can cut the edges of the triangle that lead to the point and the rounded part of the half circle.
Painting
You will need to paint the mouth area flaps inside the box and the shark fin area gray.
The shark’s teeth and outer eye ovals need to be painted white. The inner eye circles need to be painted black.
Gluing Time
You will need to glue the shark’s teeth and it eyes in place with strong glue.
Adding Support
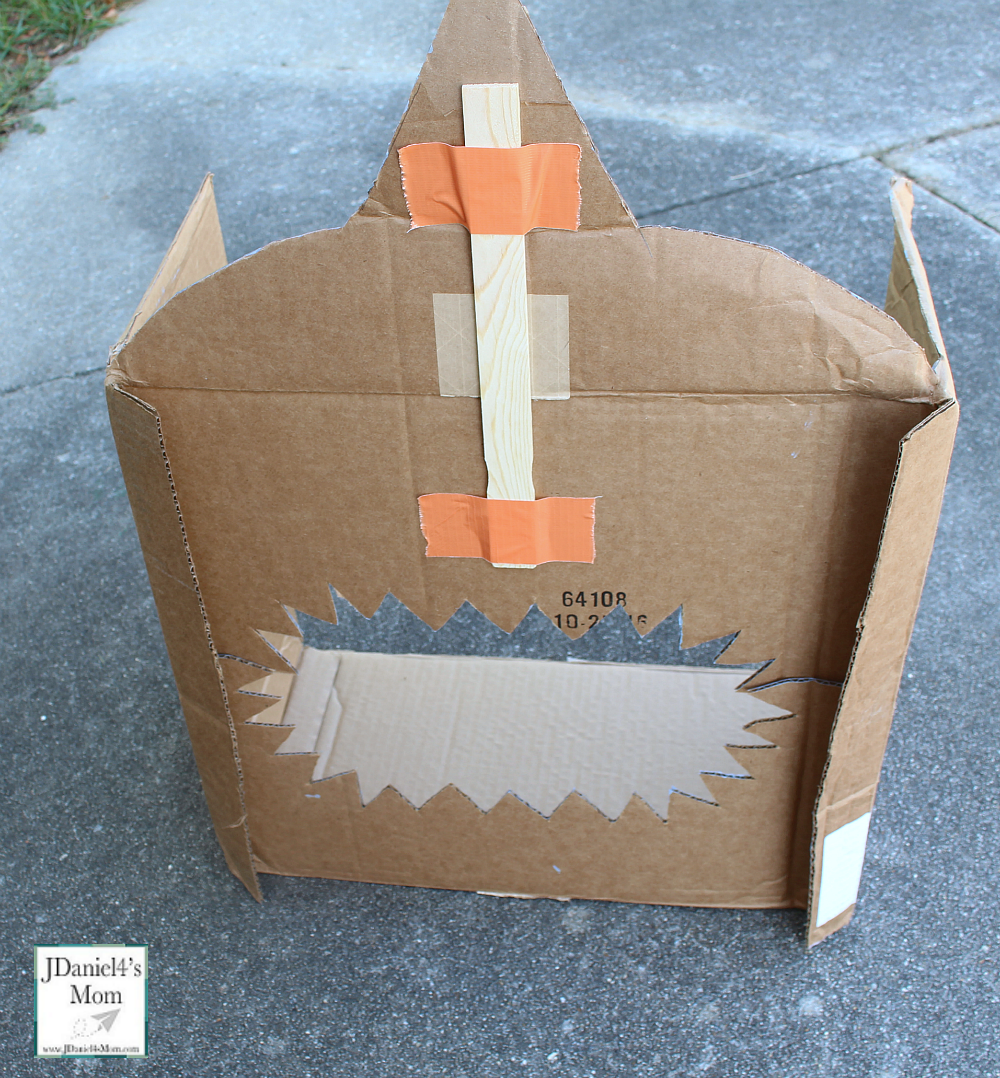
You can duct tape a paint stick behind the shark’s fin to help it stand up straight. You can also place a paint sticks behind the shark’s jaws to help the jaw sections stay together and give them support.
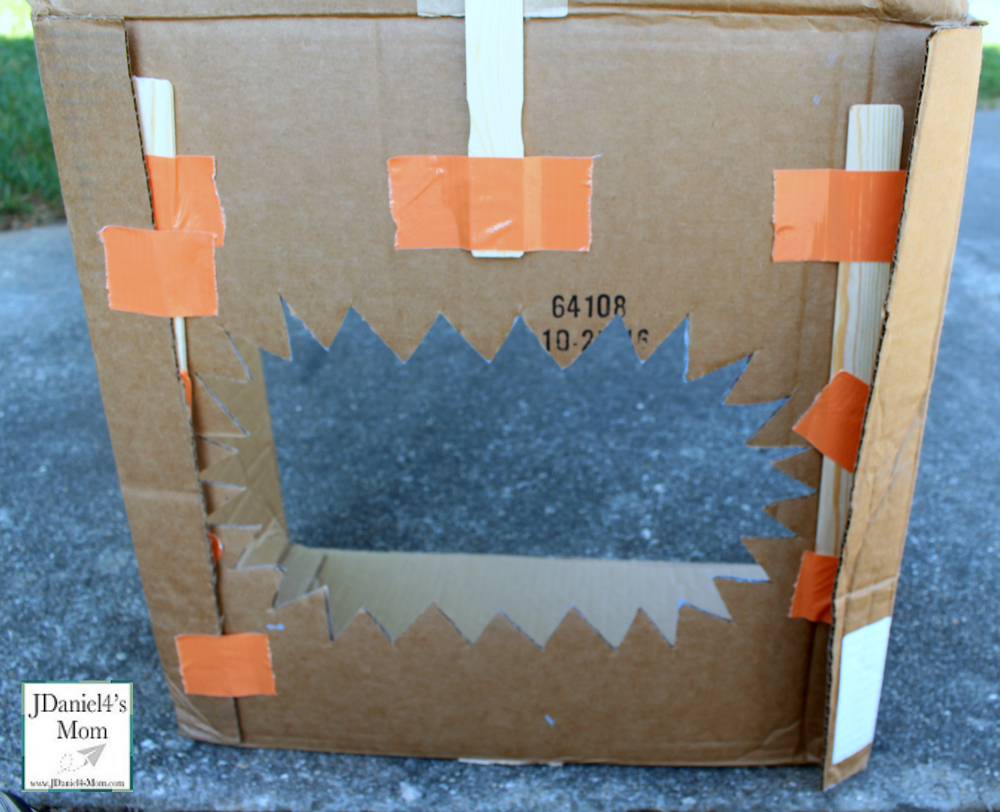
Then you will be ready to have your children play with it!
If you like this Shark Week activity, here are some more you are going to love!
STEM Activity-How Do Sharks Float?
