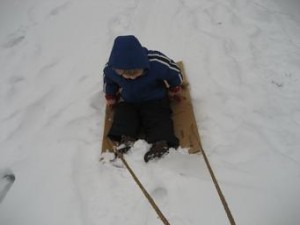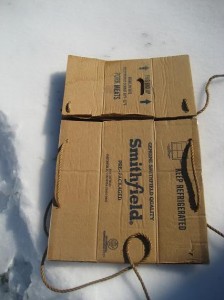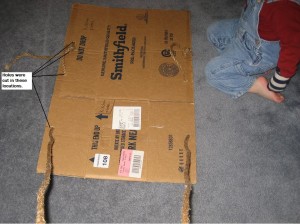
- 4 or 5 feet of rope or clothesline
- A cardboard box
- A pencil
- A yardstick

Directions:
-
- Fold a cardboard box flat (Having 2 layers adds strength to the sled)
- Using a yardstick mark seven inches from the front of the box on the left and right sides with a pencil. (This will be where the rope enters the sled from the handle.)
- Using a yardstick mark seventeen inches from the front of the box on the left and right sides with a pencil. (This will where the handle begins.)
- Using a yardstick mark twenty-two inches from the front of the box on the left and right sides with a pencil. (This will be where the handle ends.)
- Using a yardstick mark twenty-four inches from the front of the box on the left and right sides with a pencil. (This will be where the rope comes back up from the underside of the sled so that it doesn’t drag and slow the sled down.

- Using a knife or scissors carve a hole of about two inches just inside each of the marks.
- Fold the rope in half in front of the sled to ensure you will have the same amount of rope threaded through both sides of the cardboard.
- Beginning on the left-hand side thread the rope down through the first hole.
- Thread the rope up through the second hole and then down through the third. Leave enough of the rope sticking up between the second and third holes to create a handle.
- Thread the rope up through the fourth hole and tie a loose knot to keep the rope in place.
- Repeat steps 8-10 on the right side of the sled.
- Adjust the tension of the rope under the sled to keep the rope as tight on under section as possible while still having comfortable handles and enough rope for the handle to pull.
- Tighten the knots above the fourth holes when the rope is as you would like it.

This post is linked to ABC and 123: Show and Tell and Show and Tell Saturday.


