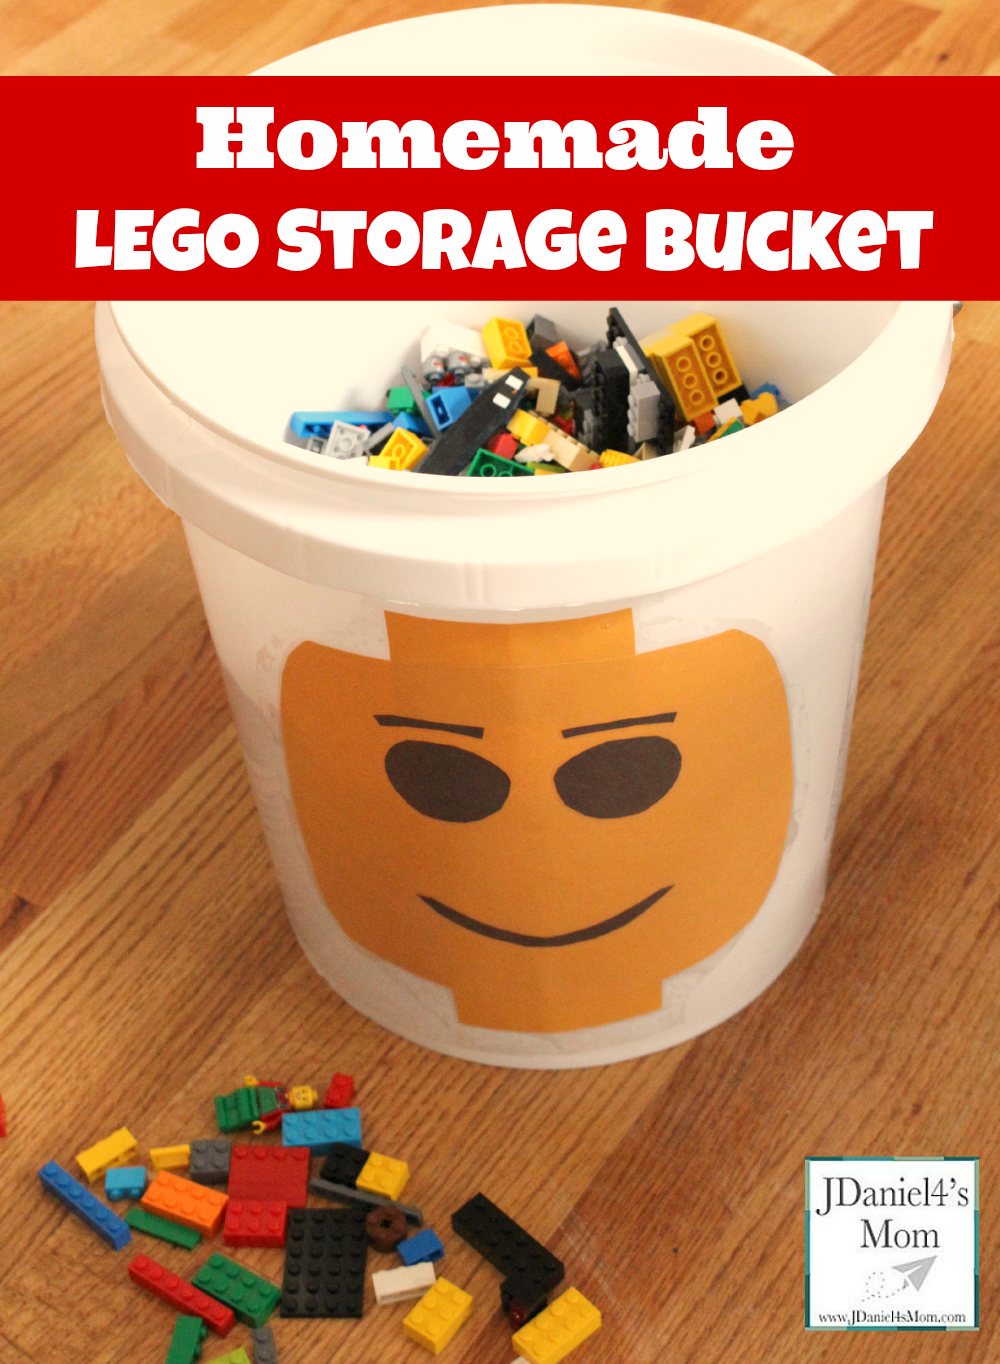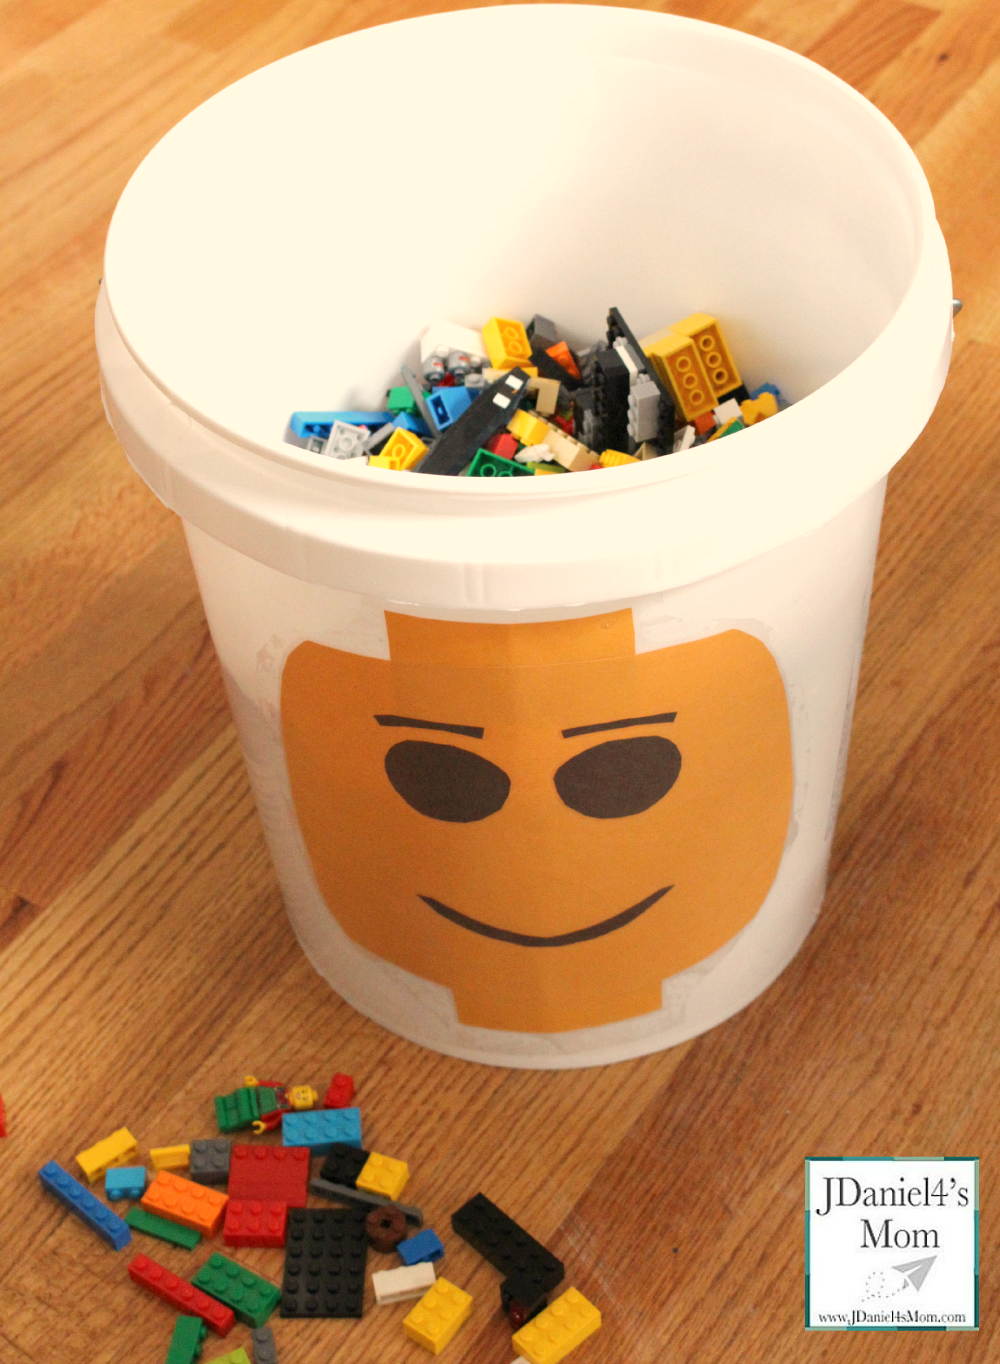
JDaniel has gone huge into LEGOS which is great! He has lots of LEGOS which is fun! We have used them to work on math activities like graphing and geometry as well as building. The only problem we have had is with LEGO storage. We have tried several different types of containers.
We initially had them in a great tote that used to house JDaniel’s bath toys. It was super easy to dig through them and move them from place to place. When we were putting them away, some of them ended up in the space created for the handle. When we lifted up the tote, we would have a few more LEGOS to put away. We will still use it when he is building but we needed something else.
The LEGOS storage for our family needed to be portable and super easy to put the LEGOS into with a lid. While visiting a big box store recently, we walked by a selection of paint buckets. They had them in all different colors. I stopped and gave the collection a second look. My brain started spinning through all the benefits of using a paint bucket for storage.
- A paint bucket would be easily to tip on its side and slide LEGOS into.
- It is easy to carry.
- The bucket had a lid.
- It could be decorated with a LEGO symbol or character.
We grabbed a bucket, a lid (Did you know you have to buy them separately.) and some contact paper. Once we were home I dug out a few more supplies and started on the project.
Supplies Used for the LEGO Storage Bucket
While paint bucket
Yellow mailing envelope
Black construction paper
Glue stick
Clear contact paper
Yep! That is all we needed.

How we put the LEGO Storage Bucket together:
We started by cutting a LEGO head shape out of the front of the envelope. Then two connector rectangles for the top and bottom of the LEGO head were cut out the back on the envelope. With all the pieces cut out, we glued them together.
Then we cut out a mouth, two eyes and two eyebrows out of the black construction paper. We went with a traditional LEGO head’s facial features. You may want to Google LEGO character heads and check out the wide variety of mouth and eyes the character can have. You may decide you want something more unique or funky.
With the facial pieces cut out, we glued them into place on the head. (If I had to do it again, I would move the eyes down a little.)
The completed LEGO head was laid face down onto the sticky side of a piece of clear contact paper. I chose to trim the contact paper so it mimicked the outline of the head rather than you a square of contact paper.
Finally the contact paper was placed sticky side down onto the bucket. Viola! We had a super cute LEGO storage container that we could more and use easily.

If you have a LEGO storage idea , please leave me a comment below telling me about it or share a picture of it on my Facebook page.


