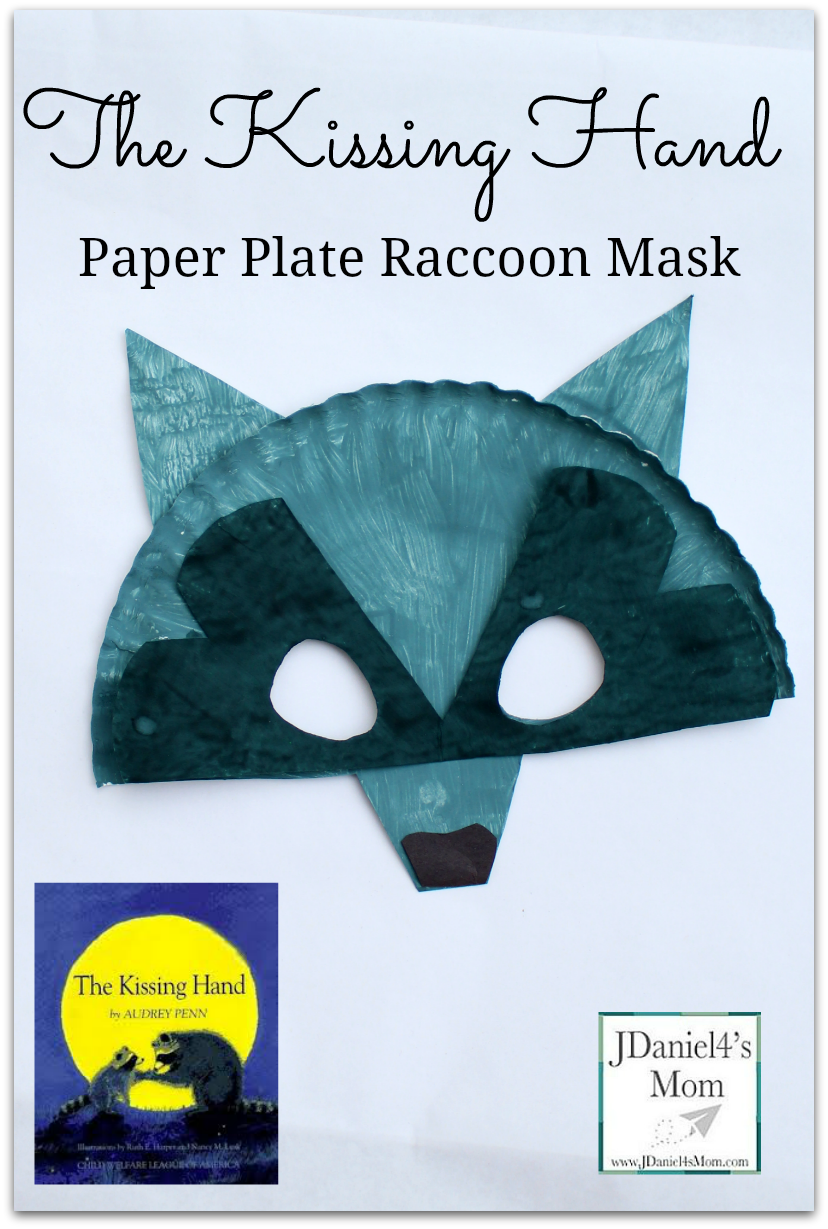
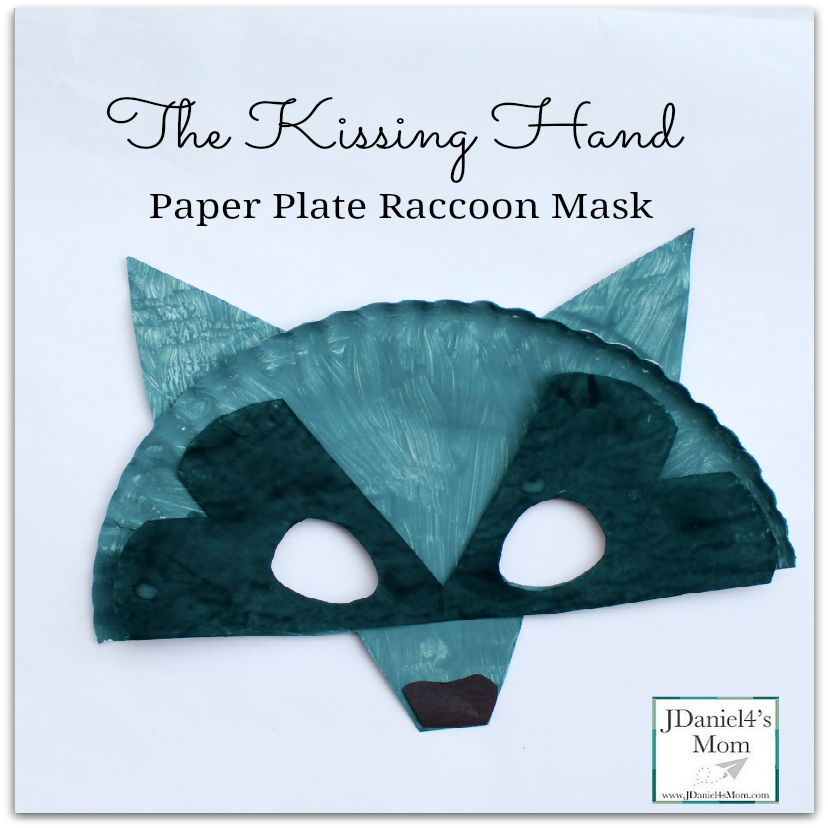
Paper plate masks are fun to create after reading favorite books like Brown Bear, Brown Bear What Do You See? My son’s preschool teacher read his class the book The Kissing Hand at the beginning of the school year. It has been a favorite book ever since then. I love how Mrs. Raccoon helps her son remember he is loved even when they are apart. When he is a school and he feels lonely at school, all he has to do is press his hand to his cheek to feel the warmth of his mother’s kiss. I thought is would be fun to make Chester paper plate mask after reading the book The Kissing Hand.
Creating The Kissing Hand Raccoon Mask
Supplies
- Crayol Black Kids Paint or a Mixture ofCrayola 3 Count Neutral Color Set
- Black Paint
- Paper Plate (Dinner Plate Sized)
- Scissors
- Glue Stick
Putting The Kissing Hand Mask Together
The paper plate mask was designed to not cover a child’s whole face. Some kids just don’t like their whole face covered. I will share with your several ways that kids can hold or wear their mask too. Some kids don’t actually want to wear their masks.
Step One- Cutting Out the Mask
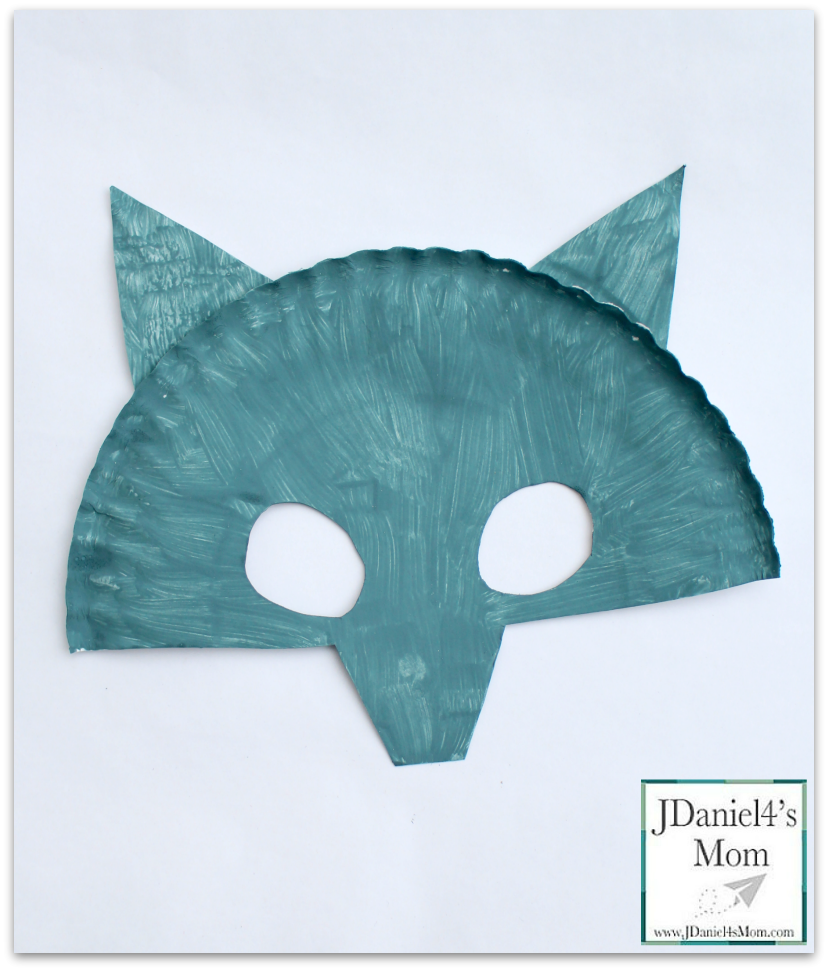
We started by cutting a paper plate in half horizontally. Actually we didn’t cut the plate all the way across. We did cut a nose spot in the center of the plate. Then we cut two eye holes. Two ears were cut out of the paper plate scraps.
The raccoon’s mask was cut out of a second paper plate. The outside edges of the mask cut in hear shapes. The raccoon in The Kissing Hand has heart shaped memory of his mom’s kiss on his palm. The Chester mask needed a heart shaped mask.
We made sure the eye holes in the face and mask lined up. We didn’t want to make it hard to see out of the mask.
Step Two- Painting the Mask
Once you have the mask sections cut out, it is time to paint. We used a mixture of white and black paint to pain the raccoon’s face and ears. (I tried to use the paint we had on hand at home.)
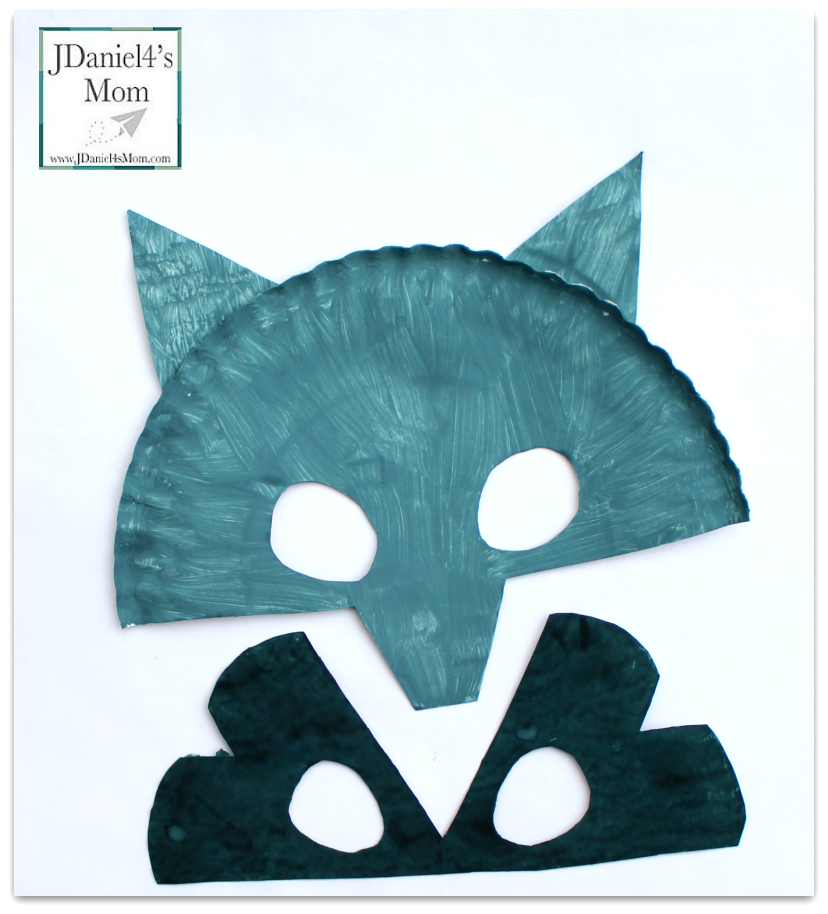
The mask was painted black. I confess that one of us had a little gray still on our brush. The mask ended up with a few gray highlights.
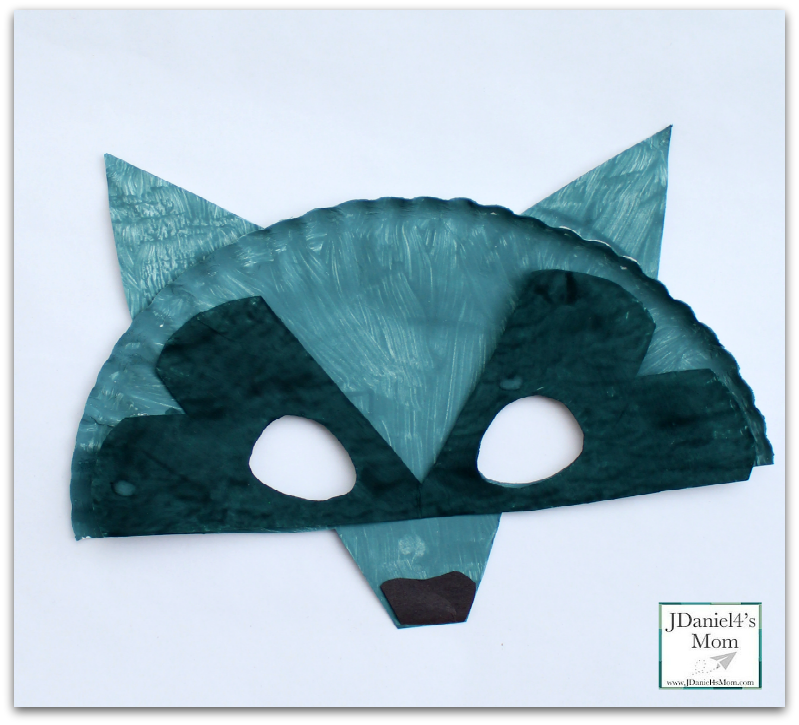
Step Three- Finishing Touches
- You could just hold the mask with one or two of your hands if you like.
- You could punch holes on each of the side. Then attach string to each side through the holes. Finally you would tie the string in the back of your child’s head.
- You could staple twine to each of the sides and tie the twine behind your child’s head.
- You could glue a tongue depressor to back on the mask on one side. Kid’s can hold the mask over their face by the tongue depressor.
More Back to School Activities


