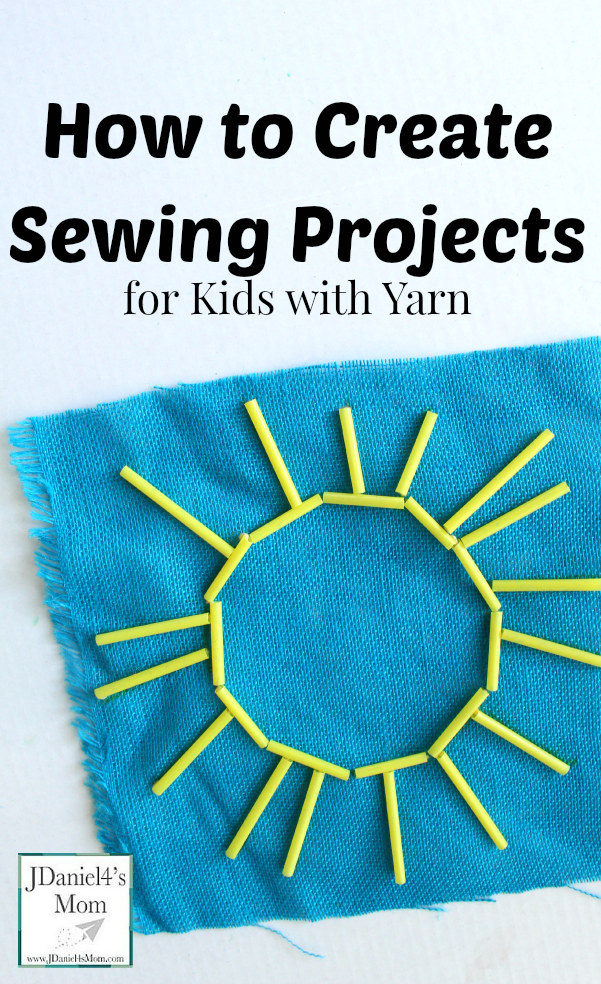
Sewing projects for kids give them the opportunity to work on their fine motor skills and create. While you can buy sewing project kits for your kids, it is super easy to create sewing project for your kids. All you need are few craft supplies and your imagination.
Here are the supplies you will need to replicate the project we did:
- burlap cloth
- yarn
- drinking straws cut into 2 inch lengths
- a pipe cleaner
- magic markers
- ruler
- plastic bowl
Steps for Creating a Sewing Projects for Kids
First you will need to think through the theme of your sewing project. I went with a summer sun. You could focus on your children’s favorite character, food, or sport.
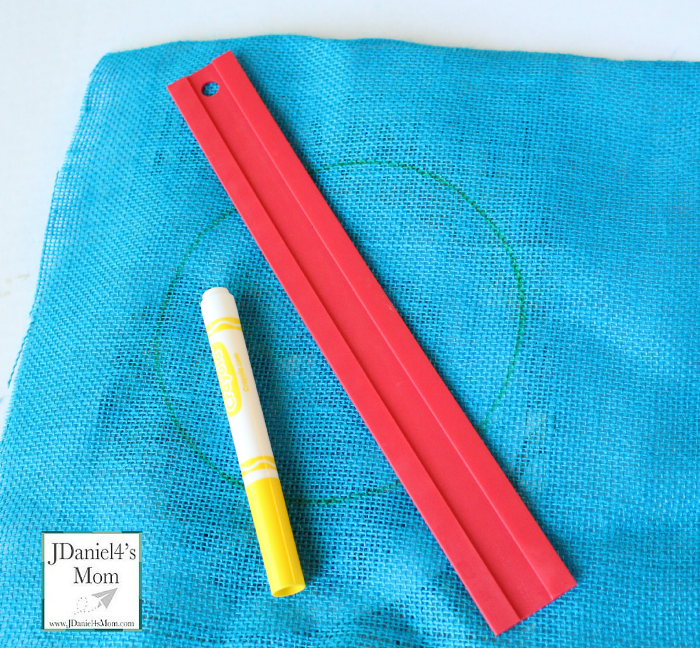
Next you will need to draw the design your children will sew over. I created a sun by tracing a bowl and making rays with a ruler. You could trace cookie cutters or a cardboard cut out of a object that illustrates your theme. I traced the bowl and ruler with a marker that was color that would be easy to see. I tried to select a color that wouldn’t stand out too much if my son’s stitches wandered away from the hand drawn design. (Your magic marker design isn’t really what you want people to notice on sewing projects for kids
Hint: While you could create multiple objects for your sewing project, if you children are just learning to sew you may want to keep it simple.
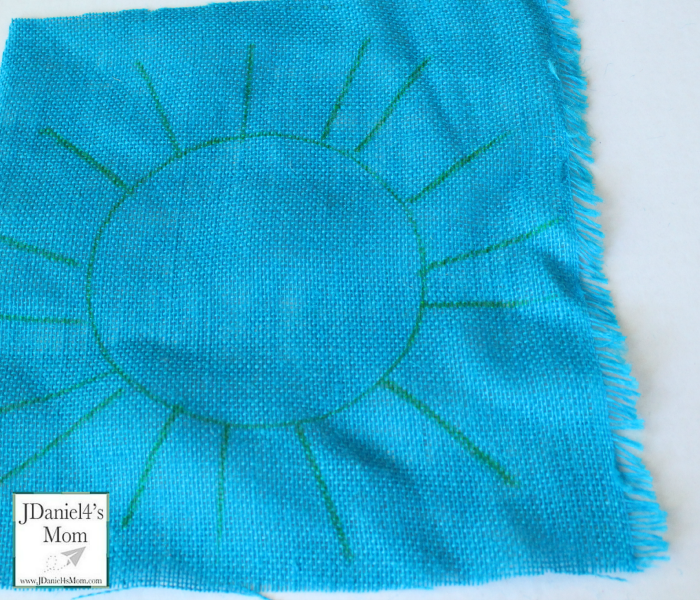
Actually Doing the Sewing Projects For Kids
We could have simply sewn right on the drawing. If I were working on this project with younger children, I would have. My son is heading into second grade so I added threading a straw onto the yarn to our project.
First you will need to tie a knot at the end of three feet of yarn. If you would like your children to work with smaller lengths of yarn you can. (You may need to add more yarn as you go along.)
We used a pipe cleaner instead of a plastic needle. I thought it would be safer. Here is how we used it. We wrapped the end of yarn without the knot around the center three inch long section of pipe cleaner. Next we wrapped one of the ends up tightly against the yarn to hold it in place. (We didn’t just fold it up. It would have made the pipe cleaner hard to pull through the cloth.)
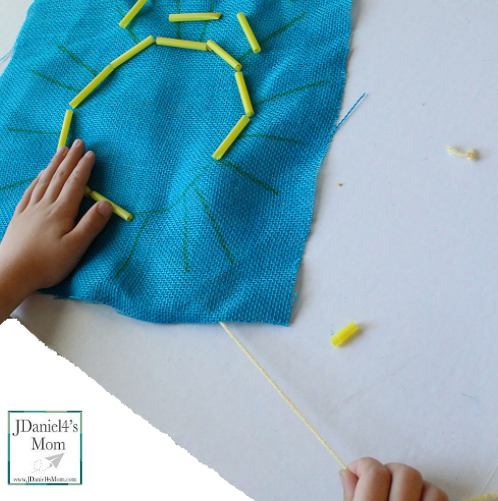
Now you are ready to have your kids start sewing. They can ecide where you want to start sewing and then push the pipe cleaner needle up from the back of your project through a hole in the burlap at that spot.
Once you have the yarn on the top of your project, you will thread a straw on the yarn. Then you will pull your needle down through the nearest hole in the burlap that is part of your design.
You will continue this process until you have completely sewn over your design. (If you run out of yarn, you can always tie on more year. You will want to make sure the knot stays on the backside of your design.) When you are done, you will tie a know it your yarn close to the burlap. Then cut of the rest of the extra yarn.
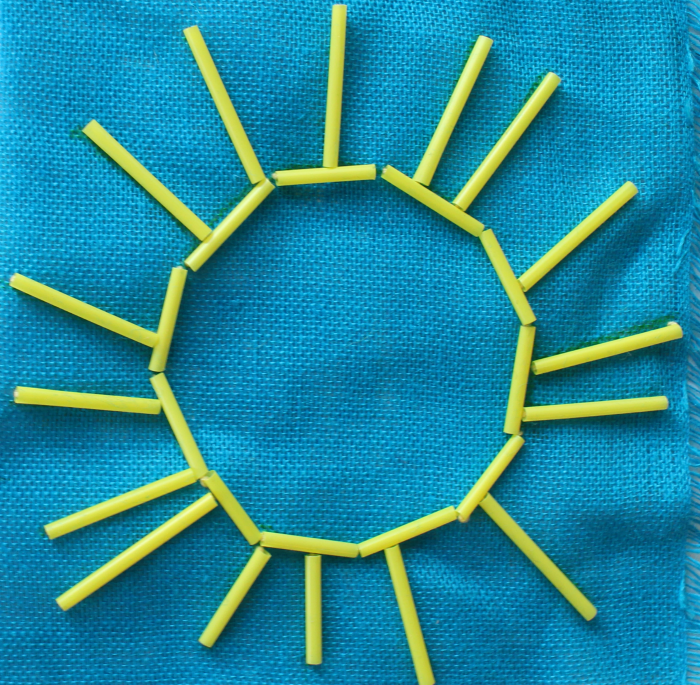
If your burlap has jagged or frayed edges like ours did, you can cut the off to make it neat or create a frame to tape your design behind. The frame will take the jagged edges out of view. Sometimes the backsides of sewing projects for kids get really messy. You may want to glue your finished project to a piece of cardboard.
Here are some other wonderful Craft Closet Boredom Busters:
How to Make a Minion Puzzle with Craft Sticks by me
Craft Stick Exploding Boomerangs from I Can Teach My Child
How to Make Balloon Yo-Yos by Frugal Fun for Boys
Newspaper Engineering from The Educator’s Spin On It
If you create a sewing project for your children, please share a picture of it with me on Facebook.


