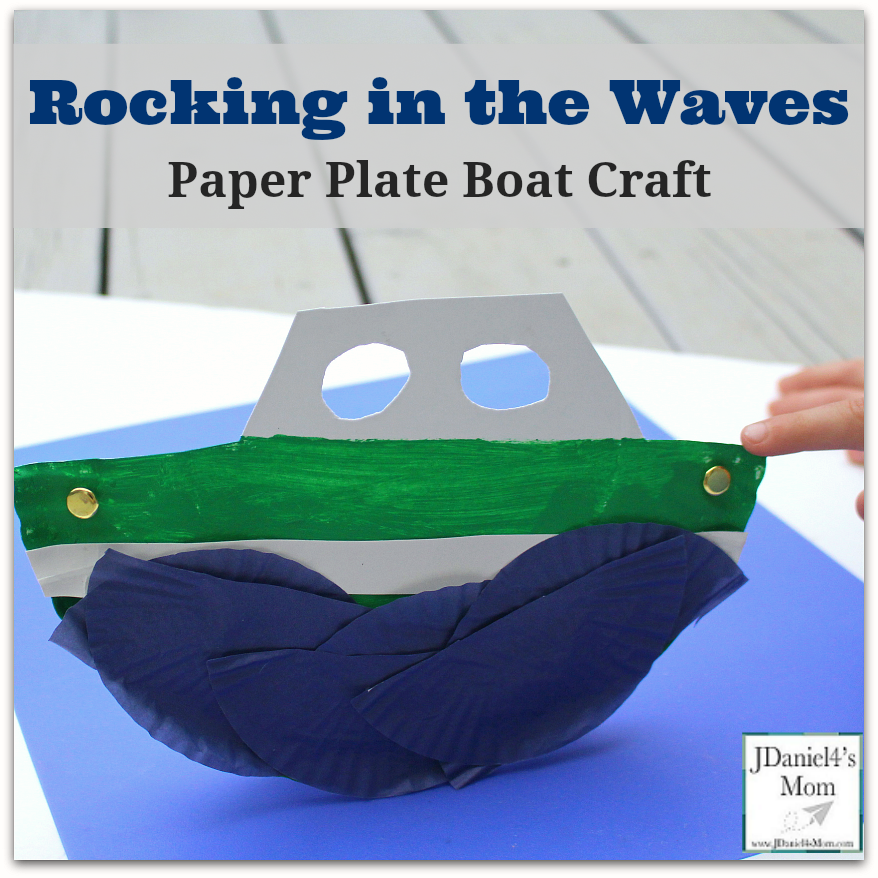
This week we have explored several boat activities. We started the week with a post on How to Make a Recycled Boat. Yesterday I shared how we made two tin foil boats for the penny challenge. Today I have a boat craft for you!
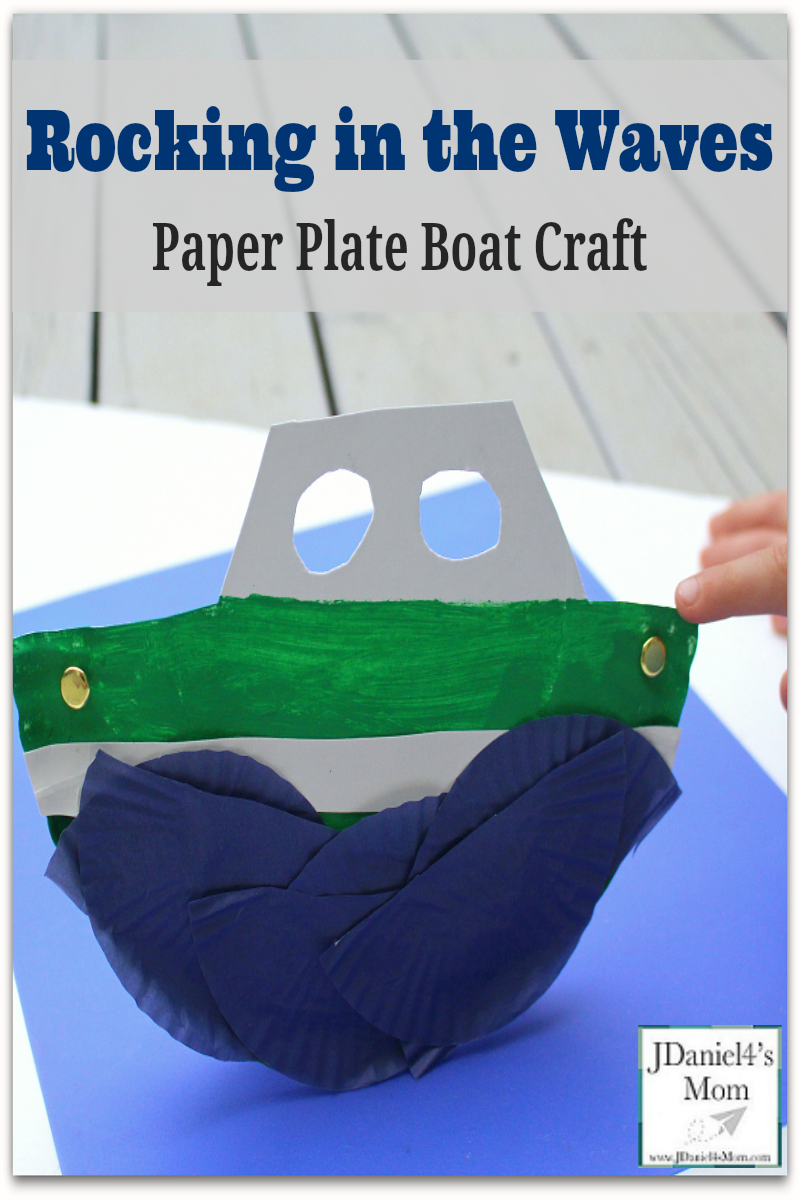
This fun paper plate boat with waves rocks back and forth. Kids will love watching it move in the waves!
Boat Craft
Craft Supplies
- Two paper plates per child
- Scissors
- Glue stick
- Blue muffin cups
- Green Paint
- Two brass fasteners per child
Putting the Boat Craft Together
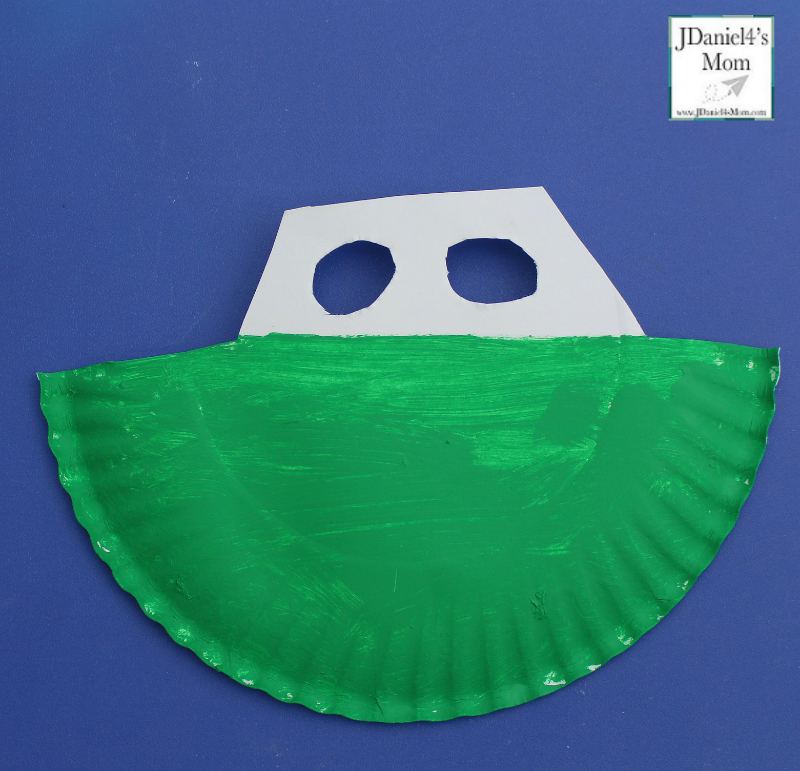
You need to start by cutting the boat shape out of one paper plate. The other paper plate you will cut in half.
You can create a more elaborate boat shape if you like. You could just cut out a window and the sides of the boat. We cut out circular cut-outs. We thought they made the windows more boat like. If you like the rectangular window, that would look great too.
After cutting out the boat, you need to paint the area below the window a bright color on the back of the plate. We painted out boat green! If you want to keep your kids from accidentally painting the top of the boat, you can cover it up.

When the paint is dry, you can add stripes or other decorations to the boat. We cut a strip out of the unused half of the second paper plate to make a stripe.
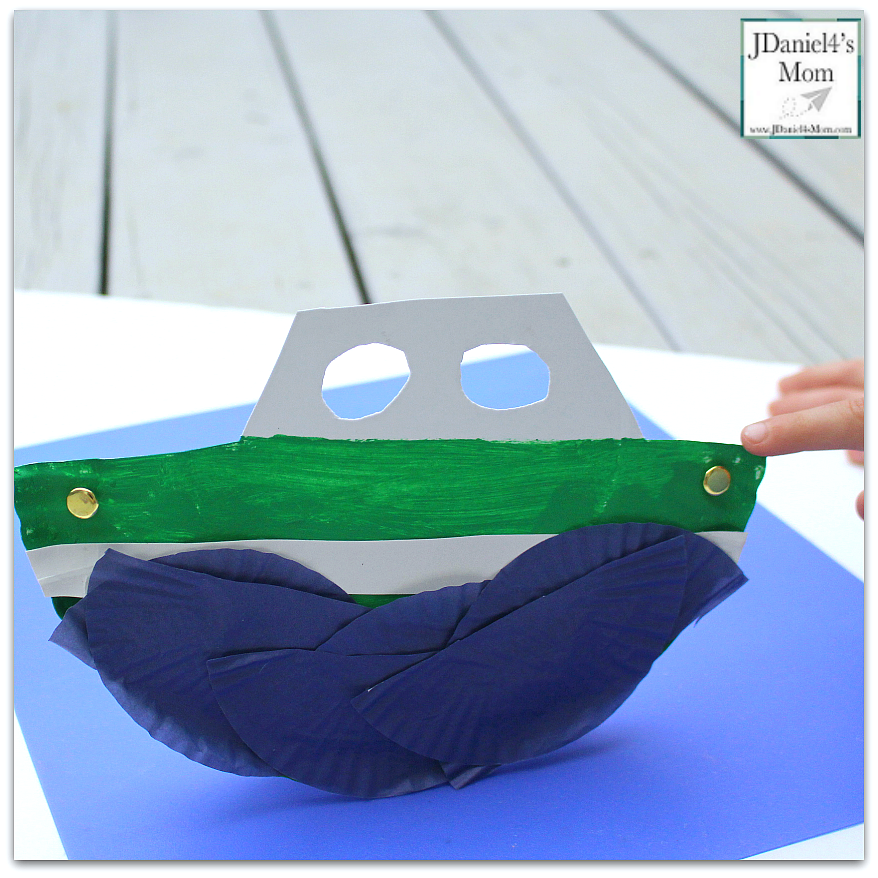
After adding the stripe or decorations, it is time to add the waves. Cupcake liners cut in half were glued facing up and facing down onto the boat. You can glue them on any way that you like.
Finally. the two paper plates will be joined at the bow (front) and stern (back) with brass fasteners when you are done painting and gluing.The backs of the plates should both be facing out. It will make the boat easier to rock!

Now it is time to rock your boats. We found that the boat rocked well on all kinds of surfaces.
Here are more paper plate crafts you will love:
STEM Gardening- Paper Plate Greenhouse


