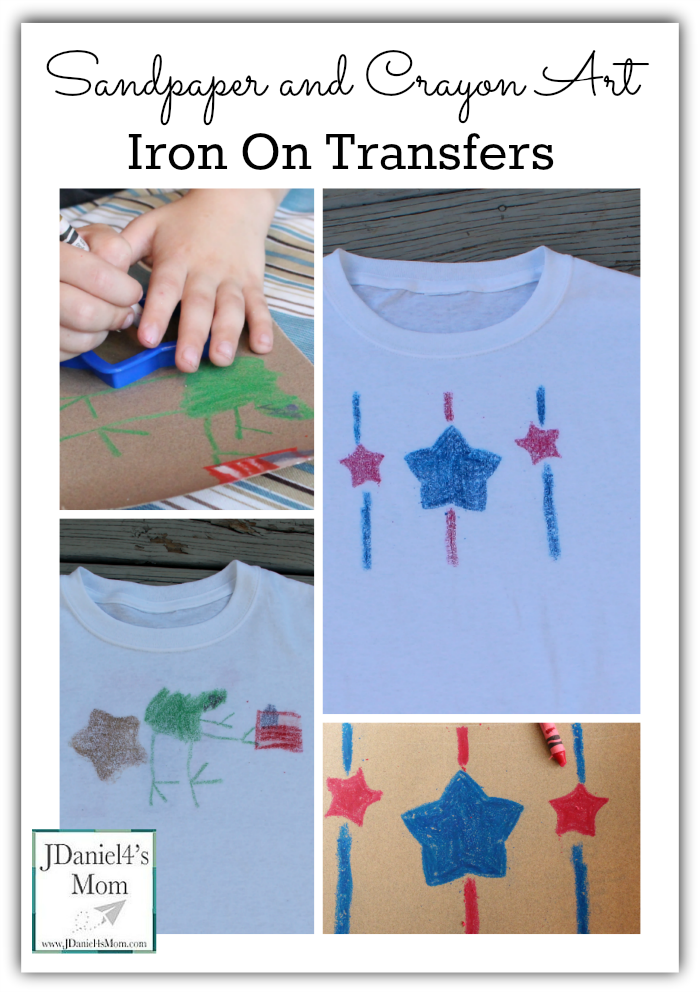
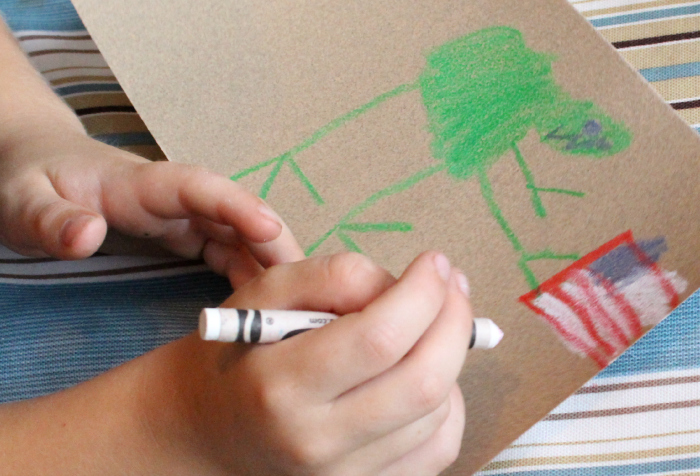
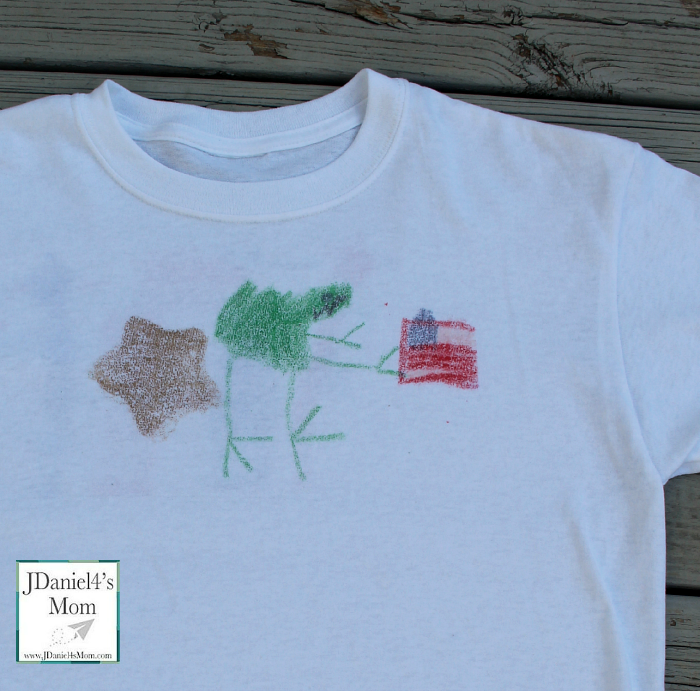
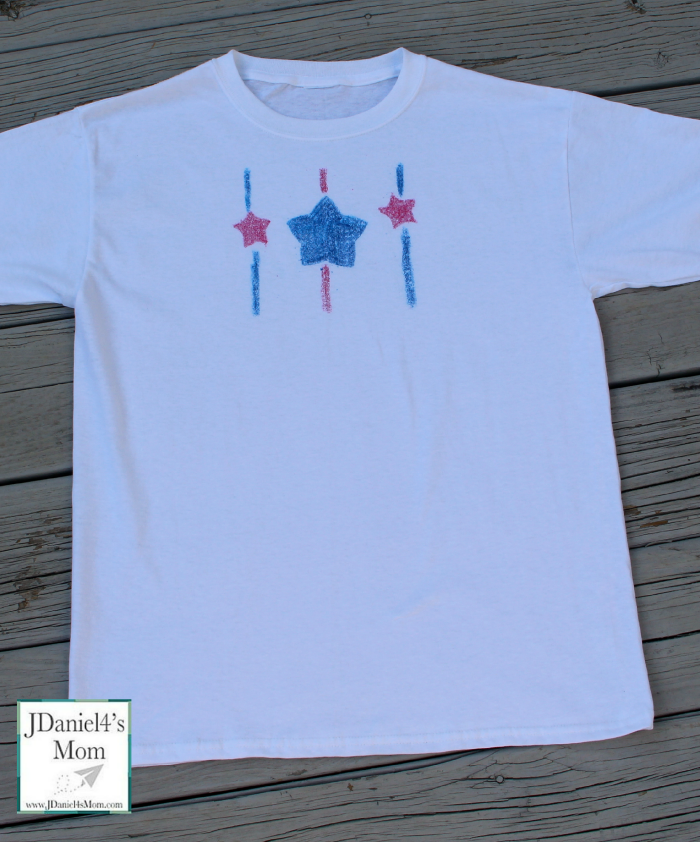
Last year one of the craft projects the kids did at my church’s vacation bible school was to create sandpaper and crayon art iron on transfers. Each child brought a white shirt and their drawing was transferred by a volunteer onto it. I thought it would be fun do this craft at home and create 4th of July crayon drawings for shirts. As you can see from the collage above and the picture below, JDaniel and I both created very different drawings to celebrate the 4th.
Let me walk you through how we crafted our 4th of July shirts. They are so easy to make. I know you are going to want to make shirts of your own for all kinds of holidays and events.
We Started with Crayon Art
The link below is an affiliate link.
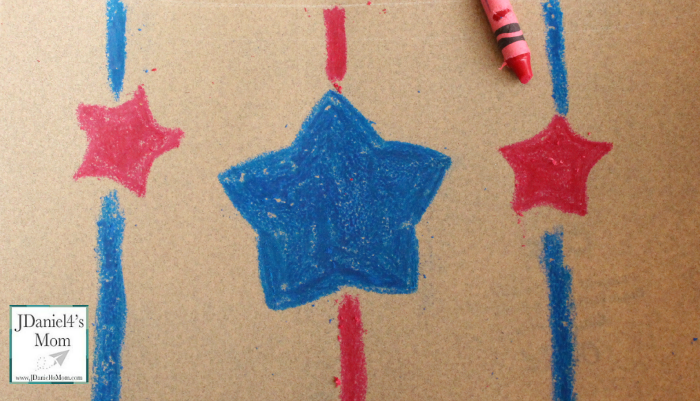
Everyday waxed crayons were used to draw on 100 medium sandpaper. (I love Crayola crayons for crafts. ) The most important part of creating crayon art that will transfer is to color darkly by pressing down hard with your crayon. That means coloring each area over and over again.
We did free hand coloring and coloring inside a star shaped cookie cutter. (A cookie cutter made a great template.) When you do this craft you can use templates, cookie cutters or just have your kids draw.
We talked about the symbols of our country before starting the project! Your kids could really place anything they think celebrates the 4th of July on their sandpaper. One of us decided to have dinosaur as part of our design. I think it was a brilliant idea. The design show U.S. symbols and something that interests it artist. It is so important that children feel they can express themselves when they create and not have to make a rigid design.
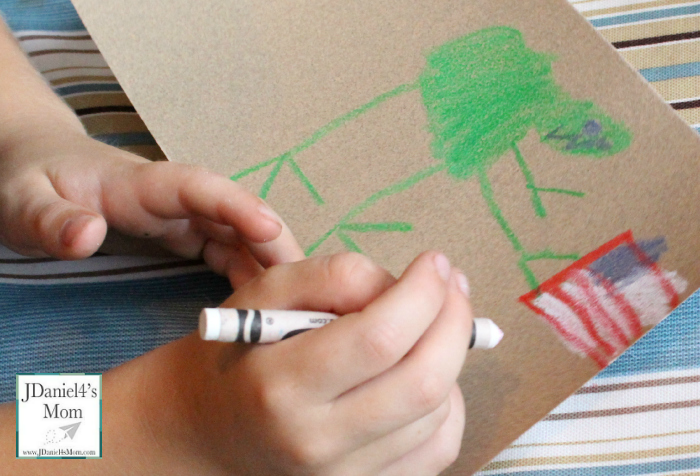
Hint: It is a good idea to tell children that the pictures will be reversed when they are transferred to their shirt. My son’s flag came out on his shirt backwards. I flipped the picture of the shirt when I edited the picture.
Moving the Crayon Art To The Shirt
When we finished our pictures on the sandpaper, I heated up the iron to a high heat. The shirt was placed on a pad with a cloth placed on it.
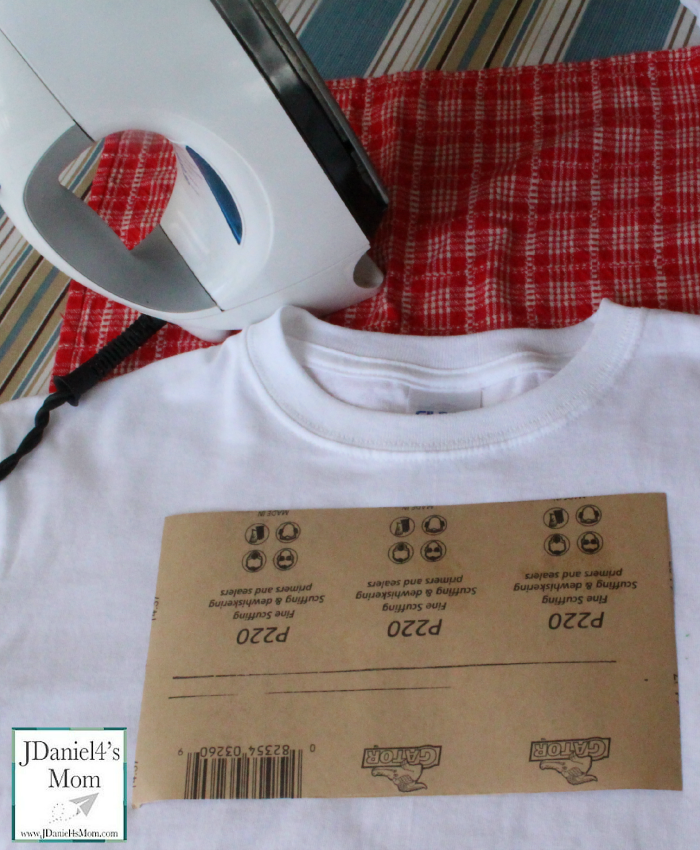
Then the crayon art was placed face down on the shirt. I placed our transfers up to high on the shirts. When we do this again, I will place them more towards the center of the shirt.
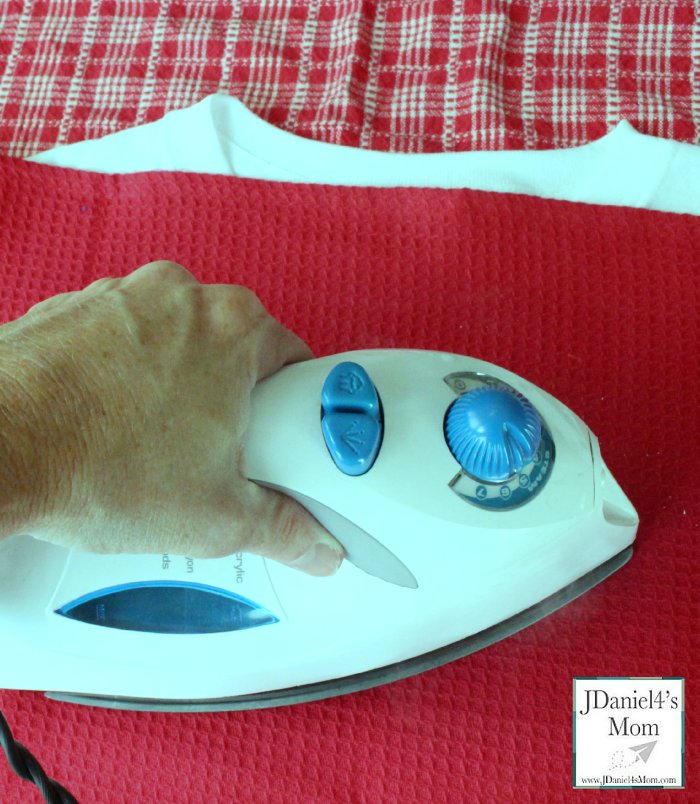
We set a timer for three minutes and then I started ironing. I held the iron in place for a few seconds over each area of the sandpaper to start with. Then I went back and forth across it. When the timer stared dinging, I lifted the iron off of the transfer.
Hint: An ironing board is probably a better choice. We will use one next time we do this project.
The transfer was left on the shirt for a couple of second and then we peeled it off. Voila! We had really cool shirts personally designed by us! They will be such fun to wear on the 4th of July, Veterans Day and next Memorial Day!
Hint: Placing your shirt in a dryer on a low heat will help your design set.
If you like this patriotic craft idea, you may like these too.
If you create sandpaper and crayon art iron on transfers, please take a picture of them and share them with me. You can share them on my Facebook page.


