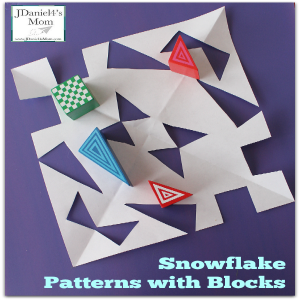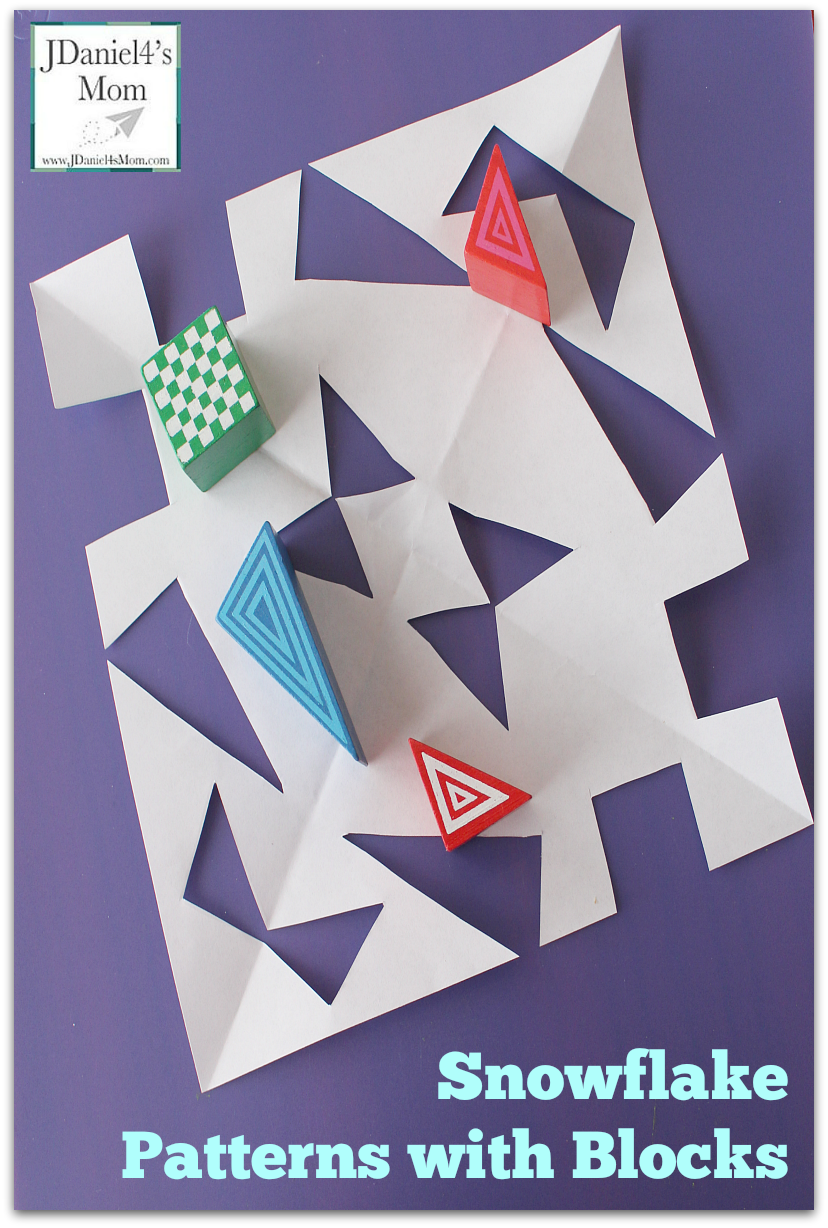
It can be hard to know what design or shapes to cut into a snowflake. Wooden blocks are great for making snowflake patterns you can use to create a craft! Children just need to decide where they want to trace a shape on their snowflake.
We started by folding a piece of paper into a snowflake shape. The top corner of the paper is pulled down the opposite edge almost near the bottom of the paper. The strip at the bottom of the paper was cut off. The triangle shape was folded in half. We could have folded it over another time, but we wouldn’t have been able to trace the larger blocks.
Blocks were laid out on the snowflake paper to see what snowflake patterns could be made. It was much easier to try out different designs before we started to trace the shapes. Although we did use pencils to create our snowflake patterns.
Creating Snowflake Patterns
The links below are affiliate links.
Then it was time to start to trace the shapes. We used big chunky blocks that were easy to press down and trace around. That made tracing much easier. If you have tangrams or pattern blocks, you could use them instead. They might be a little harder to hold in place for younger children.
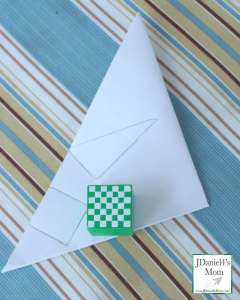
After we had traced all our shapes, it was time practice our scissor or cutting skills. Each shape needed to be carefully cut out. We found that some of the edges and corners disappeared when we cut out the shapes. They actually looked fine that way we decided.

With all the shapes cut out it was time to open up the paper and check out our snowflake pattern. I think the square and triangle shapes kind of made the snowflake look like a pattern found on a Native American blanket.
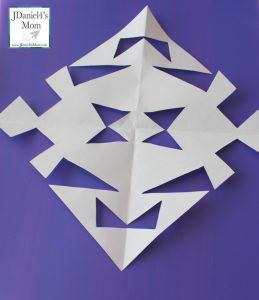
Next time we will need to try tracing half circles and cylinders. They will create totally different snowflake patterns.
Here are some other winter crafts you will want to try:


