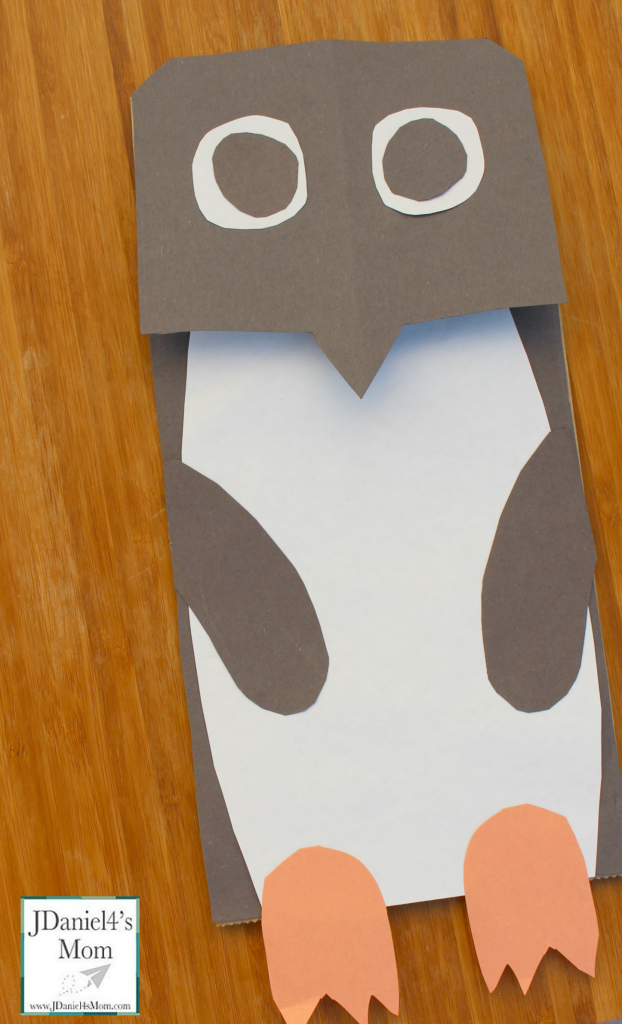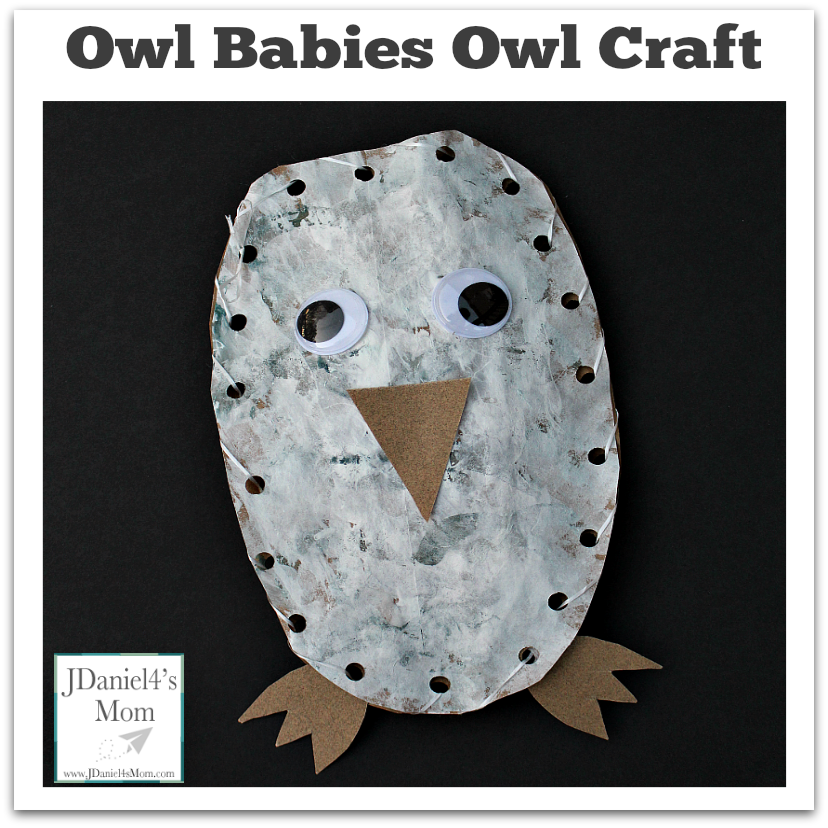
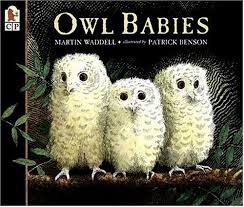
This week started with my sharing with you an owl eyesight viewer. It could be used to look at the world through the eyes of an owl. Today I want to share an owl craft with you. Both activities could be done after reading the wonderful book Owl Babies.
Creating the Owl Craft
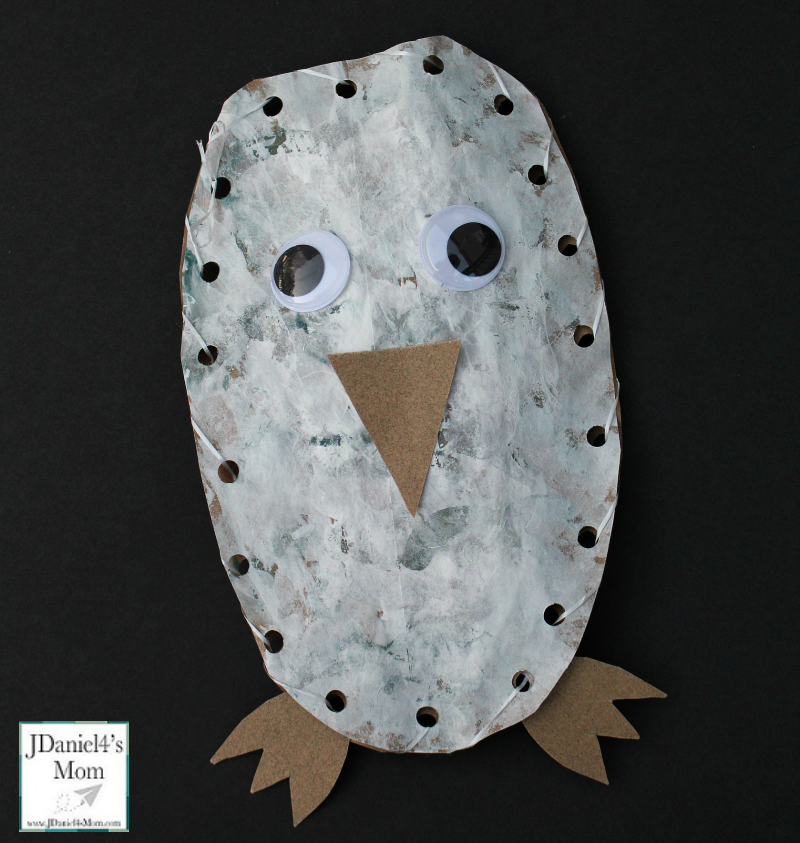
Owl Craft Supplies
- brown paper lunch bag
- white and black paint
- cotton balls
- fine grain sandpaper
- wiggly eyes
- dental floss
- scissors
- hole punch
- pipe cleaner
Putting the Owl Craft Together
Cutting
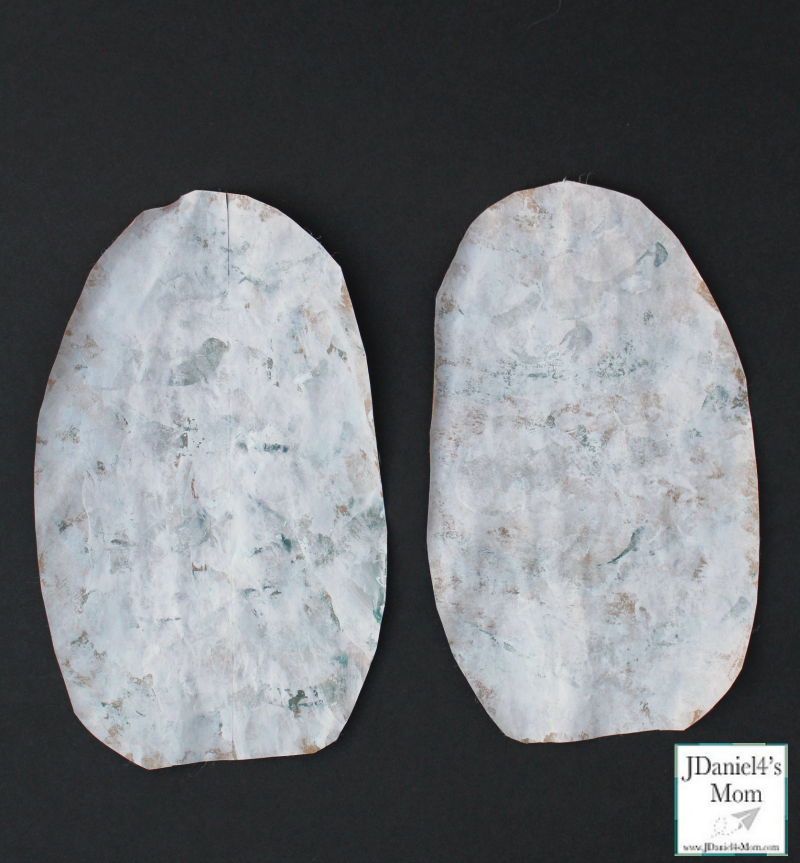
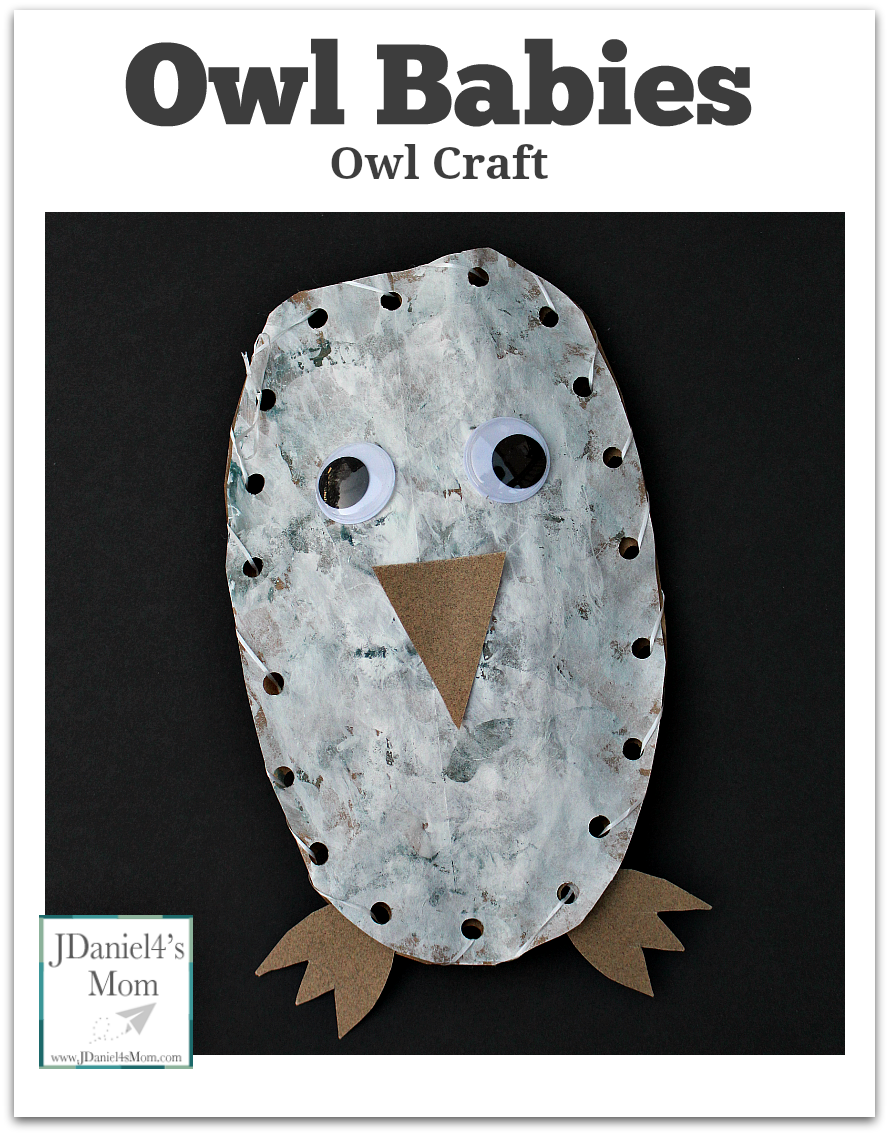
You will start by cutting out to large ovals out of the brown paper lunch bag.
While you are cutting, you might as well cut a beak and two feet out of the sandpaper.
Painting the Owl Craft
Now you will use cotton balls to paint the front of the two owls. You will probably want to give your children own cotton ball for the white paint and one for the black.
Hole Punching
When the ovals are dry you will stack them on top of each other. Next you will have your children punch a ring of holes on the outside edge of the ovals. Your children will need to place single hole in the top of each of the owls feet.
Creating Facial Features
Then you will glue the wiggly eyes and the beak onto one of the ovals. This will be the front of the owl.
Sewing the Owl Craft
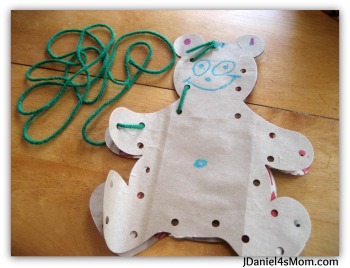
Now it is time for you to sew the top and bottom ovals together. You will need to wrap one end of the dental floss around a pipe cleaner. Your children will you this pipe cleaner needle to sew around edges of the ovals to create a pocket.
When they get to the bottom of the owl, they will line up the hole on each foot between the front and back layers. They will set the feet between the layers. Then the will continue around the oval until they close to where they started.
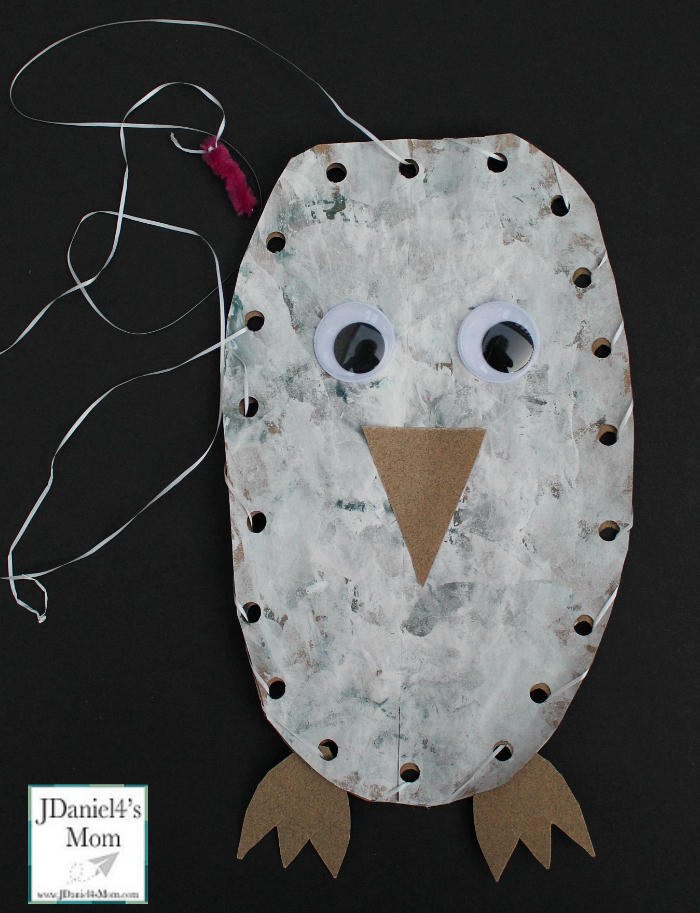
It is now time to stuff the owl with cotton ball. You may want your children to flatten out the cotton balls.
You will probably need to help your children tie the ends of the floss together in a bow.
If you like this owl craft, here are some more owl activities you will like:
Little Owls Night Craft and Snack


