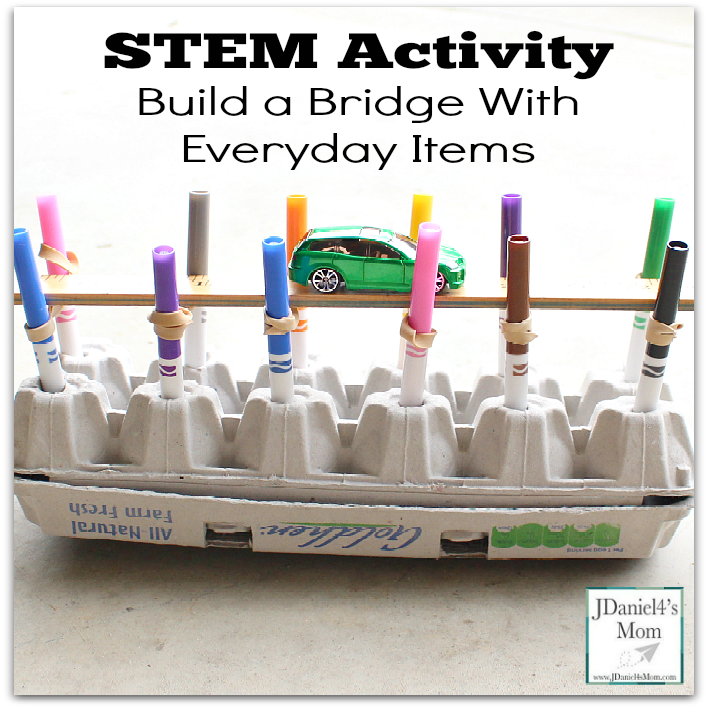
This build a bridge activity is the third in a series of learning activities that feature school supplies. Earlier posts have shared STEM activities with #2 pencils and ramp activities with a 3-ring binder. Watch for more school supply activities next week here on JDaniel4’s Mom and on our Facebook page.
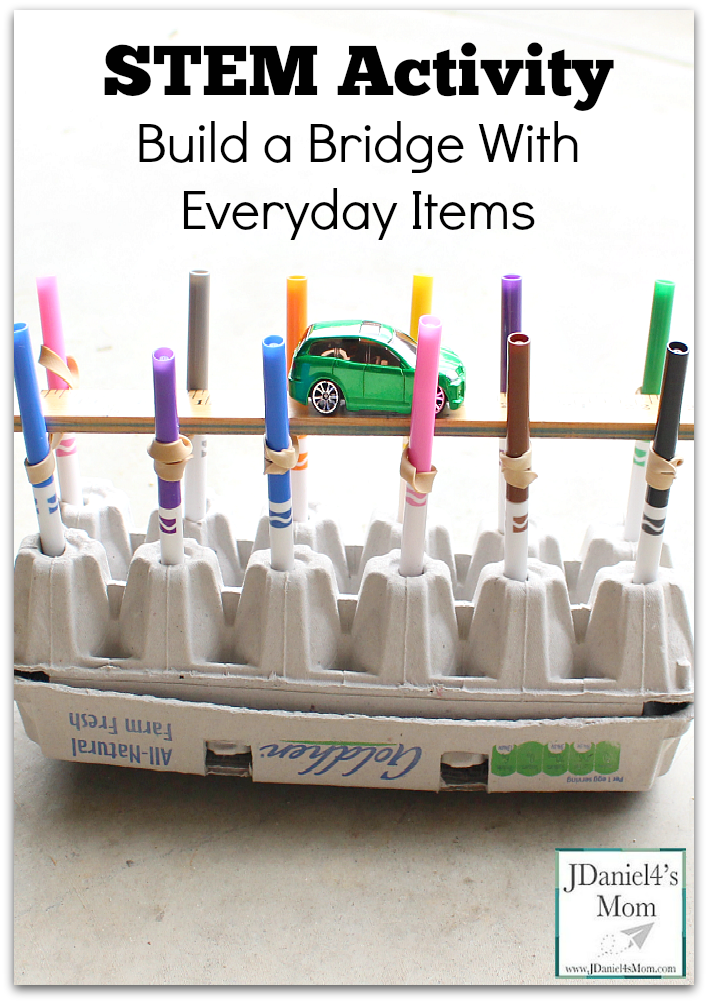
Building a bridge with rubber bands, markers , and a yardstick may seem like an easy activity to do. In my mind I had it all planned out. In reality, my simple plan did not work out. It ended up being more complicated. STEM activities can work out that way. Even the activity designer needs to attempt various solutions to the problem before finding a way that works.
My Build a Bridge Plan
Your children will probably come up with alternative plans for building a bridge. Let me walk you through the steps I used. You can have them modify and change them as you or they see fit.
Supplies
- 12 Rubber Bands
- 12 Thin Markers
- Egg Carton with Top Vents
- Yardstick
- Toy Car
- Scissors
Bridge Creation Steps
You will start by piercing each egg section on the bottom of an egg carton with scissors. If you don’t feel comfortable with your kids doing that, you can pierce the cartons for them ahead of time.
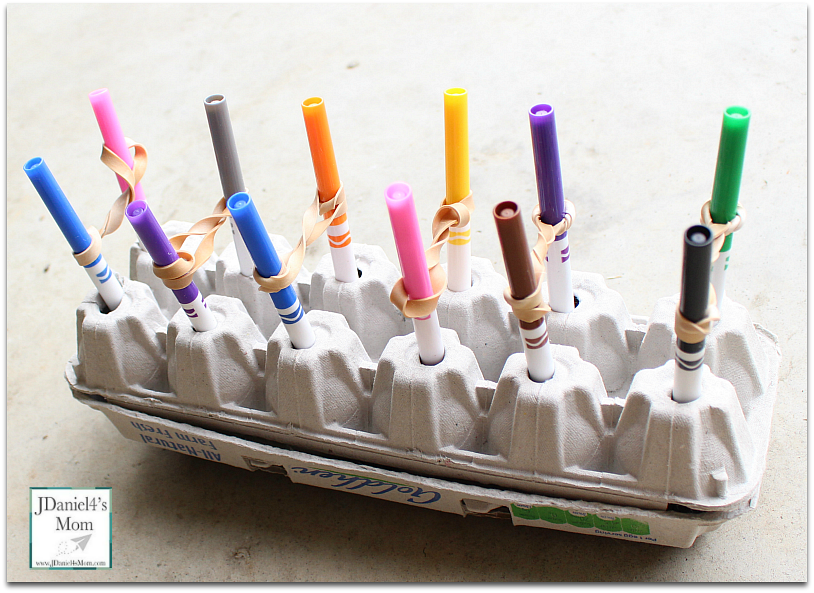
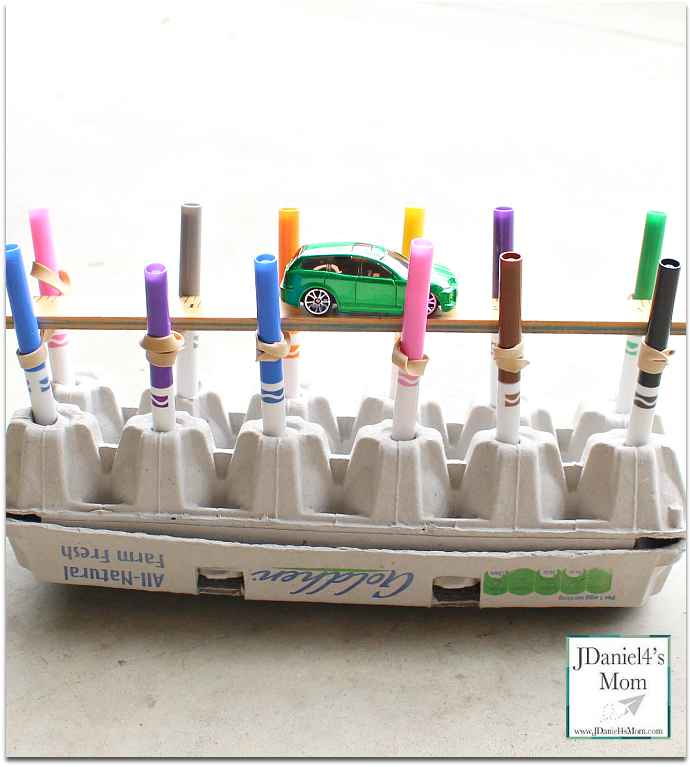
Then you are going to connect each of the markers in pairs with a rubber band. You can loop one end of the rubber band around one marker. Next yo will twist the end of the rubber band a few times. Finally you will attach the other end of the rubber band to the other marker in the pair. You will repeat this process six times.
The markers pair will be placed in the holes in the carton. You will place the pairs side by side.
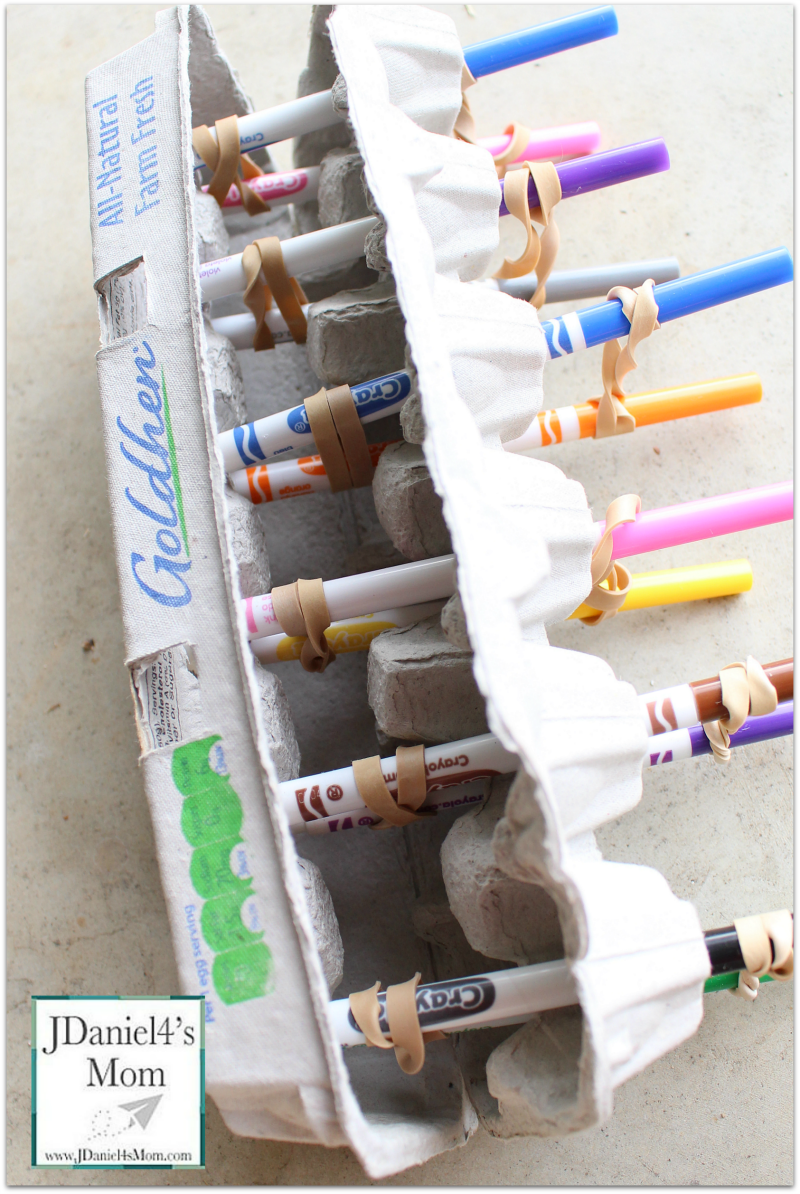
Then you will open up the egg carton. You will need to place a rubber band around each pair of markers. We placed ours about two inches from the base of the markers.
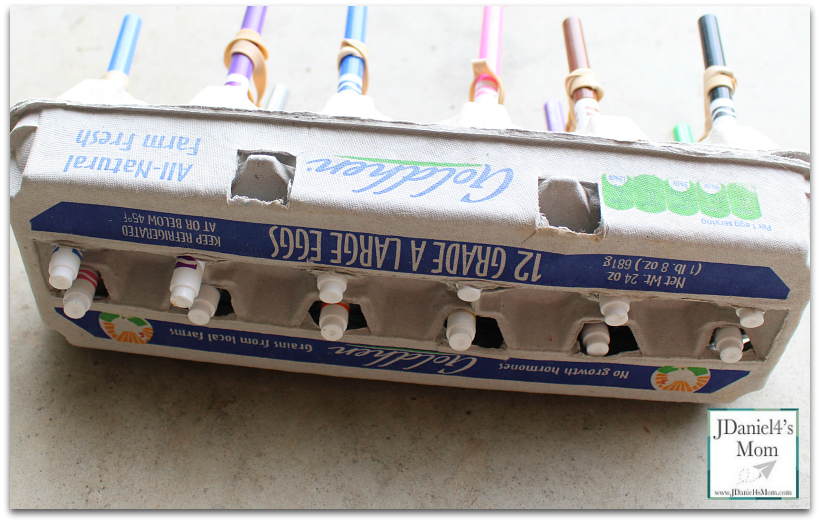
Once you have the rubber bands in place, you will close up the egg carton and turn it on its side. This next step is a little tricky, some children may need help with it. You will need to pop the end of each marker out the vent hole. You don’t need to have the stick out very far. Why do you need to do this? It will cause the tops of the markers to pull out and not push in. Your toy car will travel more easily on the bridge this way.
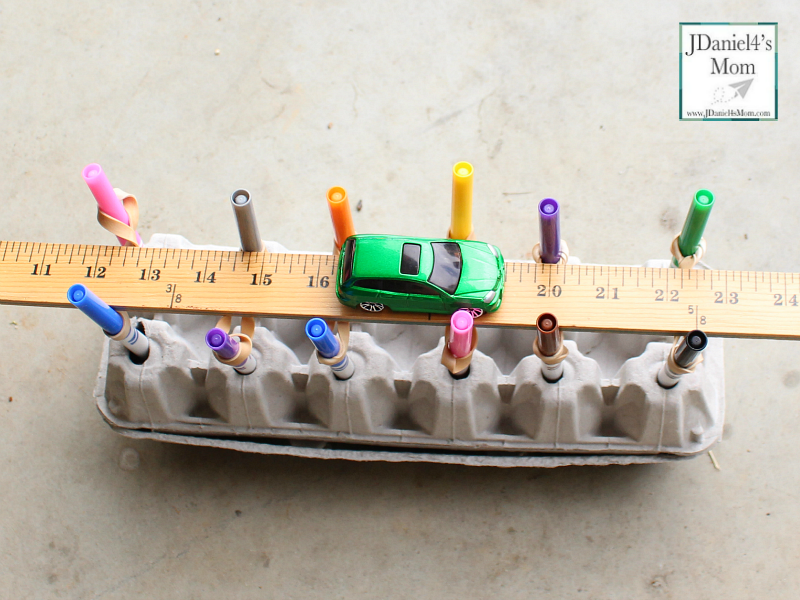
Finally you will place on a flat surface with the tops of the markers facing up. Then place a yardstick or ruler on top of the rubber bands.
Testing Your Build A Bridge
It is time to test out your bridge by sending a toy car across it. We considered it a success when the car made it past all the marker bridge supports without falling off. Your kids may decide that too.
