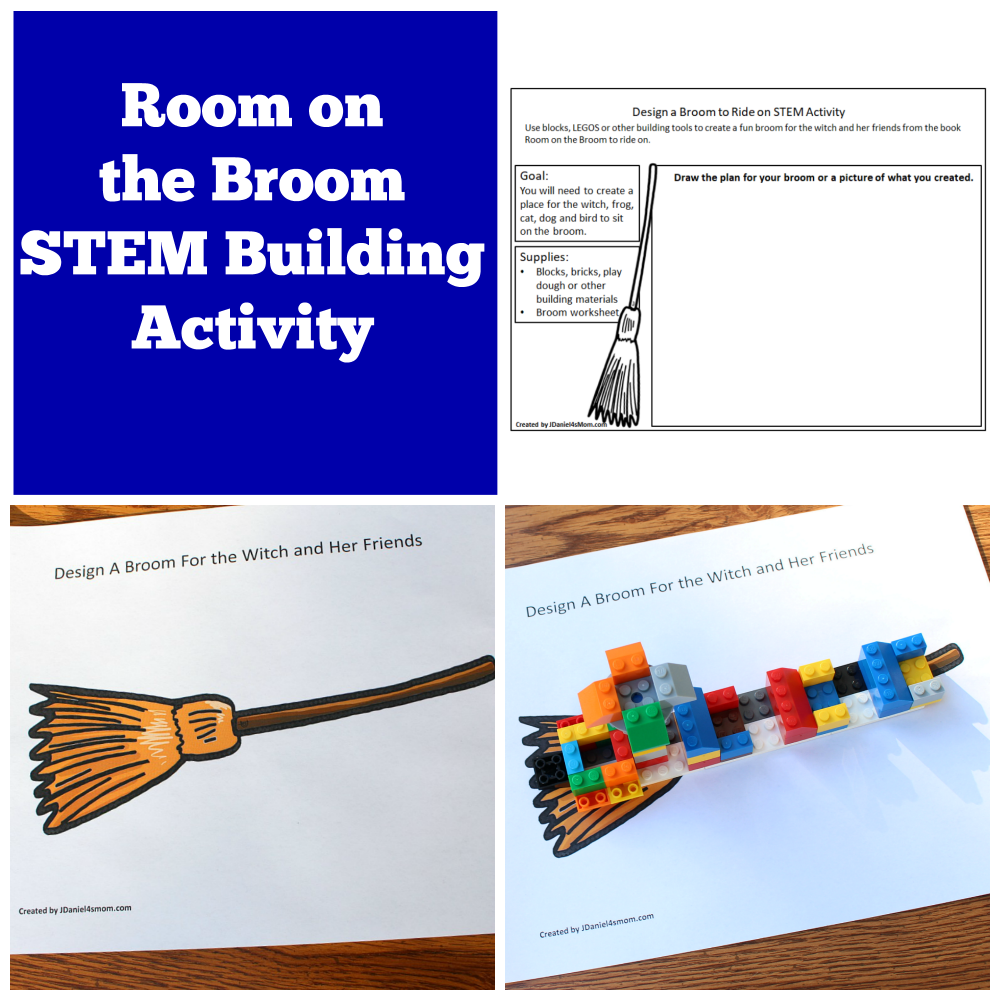
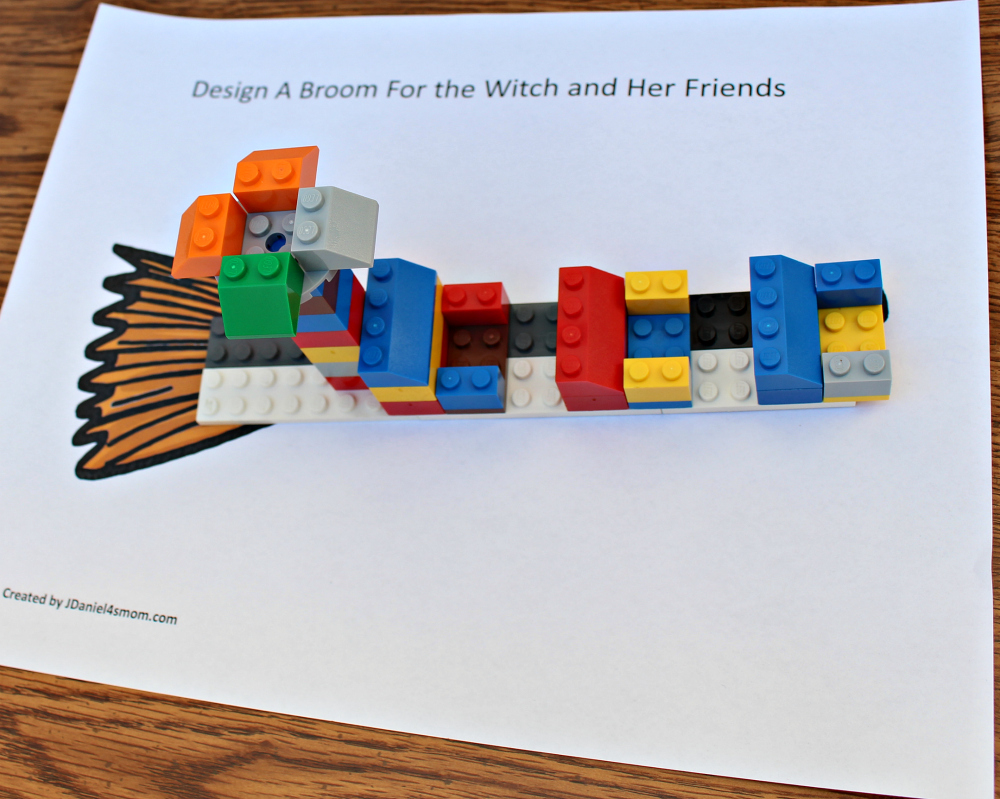
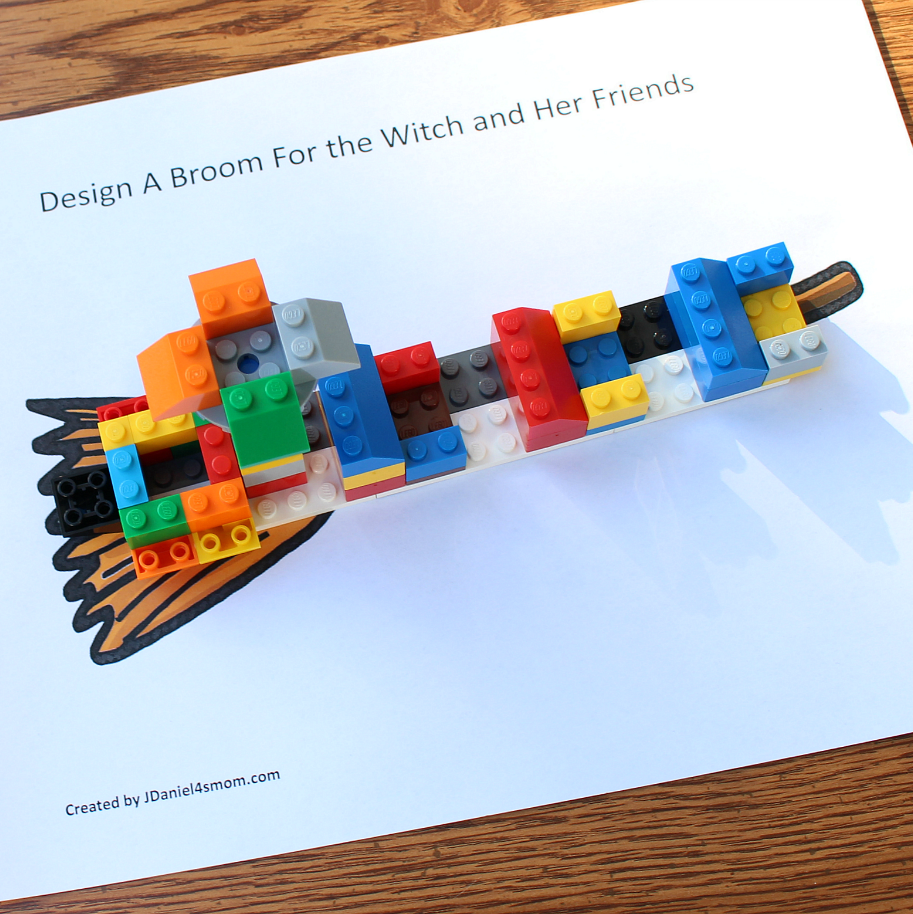
Earlier this week I shared a sensory activity based on the book Room on a Broom. We had such fun making bubbles rise out of the dish soap brew to make creations based on activities found on our set exploration cards. Today I have another fun activity for your children. This activity invites children to create room on the broom for the witch and her friends to sit.
Getting Ready for the Room on the Broom Activity
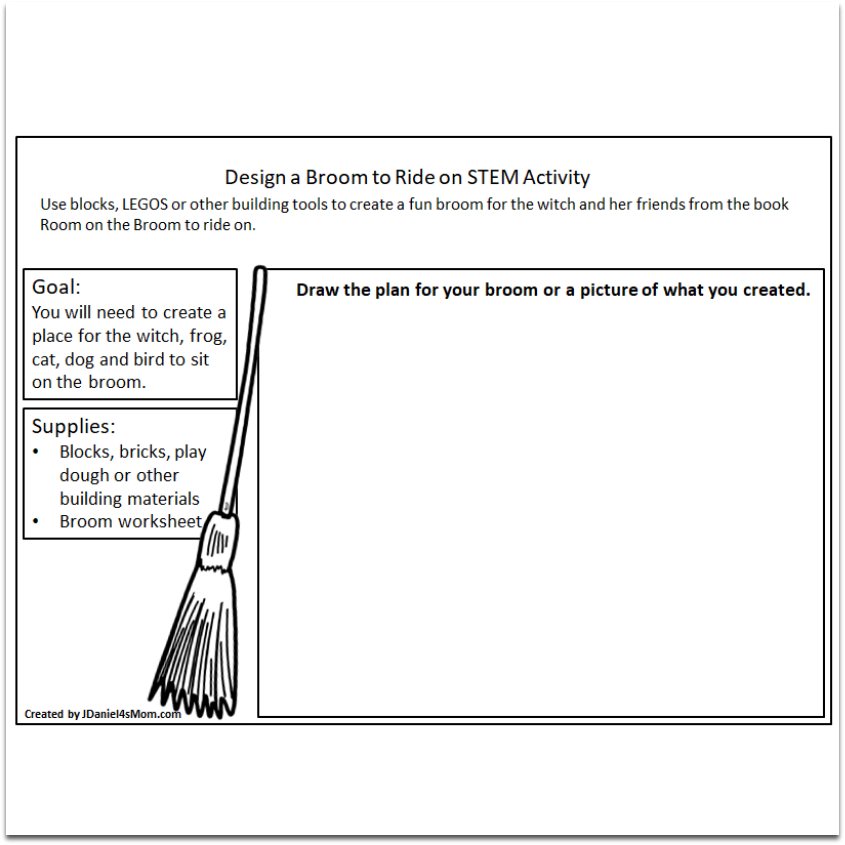
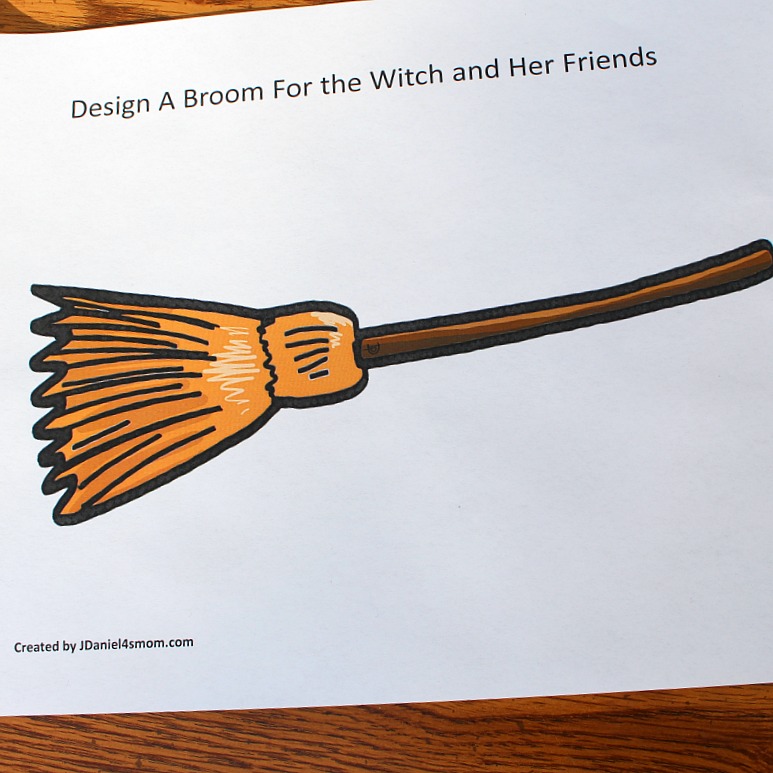
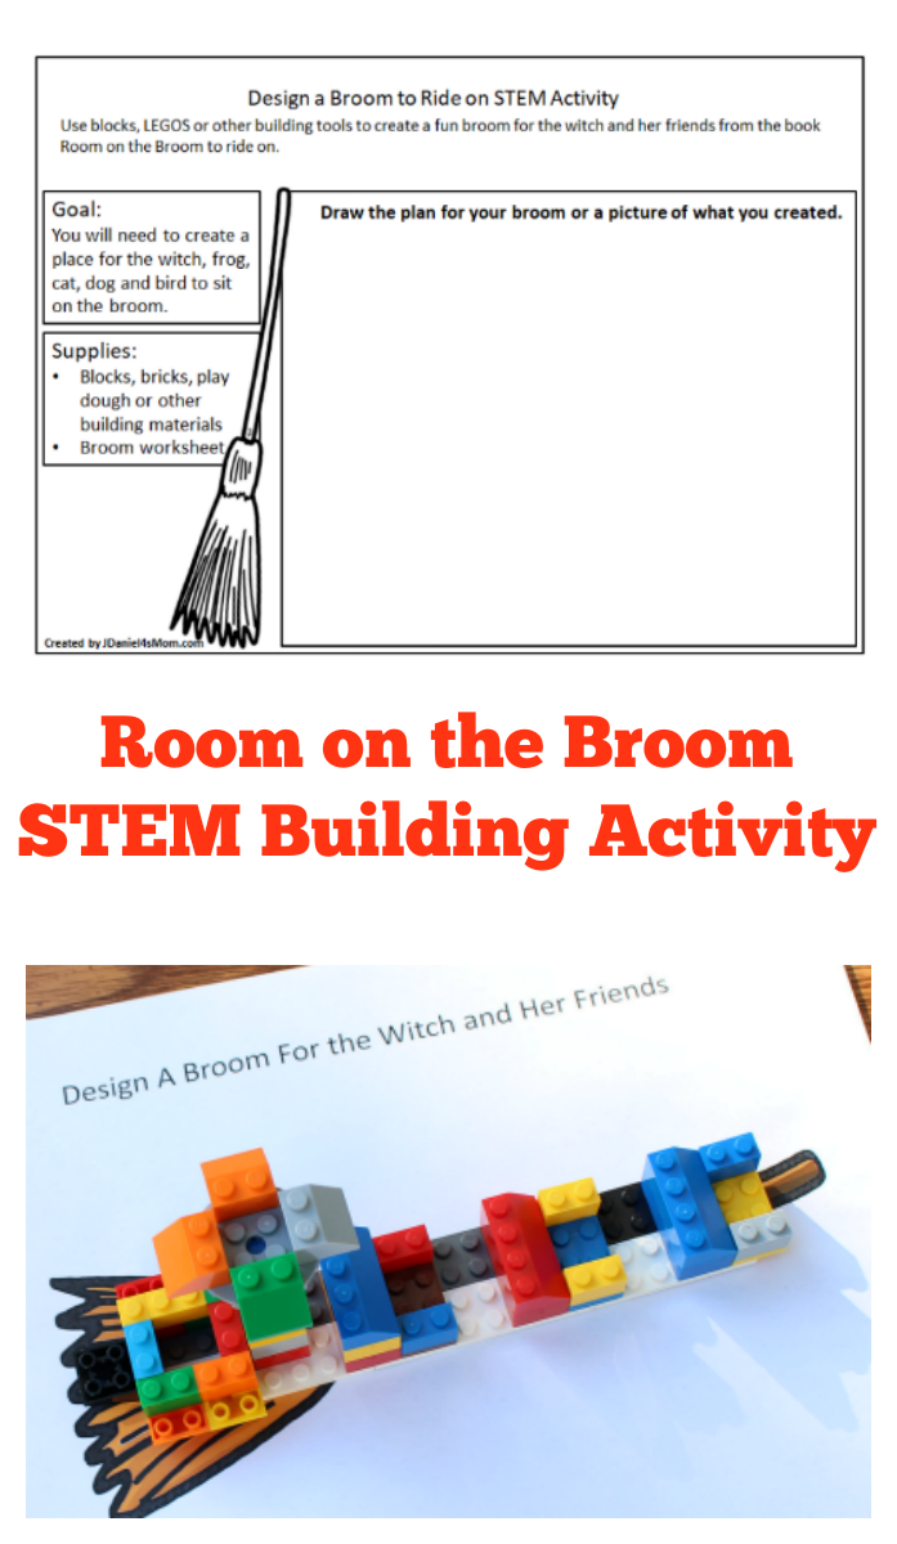
You will need to print out a copy of the Design a Broom to Ride on STEM Activity. Each of your children will need a planning printable and a broom building mat.
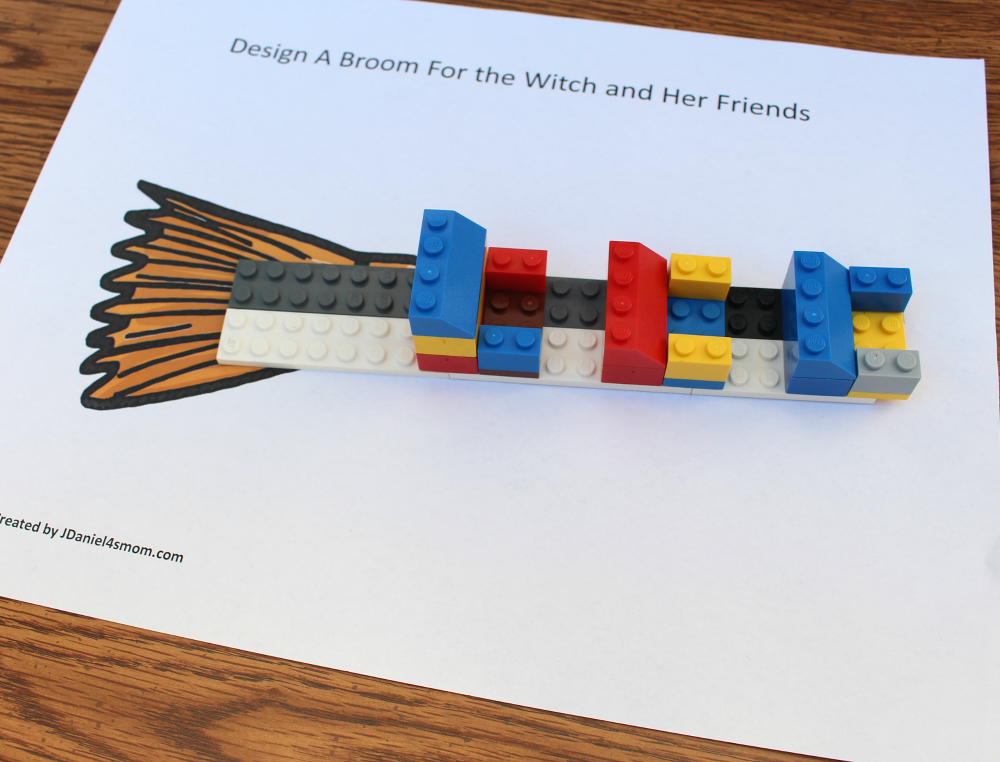
You can decide if you want to put out a variety of building materials for your children to use or just one type. The creation you will see below features LEGO, but you can use any of the building materials below or one of your own selection.
Building Materials
Lego
Play Dough
Blocks
Odd and Ends (Sticks, Straws, Yarn, Clay, Etc…)
Bristle Blocks
Pattern Blocks
Getting Started with the Room on the Broom Activity
You will want to read the book Room on a Broom to your students. It will give them the opportunity to see the broom the witch and her friends traveled on. It will also give them the opportunity to meet the passengers they will be building the broom for.
Then you will need to decide if you want your children plan what they are going to build on the planning printable or draw a diagram of their creation on it when it is completed.
Once you have decided what you want to have the do first, you can pass out the broom building mat. It will be so much fun to see what they come up with. Please remind them that their creation doesn’t have to look anything like the one in the book.
Wonderful Halloween Books
The links below are affiliate links.
Fun Halloween Books
Links below are affiliate links.
The Runaway Pumpkin– When a pumpkin breaks from its vine, it rolls through a farm encountering many of the farm’s animals. This book is written in rhyme. The rhyme seems to speed up as the pumpkin does.
The Little Old Lady Who Was Not Afraid of Anything– Despite having many things chasing her a little old lady on a walk remains fearless. Children will love the unique things that chase her and how she deals with them.
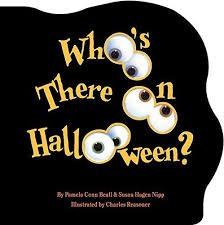
Who’s There on Halloween?– Children will love following the rhyming text to find out just who is there on Halloween. I think parents reading this book to their children will too.
If you like this STEM project, here are some other projects your children will like.
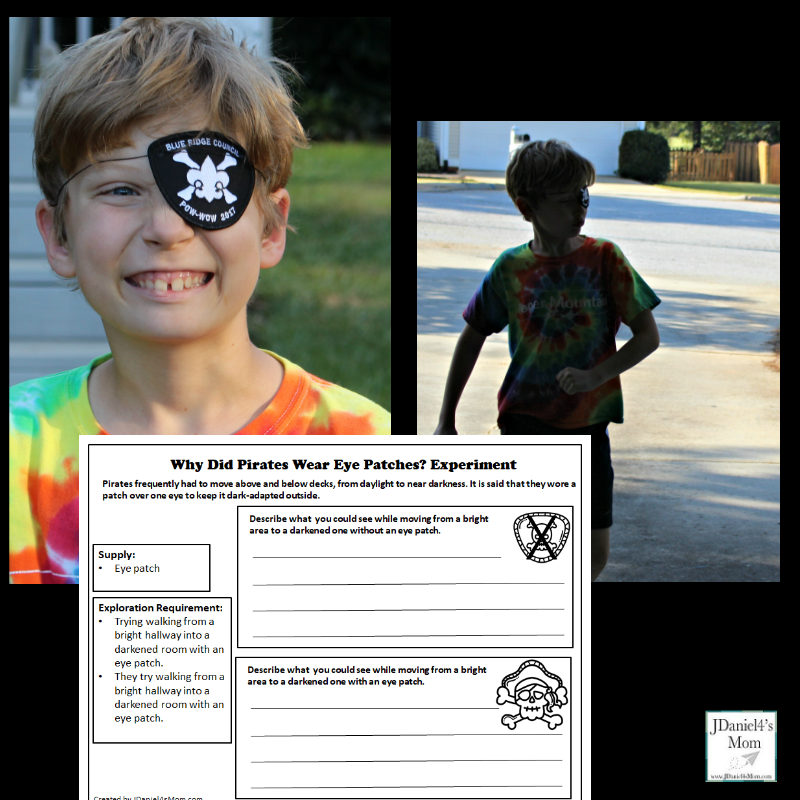
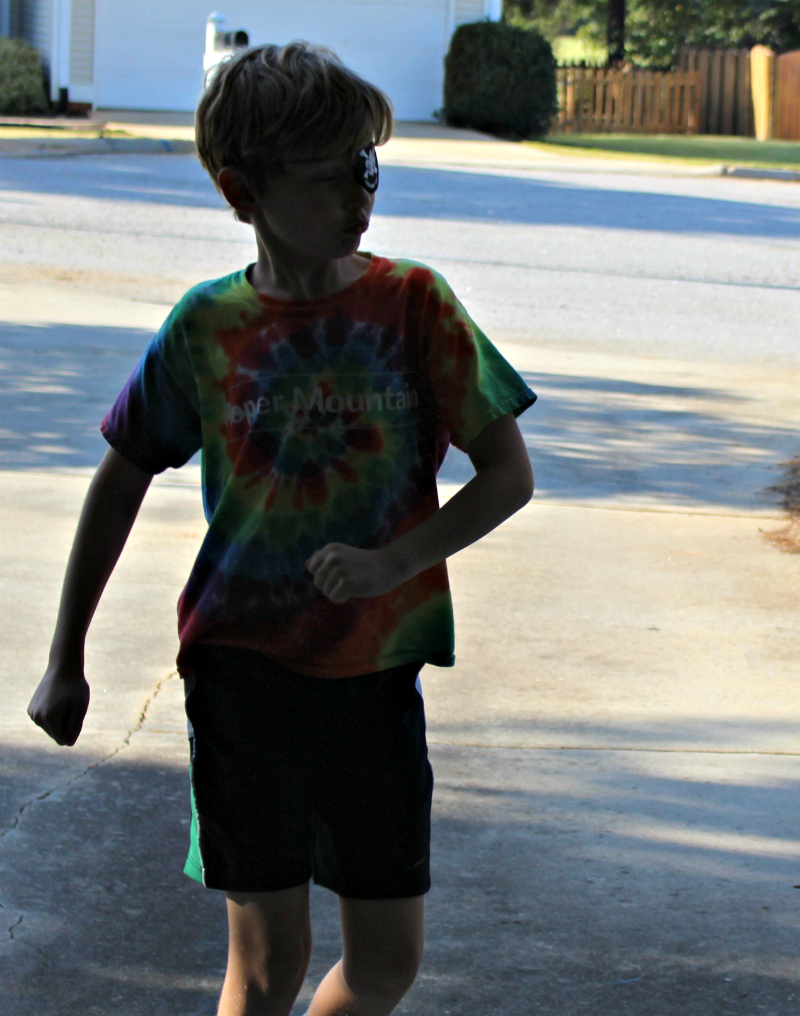
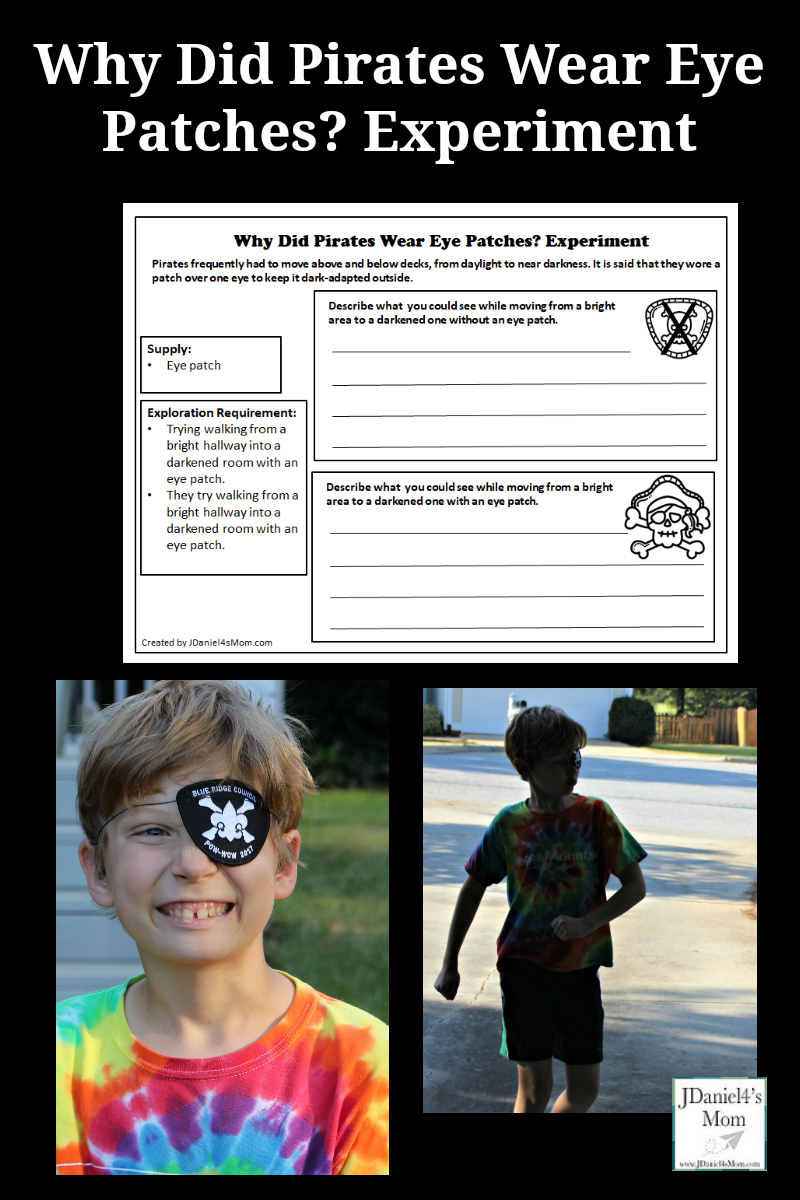
JDaniel discussed Why Did Pirates Wear Eye Patches? with one of his teachers a few years ago on Talk Like a Pirate Day. She told him that pirates frequently had to move above and below decks, from daylight to near darkness. It was said that they wore a patch over one eye to keep it dark-adapted outside. On this final day of 5 Days of Pirate printables, I thought it would be fun to do a STEM experiment to see if wearing an eye patch while playing made it easier to see when you moved into a darkened area.
Why Did Pirates Wear Eye Patches? Experiment
While you could conduct this experiment without a recording printable, I have created a Why Did Pirates Wear Eye Patches Experiment printable. Your children can record their insights from the experiment on this document.
Getting Started
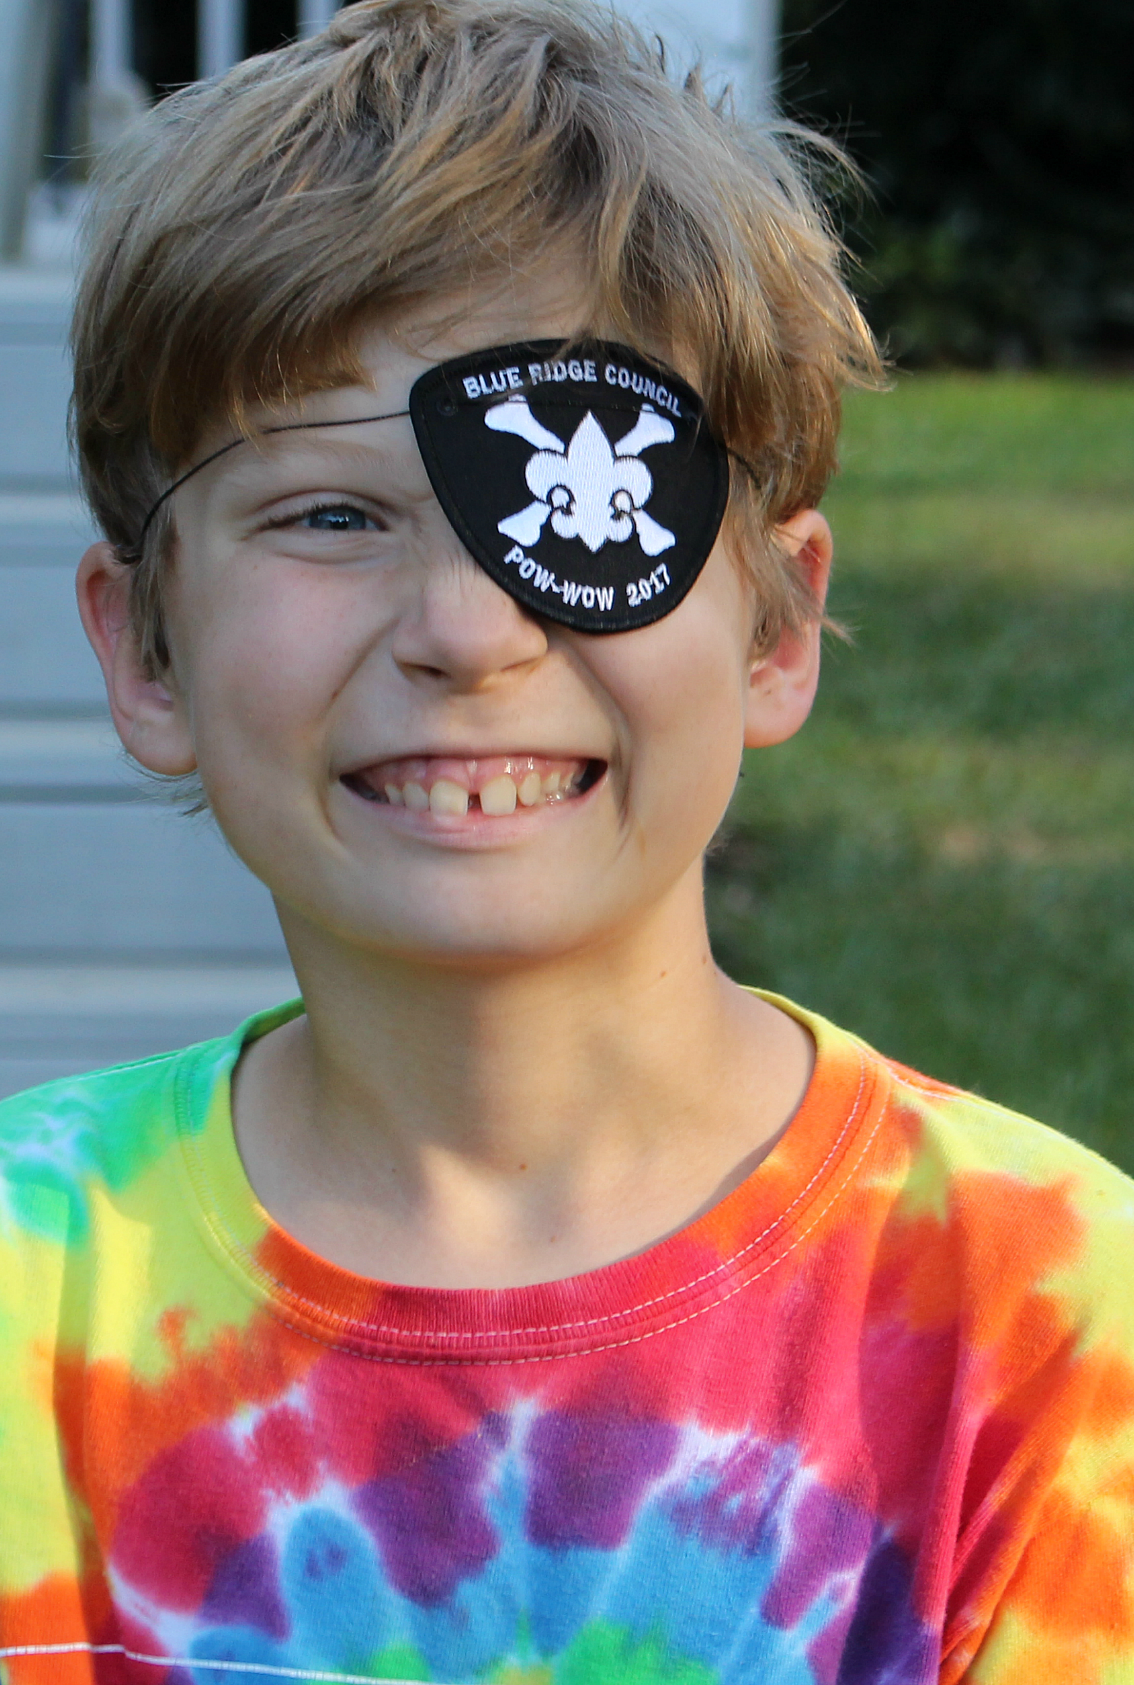
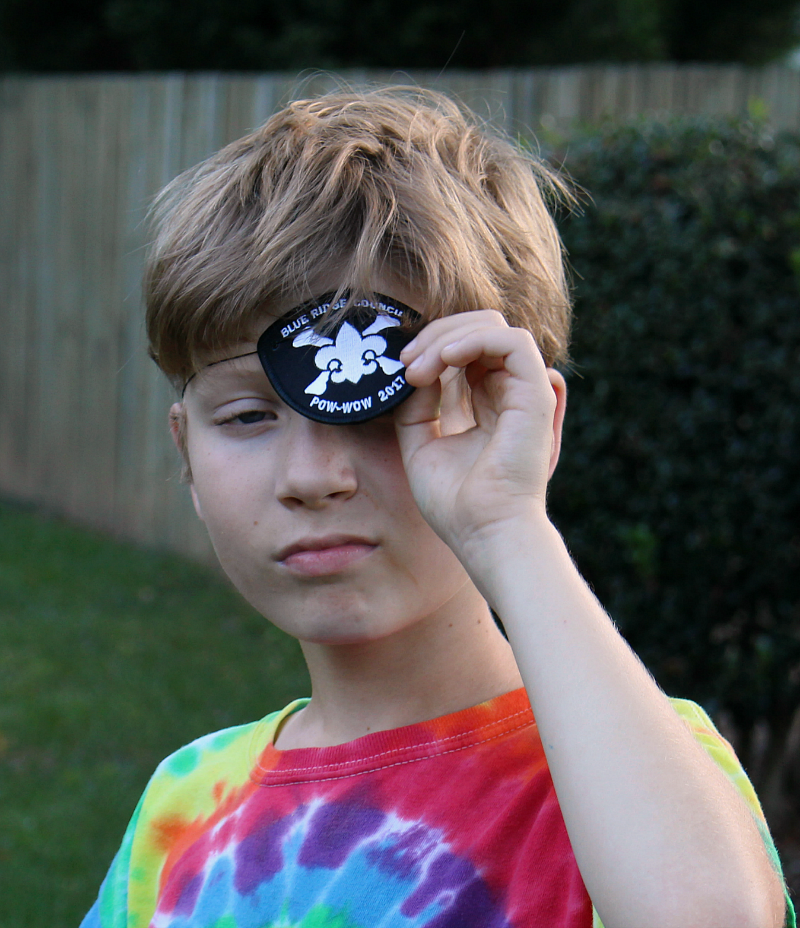
Your children will need to wear an eye patch in a brightly lit room or outside for a short time. We wore ours for about 15 or 20 minutes.
One Eye is Ready for Darkness
As they move into a darkened room or darker space, they can slowly lift up the eye patch as they go into the darkened space. They will have one eye that is dark adapted and one that will need to adjust the darkness.
Next, have your children describe orally or record on the printable what they could see as they walked into the darkened area.
Switching the Patch
The part of the Why Did Pirates Wear Eye Patches? experiment has children move the eye patch from one eye to the other. As your children move from a bright area to a darkened one they will switch the eye that is covered with the eye patch. The once covered eye should be able to see better in the darkness. Afer all it is dark-adapted.
Next, have your children share orally with your or write down what they could see with the eye patch on.
Creating a Conclusion
You will want to take time to have your children share with you their experience with the eye patch. It will be fun to see if they felt that it helped to move the eye patch from one eye to the other. Finding out what they saw as they moved into the darkness will be fun too. Not every pirate may have focused on the same things.
Here are the other pirate printables that were shared this week:
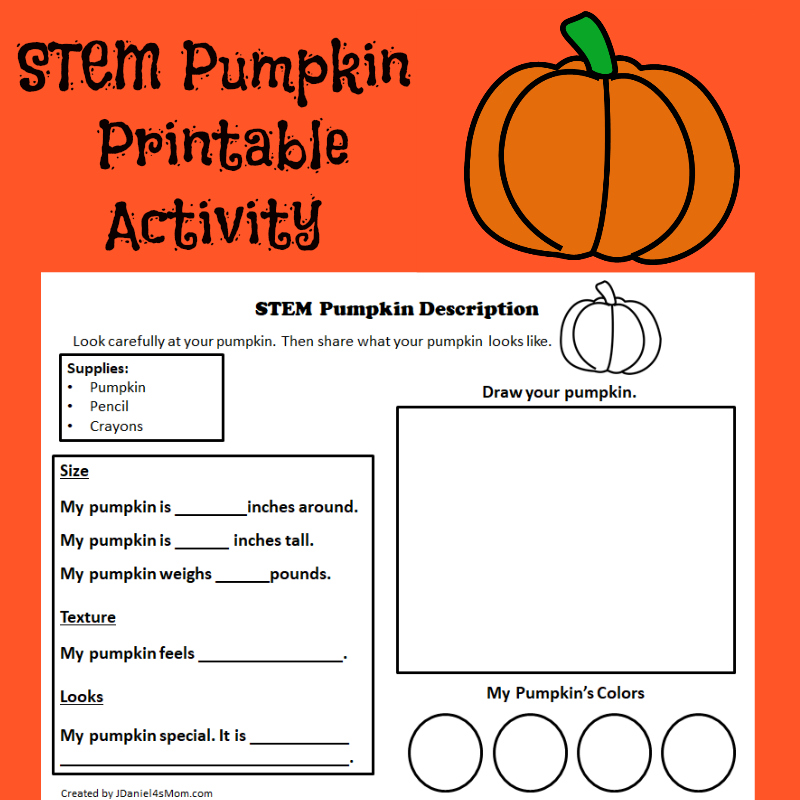
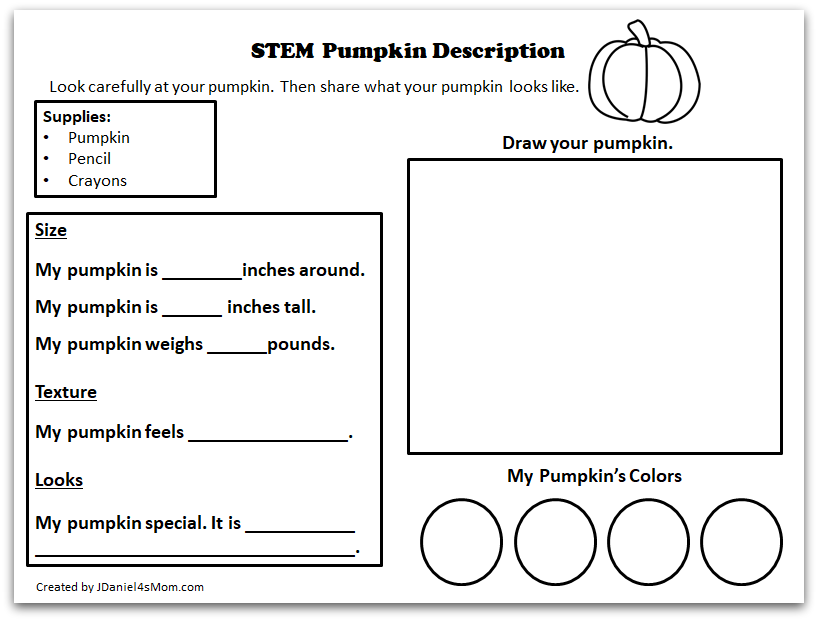
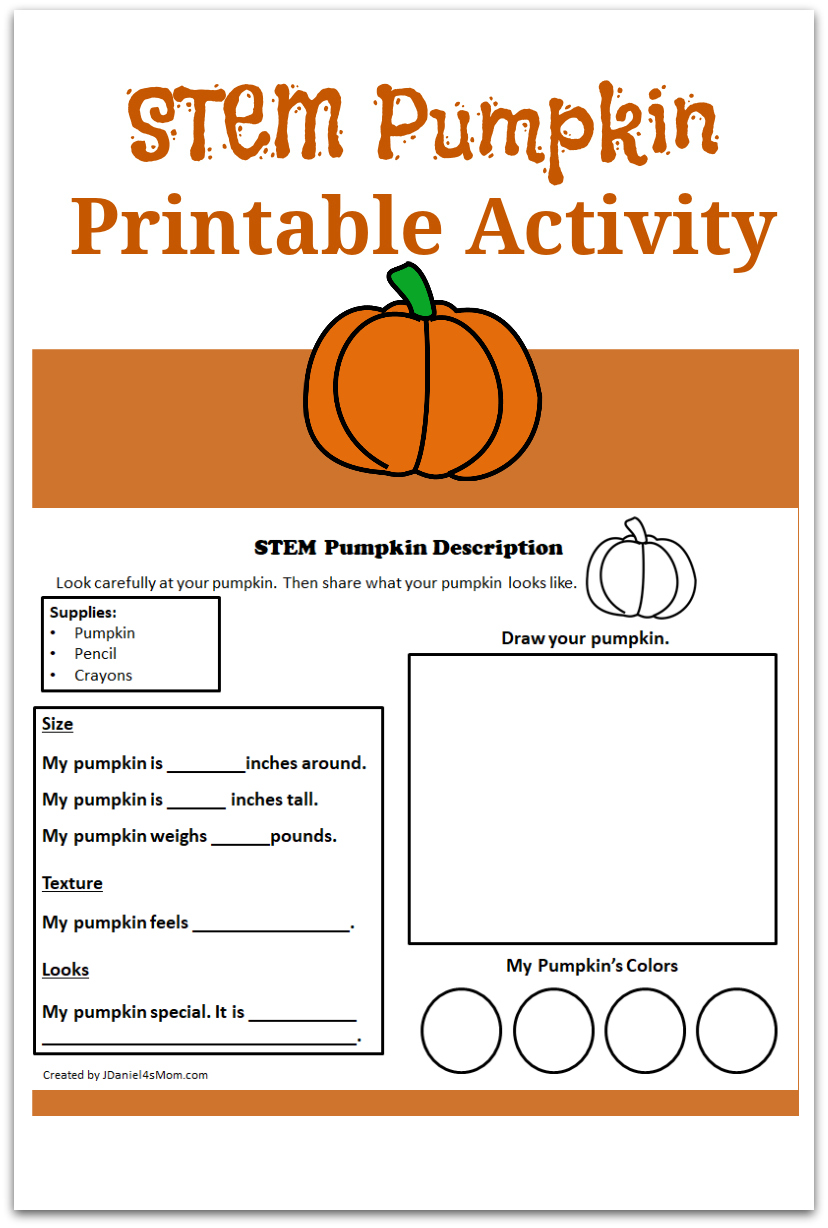
This STEM pumpkin printable my day four pumpkin activity. There will be a total of five sets of pumpkin activities shared by the end of this week. There are pumpkin themed printables for preschool and school-age children. Today’s activity could be done with younger or older children. Let me walk you through how to use this STEM pumpkin activity age with both age groups.
Pumpkin Printable Activity
Before You Start the Pumpkin Printable Activity
You will need to download a copy of the STEM Pumpkin Activites for Kids You will need one printable for each of your children.
Using the Pumpkin Printable with Younger Children
If you have preschool or kindergarteners, you will have them fill in the picture and colors of the pumpkin on their own. Then you could have them dictate the words they want to use to describe their pumpkin’s size, texture and look.
They may need help measuring the pumpkin’s height, weight and distance around. Some children may not need help with this.
They may have trouble coming up with words to describe their pumpkin’s look. You may need to prompt them with words like the following:
bumpy
smooth
slippery
speckled
rough
bruised
Using the Pumpkin Printable with Older Children
Your older children may feel like they will be able to fill out the pumpkin printable out on their own. It may help them to brainstorm words that describe the pumpkin’s size, texture and look with you before they fill out those areas of the pumpkin printables.
You may even want to display the brainstormed words on a chart. A chart of words spelled correctly might inspire your children to use longer or more descriptive words to describe their pumpkin.
If you like this STEM activity, here are so more STEM activities with printables that you will want to check out.
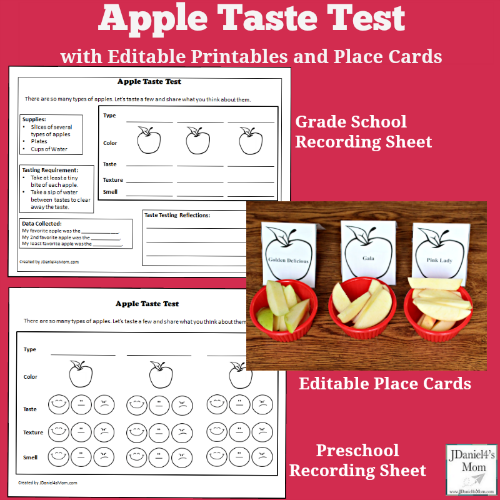
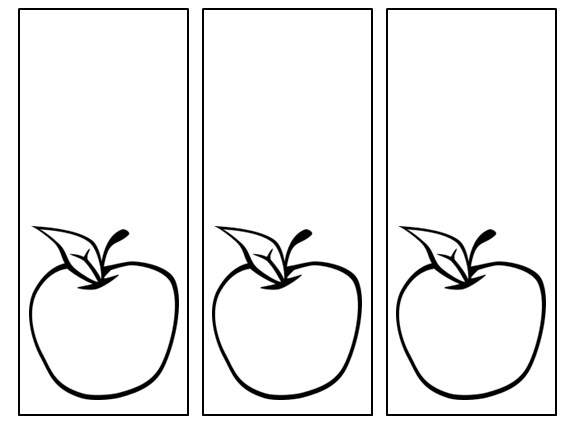
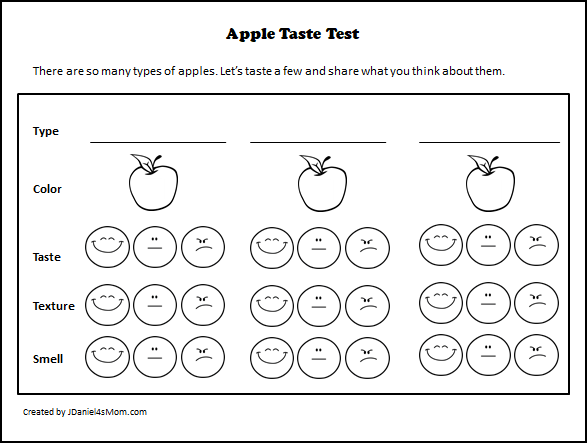
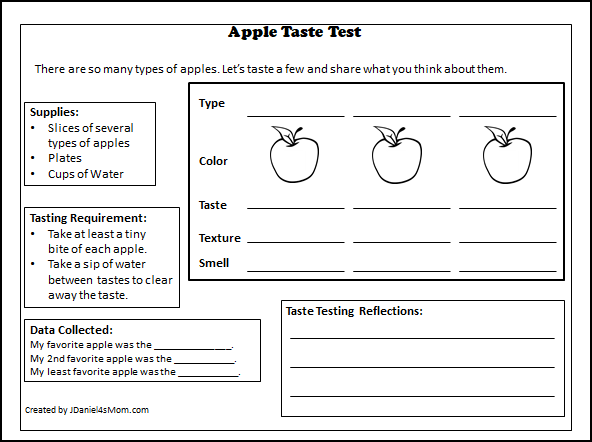
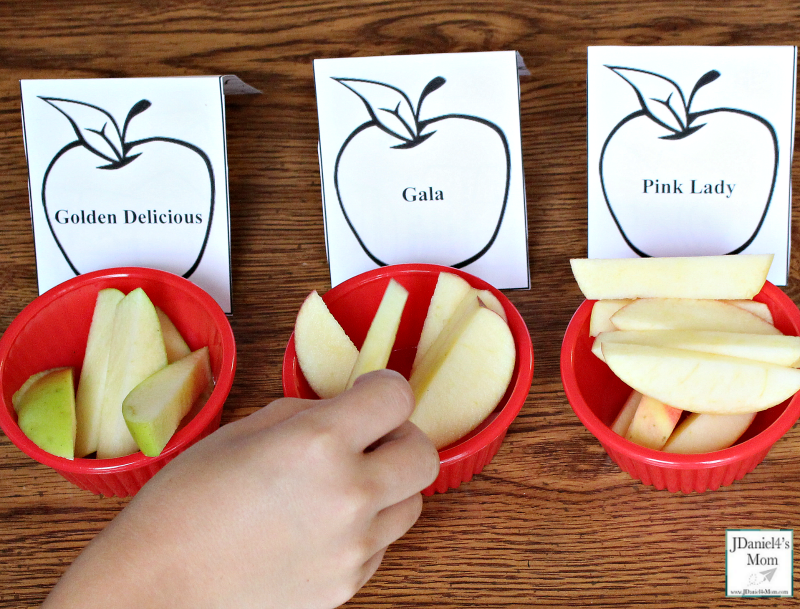
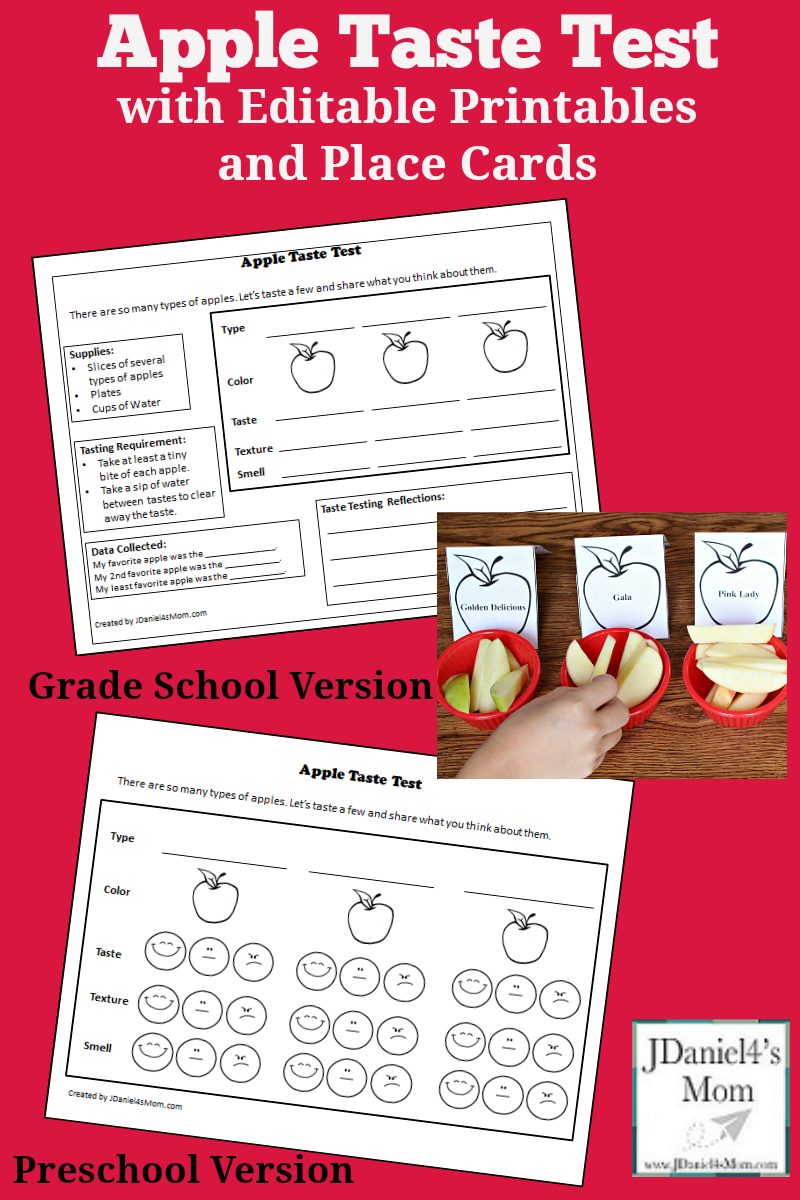
This apple taste test in the first of two STEM apple explorations created for the 5 Days Apple Printables week. This set includes an apple recording sheet for preschoolers, a grade school version of the apple taste test, and apple place cards. Each of these has a place where you can type in the variety of apples you are taste testing.
Apple Taste Test Printables
Before you get started with this STEM activity, you will need to print out STEM Apple Taste Test Printables. You may want to print the apple taste test pages off on printer paper. The place cards will last longer and stand better if you print them out on cardstock.
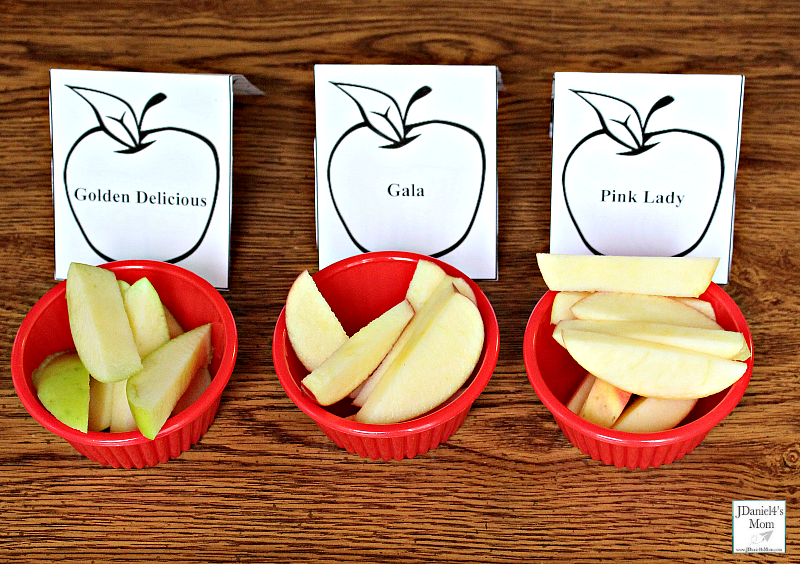
Let’s Look at the Apple Place Cards
You can type in the name of each of the varieties of apples on one of the place cards. I thought you would like that better than having to write the name of each variety of apple on the place card. The place cards have a medium size font so that varieties like Golden Delicious or Jonathan Gold will find on them.
Let’s Look at the Preschool Version of the Taste Test
The preschool version STEM Apple Taste Test Printables has places where you can type the variety of apples you are exploring right on the PDF. There are is a place to show the color of each of the apples. Your children will also find an area to rate the taste, smell, and texture of each type of apple.
Your children can circle around or an X on the face that shows how they feel about each apple.
Let’s Look at the Grade School Version of the Taste Test
This version of the apple taste test is more of a STEM exploration. Children are asked to describe in a word or two the taste, smell and texture of each of the apple varieties.
They are also asked to rank the apples from most favorite to least favorite.
Finally, they are given a space to write a sentence or two reflecting on that they thought about the challenge. They could share how they felt about doing the challenge, about something they learned, or about what made their favorite apple their favorite.
Oh! You can also type the name of each in these. I know I mentioned it earlier I just thought I would mention it again.
If you like this STEM activity, here are some more you will love.
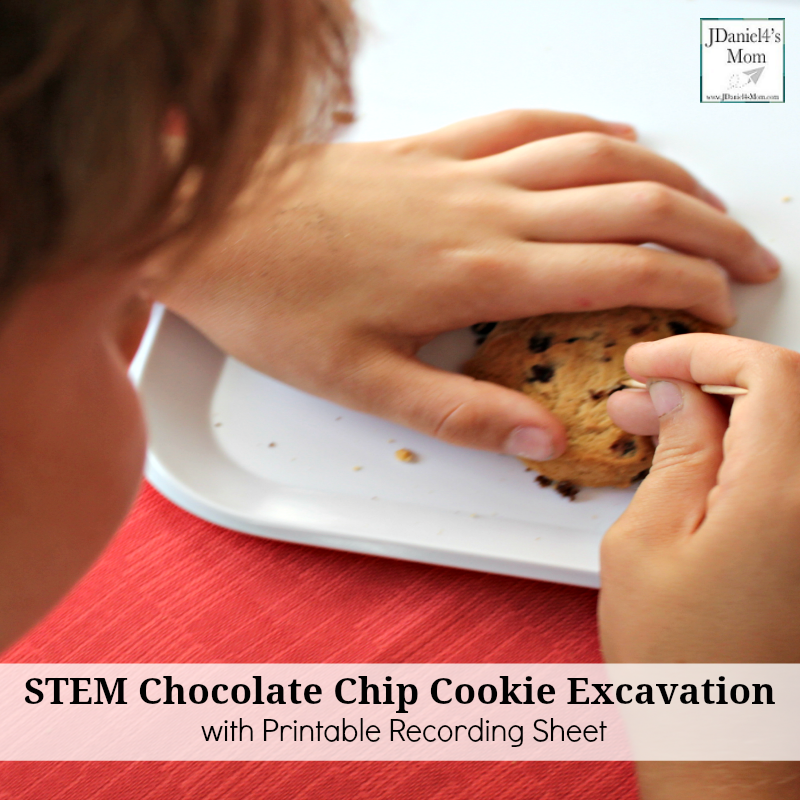
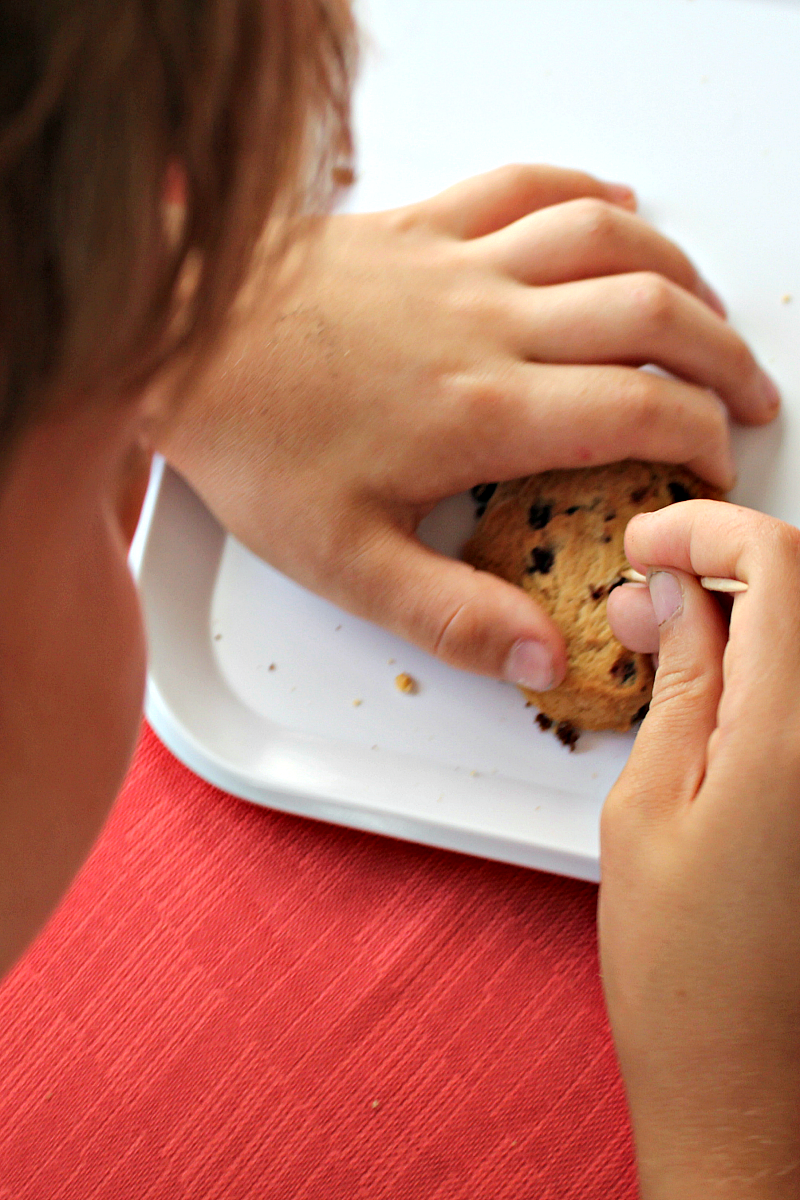
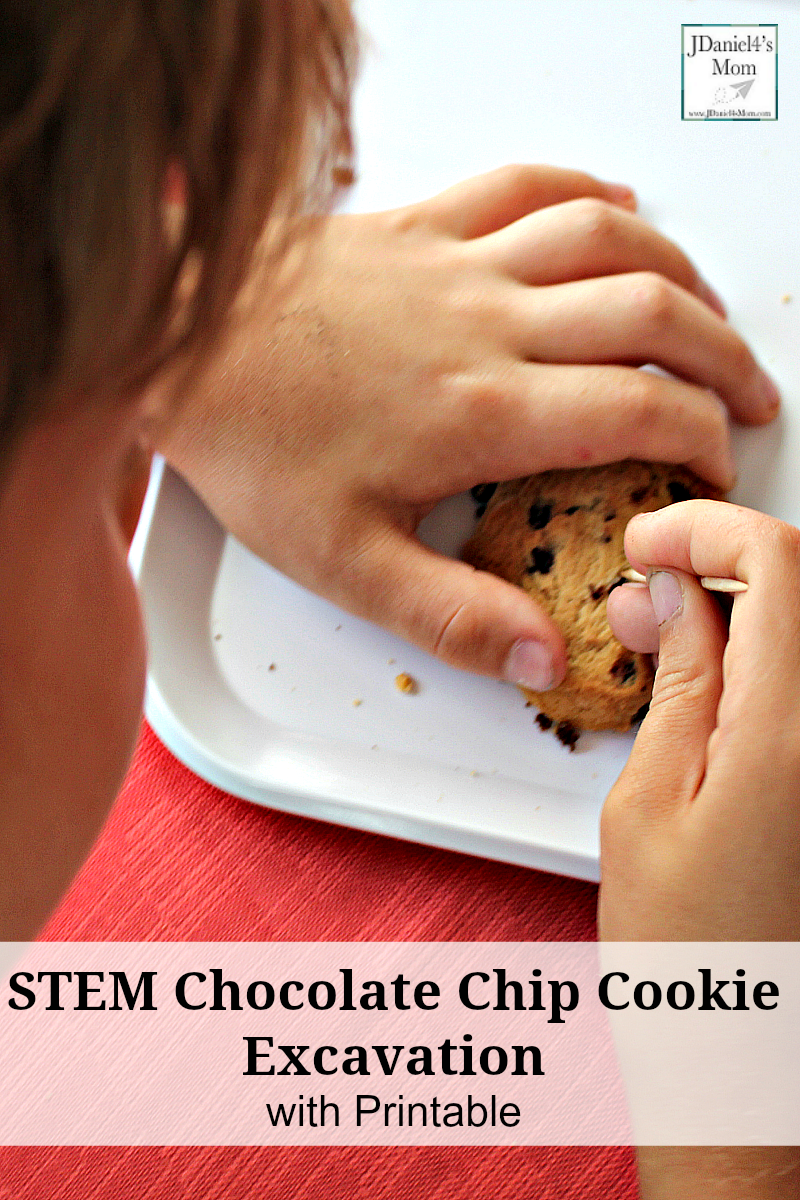
Whether you are studying geology or paleontology, this chocolate chip cookie excavation activity would be fun to do with your children. While they would have fun just picking out each of the chocolate chips, this activity will also let them work on a number of other learning concepts. The printable I created to go along with the chocolate chip excavation, that will invite them to work on mapping skills, predicting and counting skills.
Chocolate Chip Cookie Excavation Activity
Getting Ready
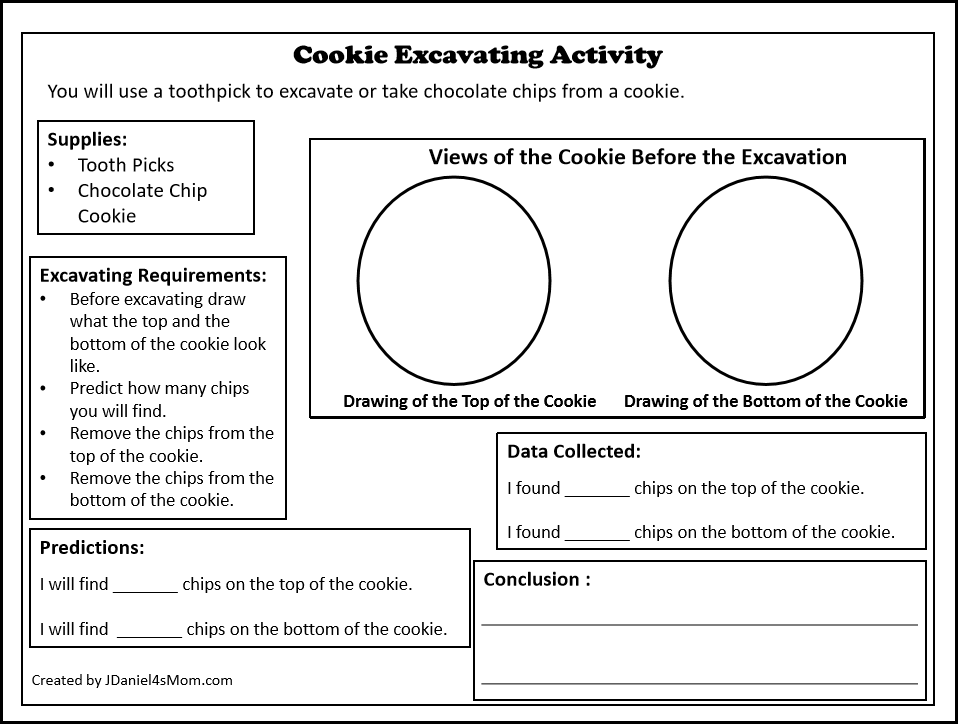
You will need to gather together a chocolate chip cookie, a toothpick, and the Chocolate Chip Cooke Excavating Activity Printable for each of your children.They will also need a paper plate, napkin or piece of wax paper to work on.
Starting the Chocolate Chip Cookie Excavation
Predicting the Number of Chips
The first thing your children will need to do is look the cookie over carefully on the top and the bottom. Then they will need to predict just how many chips are on each of the sides. They will need to record their prediction on the activity printable.
Mapping the Chips
Next, they will need to create a top view picture or map and bottom view picture or map of the cookie. It will help your children remember what the cookie looked like before it was excavated.
Excavating the Chips
Now it is time to excavate the chips. Children can start at the top of the cookie or on the bottom. When they have finished one side or the other, they will need to record how many chips they found on that side.
Then they can start excavating on the other side. When they have all the chips from that side of the chocolate chip cookie they can record that number too.
Drawing Conclusions
There is a space on the activity printable to record their conclusions. There are a number of things they could write about. They could share how accurate their predictions are. Children could explain why one side had more chips than the other. Children could share the hardest or easiest part of this STEM activity.
If you like this STEM activity, here are some more you will love:
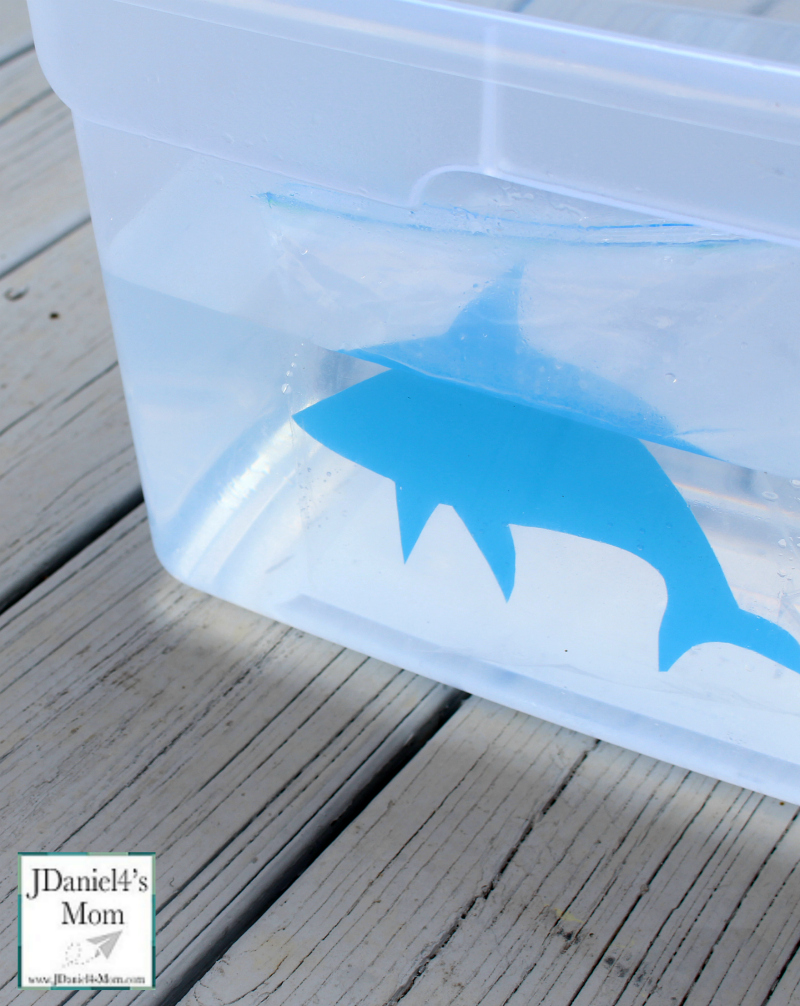
Fish have a gas-filled swim bladder that keeps them afloat in the water. Sharks stay afloat or stay buoyant due to an oily liver and some fat. The oil in a shark’s liver is lighter than water. It gives a shark some buoyancy. The oil is still heavier than water and if the shark doesn’t keep moving it will sink. will sink.
Getting Ready
Making the Sharks
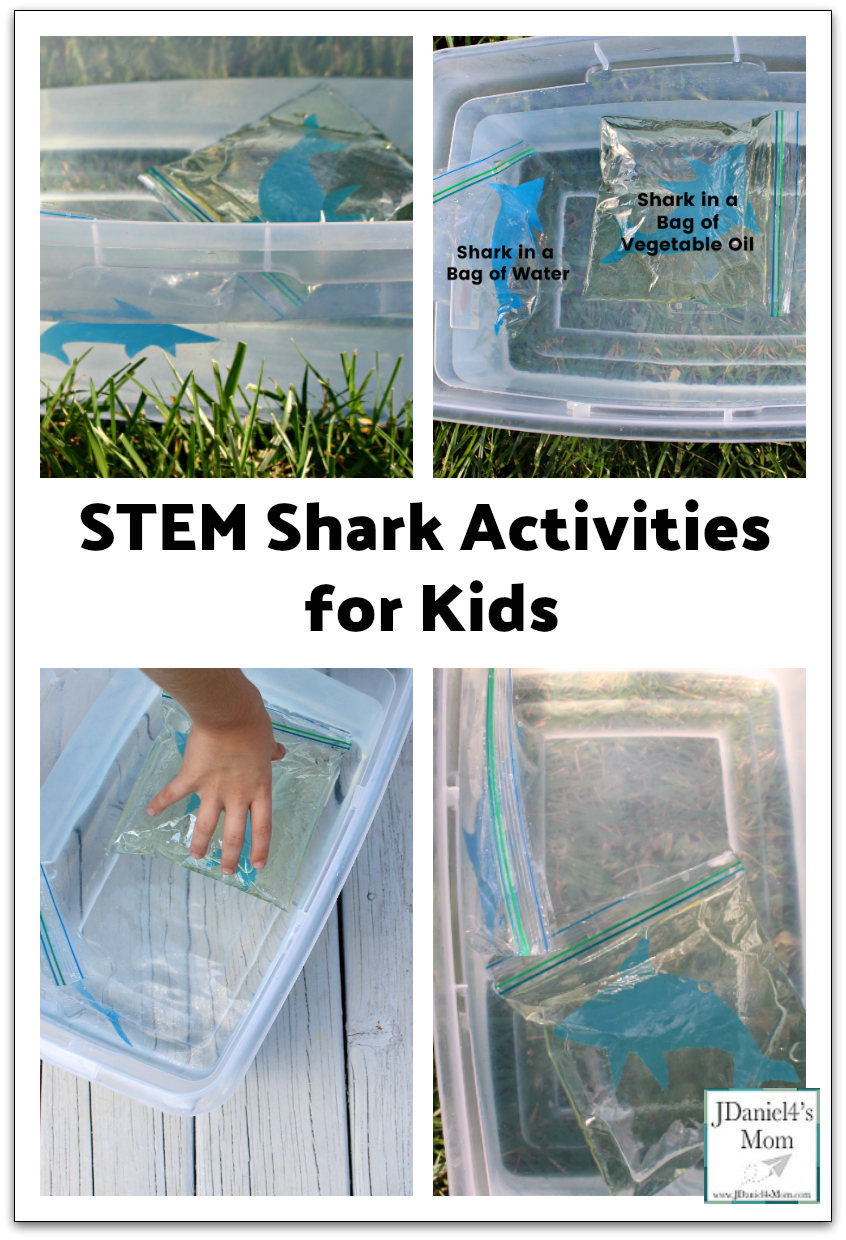
Before you can start the shark activities for kids, you will need to cut two sharks out of a plastic blue file folder. You will need to find a shark online or in a book. Then we traced it onto the front of the file folder. Finally, we cut shark traced onto the folder out while holding the back of the folder to the front of the folder. That allowed us to cut out two sharks at the same time.
Gather Materials
Now that you have the sharks ready you will need to gather a few more materials.
You will need:
Two Strong Ziplock Plastic Bags
Vegetable Oil
Water
Large Plastic Tub or Box
Filling the Bags and the Tub
You will need to fill the tub almost up to the top with water. Don’t feel it all the way the top! When you children place their hands in the tub, they will displace some of the water! It may then spill out of the tub!
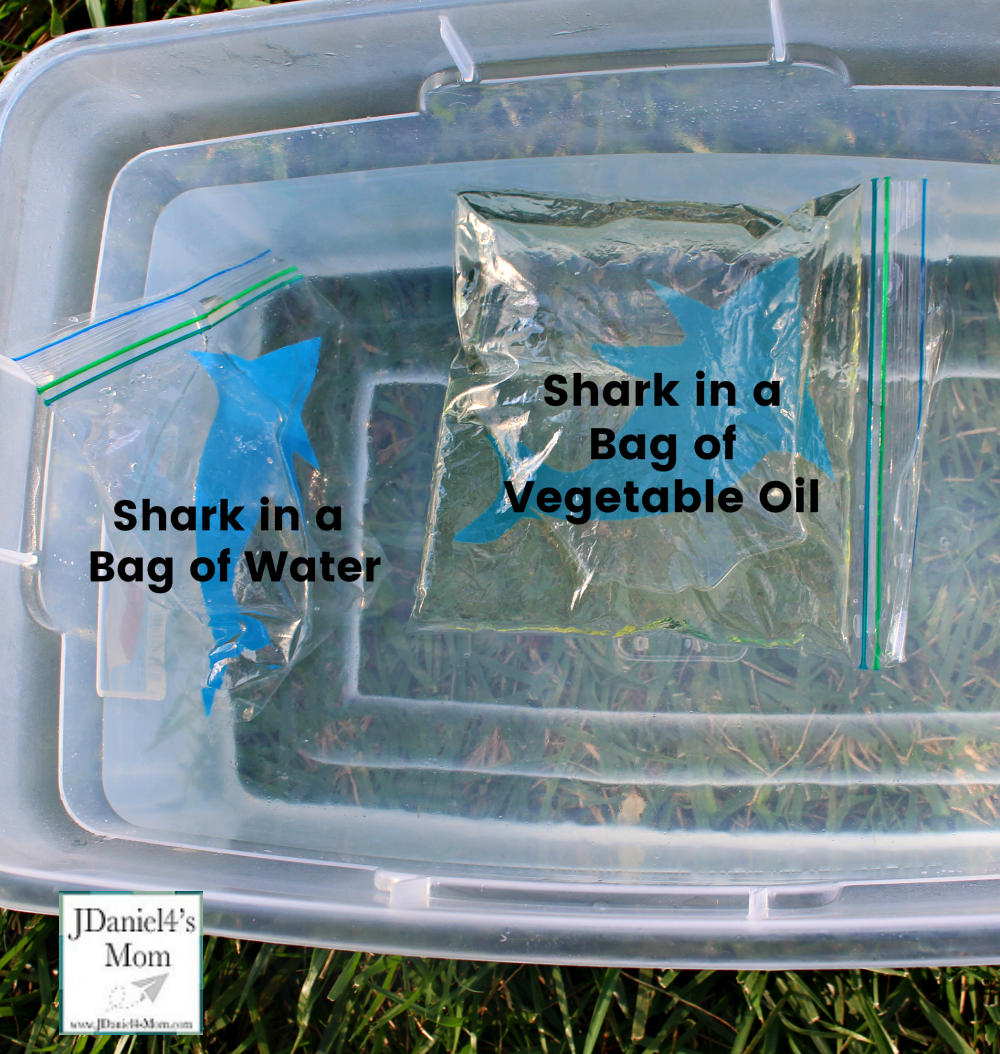
One of the plastic bags will need to be filled about 2/3 of the way with water. The other bag needs to be filled 2/3 of the way with vegetable.
Then you will need to place a shark into each of the bags. If you want to place duct tape over the top of the bag to keep the liquids in you totally can.
Activity One – Adding the Bags Vertically
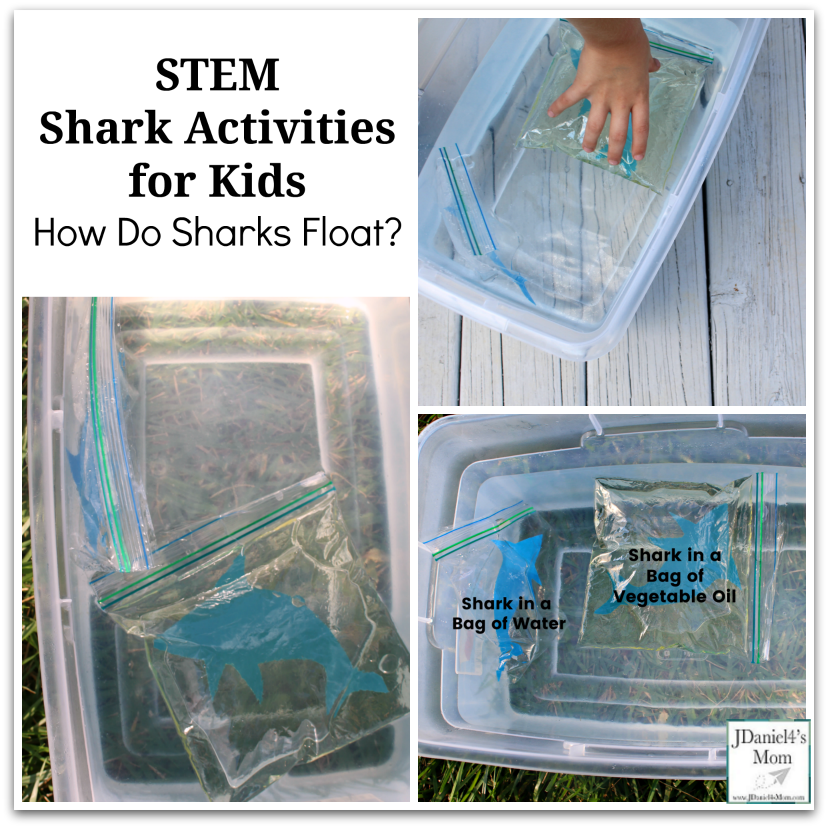
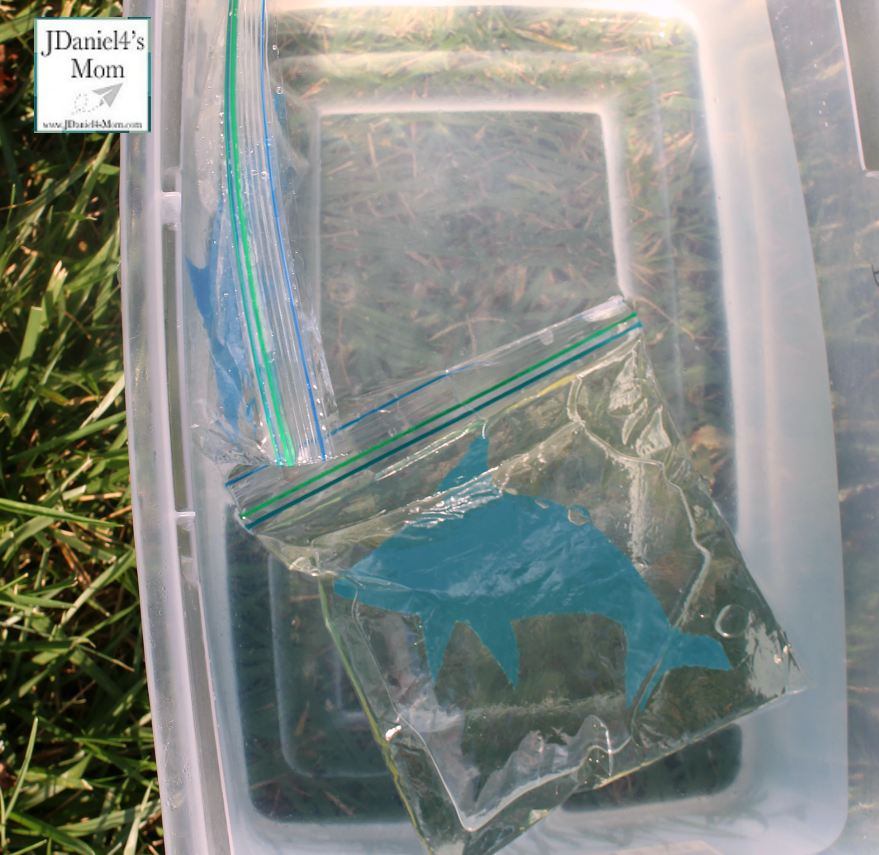
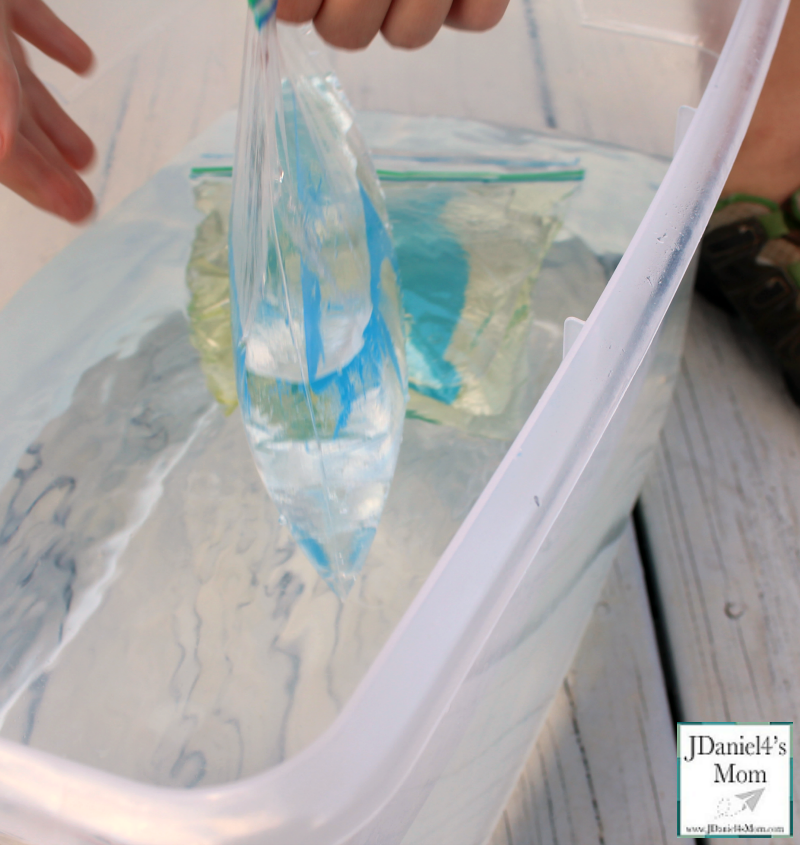
Have your children place each of the bags into the water vertically. Watch what happens to the bags. The bag with the oil will probably flip on its side. The bag with the water in it will probably sink down a little.
Activity Two – Adding the Bag Horizontally
Have your children place each of the bags into the water horizontally. They may find that both of the bags float at first. The bag with the water in it may sink a little after a short time.
Activity Three – Pushing Down the Bags
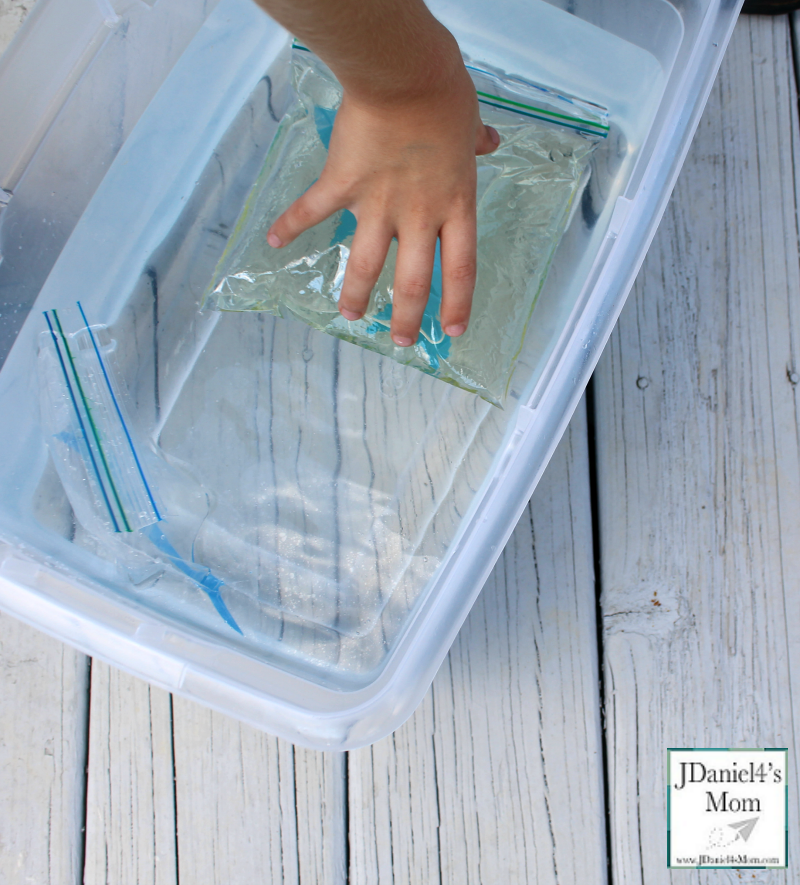
Children will place both of the bags in the plastic tub or box horizontally. Then they will place on hand on each bag and try to push it down.
If you like this activity, here are some more shark activities you will love.
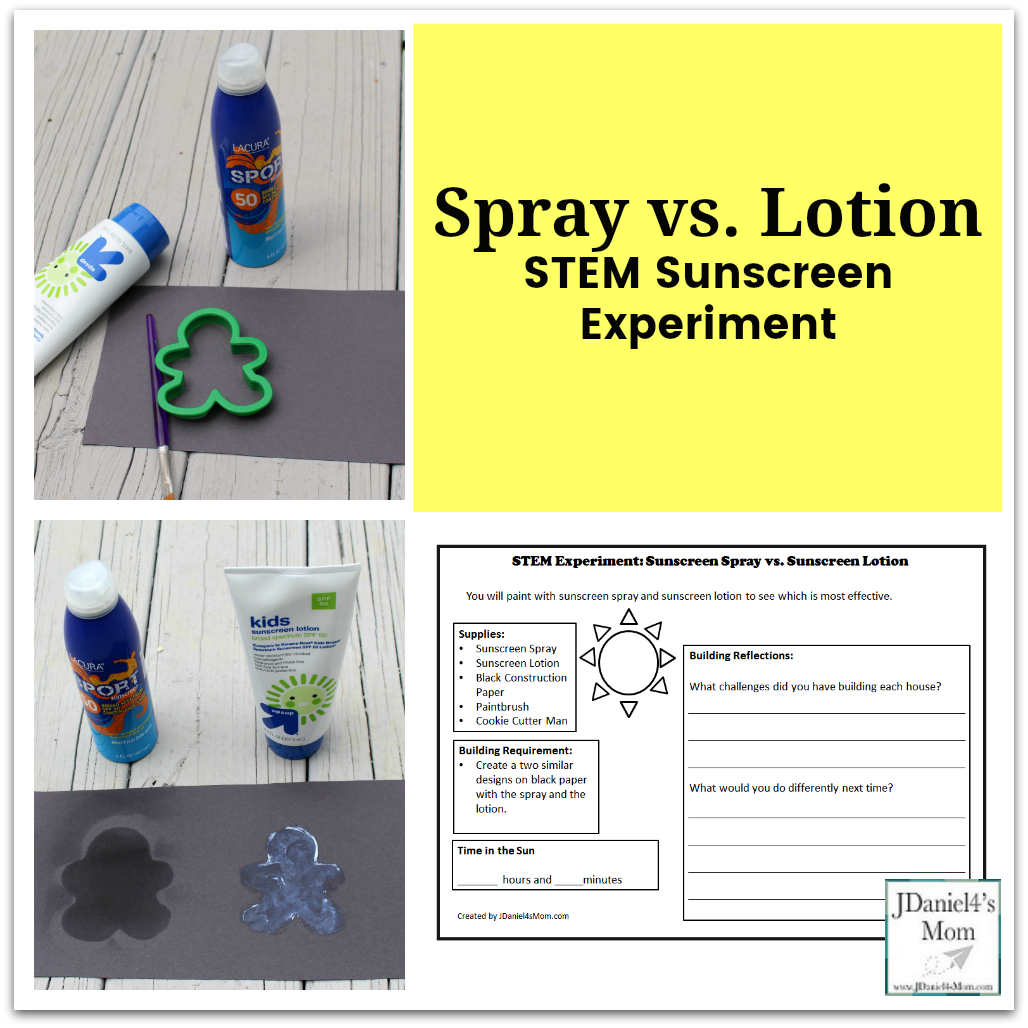
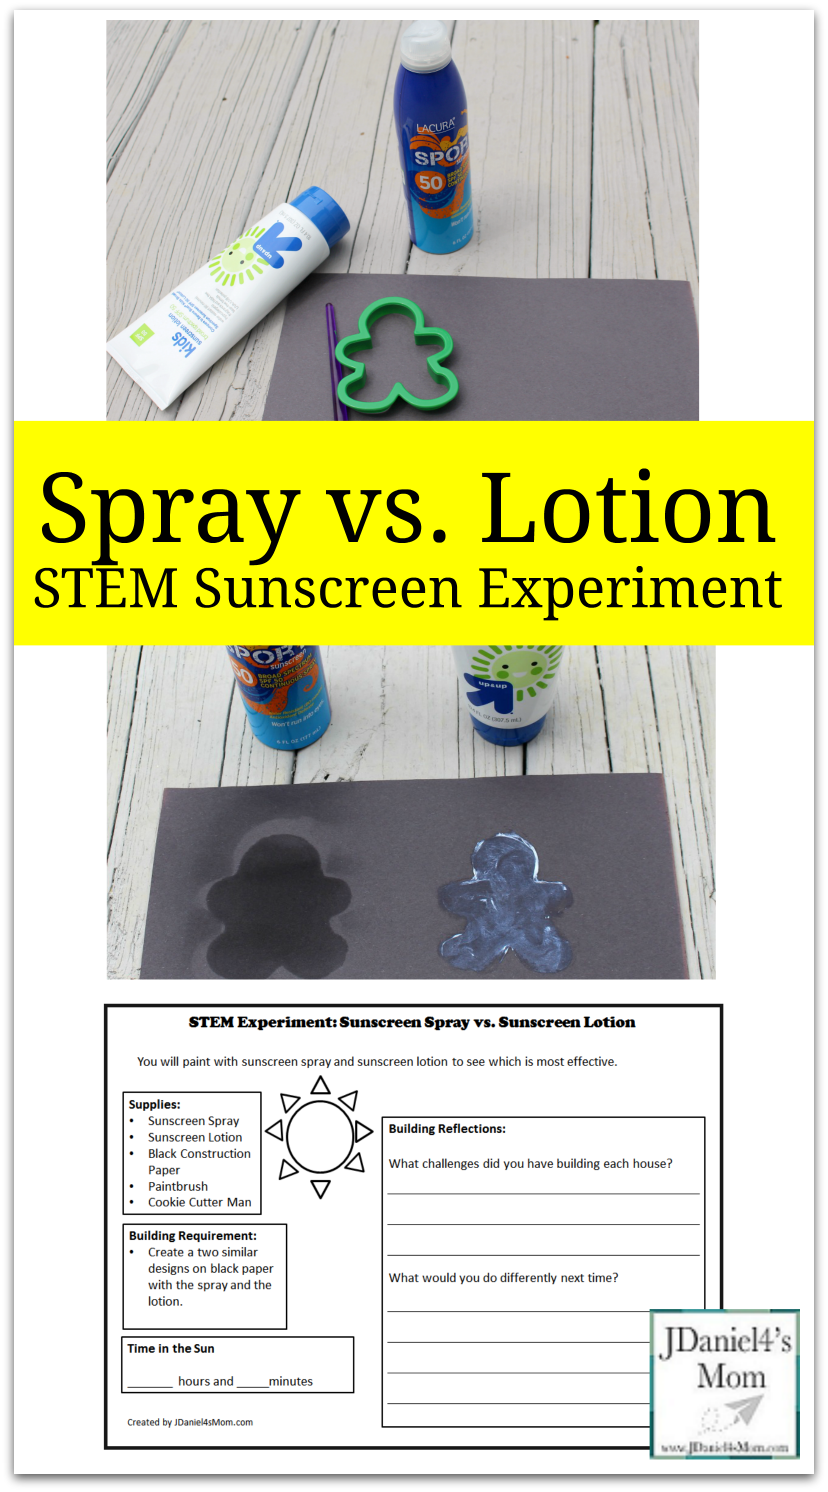
Last week I shared with you several eclipse activities and crafts. An oatmeal container pinhole camera was shared last Monday. Then I shared with you a total eclipse paper plate craft. Finally, I shared with you how to make a camera obscura out of a cereal box. When I was brainstorming activities to share with you this week, I still had blocking the sun on my mind. That is why today I am sharing with you a STEM sunscreen experiment.
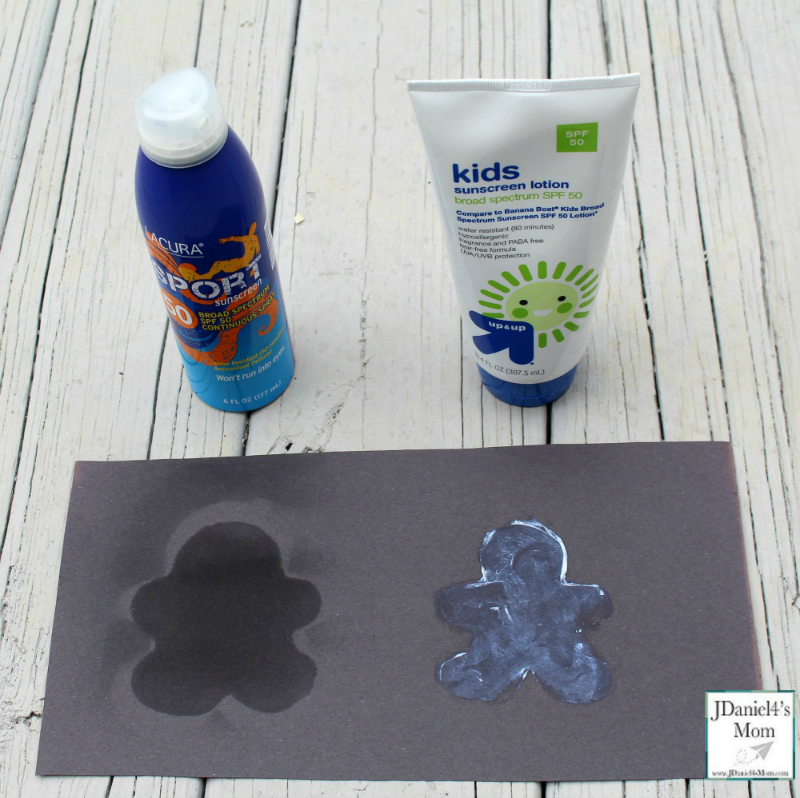
The sunscreen experiment explores the effect of sunscreen lotion and sunscreen spray on a piece of black paper. Your children will figure out which of the substances prevents the paper from fading the best. You will want to make that the both the spray and lotion have the same SPF. Both our lotion and spray had an SPF of 50.
Sunscreen Experiment
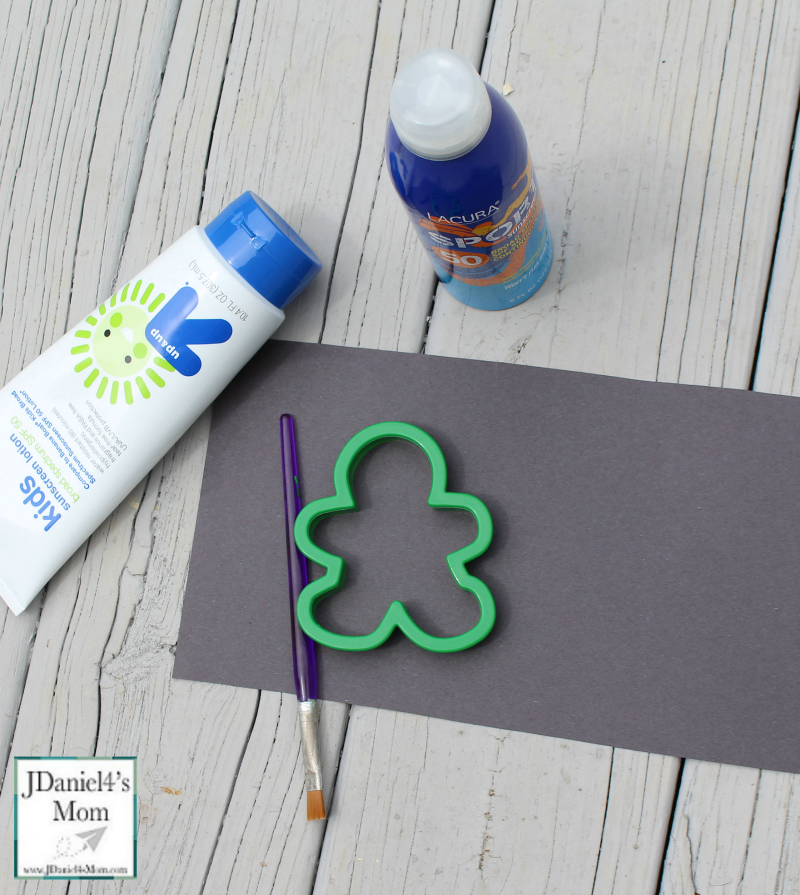
Before your children for students start the sunscreen experiment, you will need to gather a few supplies.
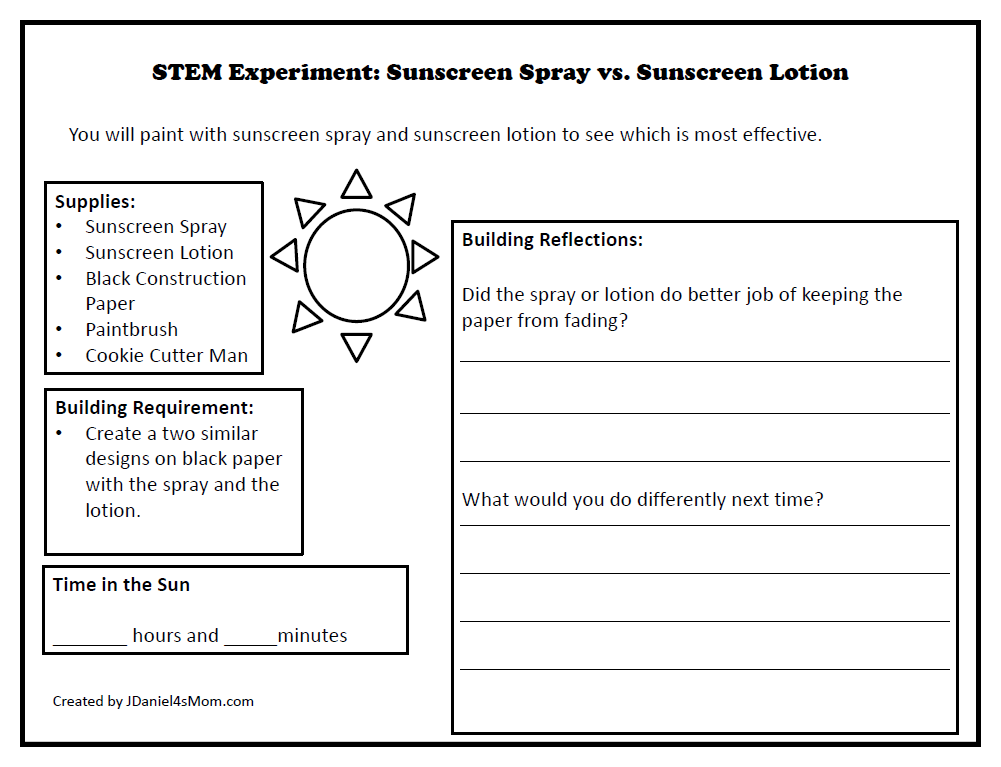
You will want to start by going over the STEM Sunscreen Experiment Printable with your children. It will help them know what they will need to do and what they will be recording when the experiment is done.
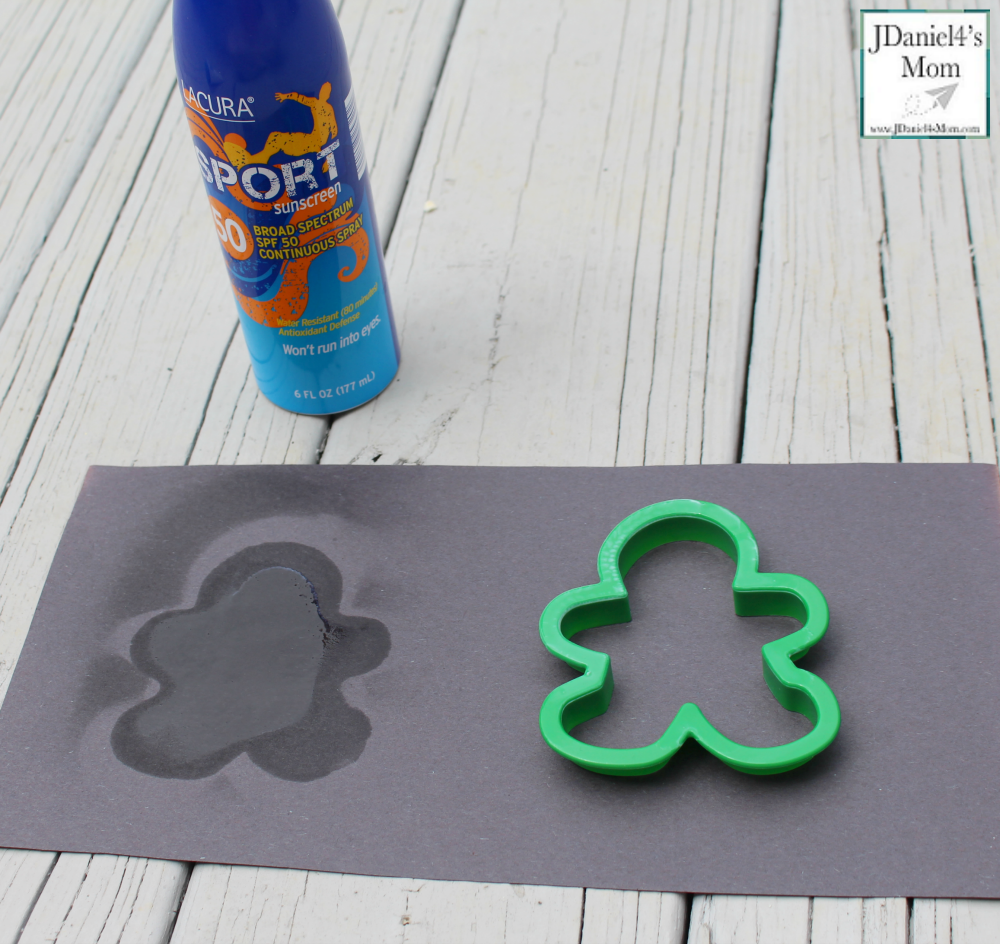
Then you may want to take the experiment outside. Spraying the sunscreen is messy.
Once your children are outside, they can place the boy shaped cookie cutter on the left-hand side of their black paper. They may want to hold it in place as the spray the inside of the cookie cutter with the sunscreen spray from about six inches away. Children will want to leave the cookie cutter in place for a minute or two. That will keep the spray on the paper from spreading.
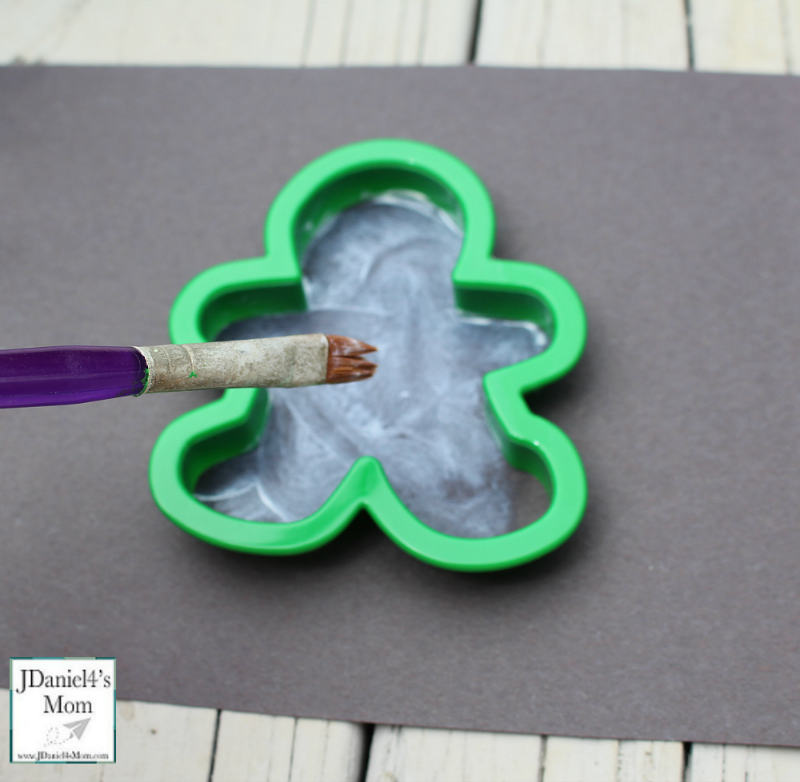
Next, they will move the cookie cutter to the right side of the paper. Your children will be applying the sunscreen lotion with a paintbrush inside the cookie cutter at this location.
Then it is time to leave the two sunscreen boys paper outside in the sun or by a large sunny window. We left ours out for 4 hours.
Coming to Conclusions
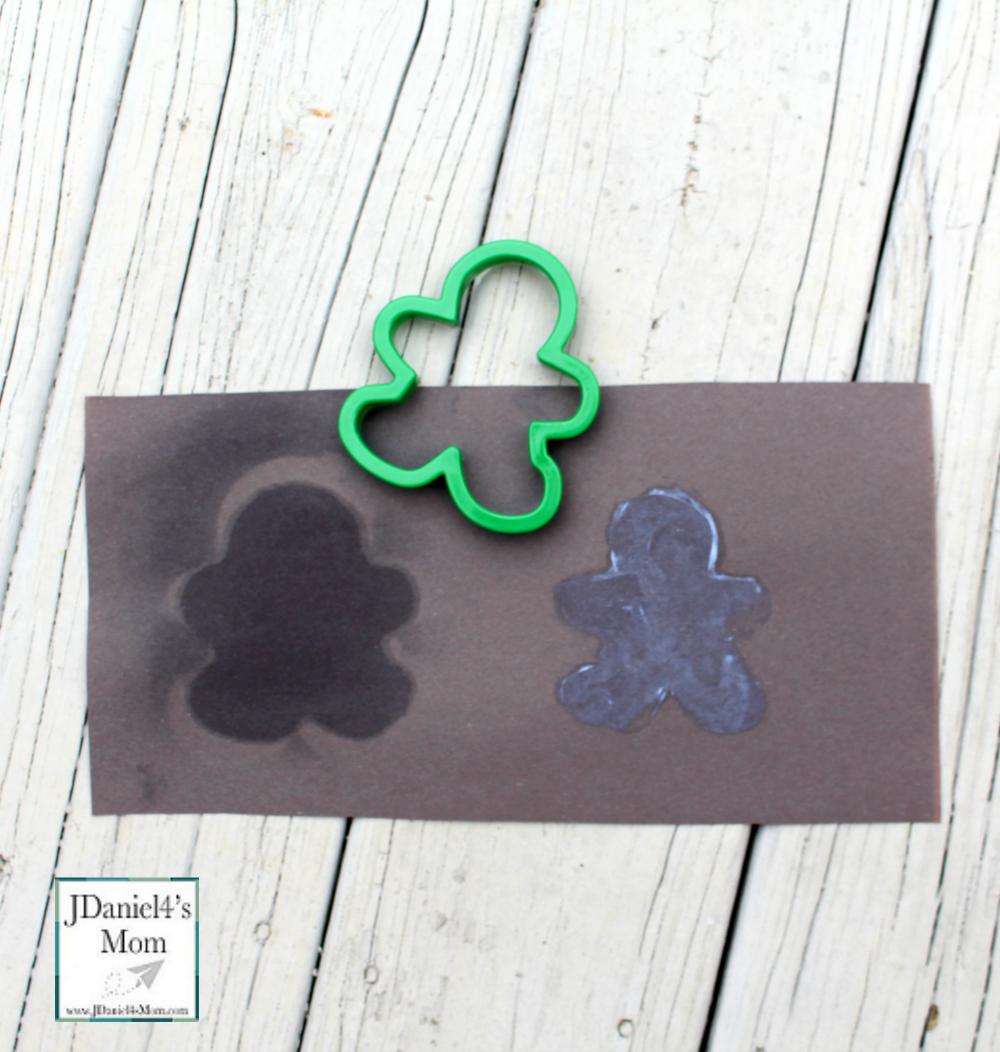
Your children will notice that the areas of the paper without sunscreen have faded in the sun. If they use a lot of the sunscreen lotion, it may be hard to tell which one did the least fading. You may need to pass out magnifying glasses to look carefully or look at the paper of someone who used less lotion.
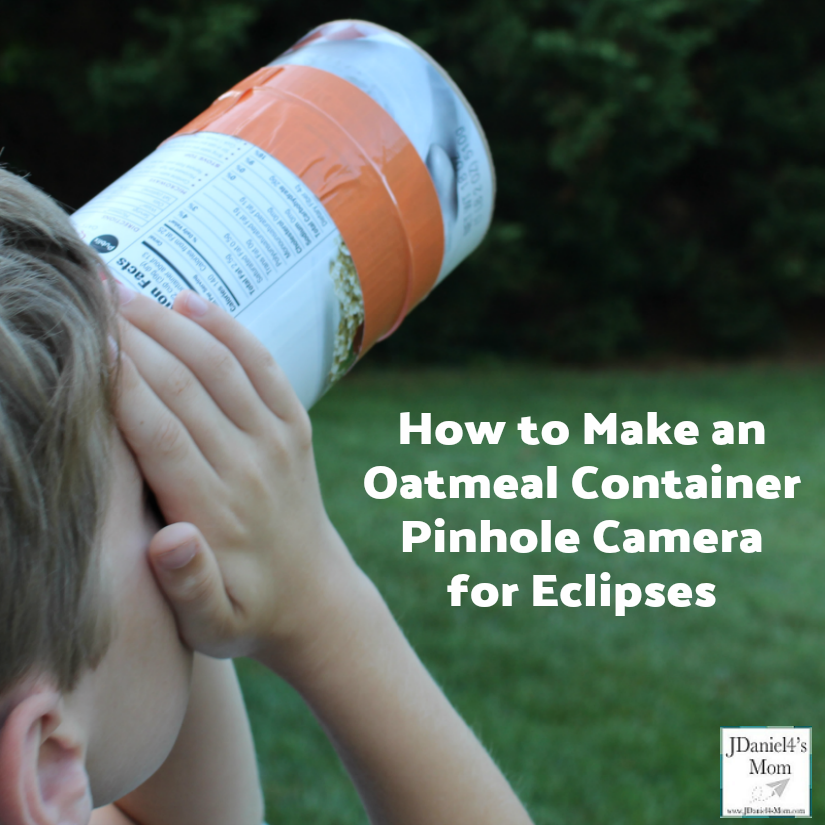
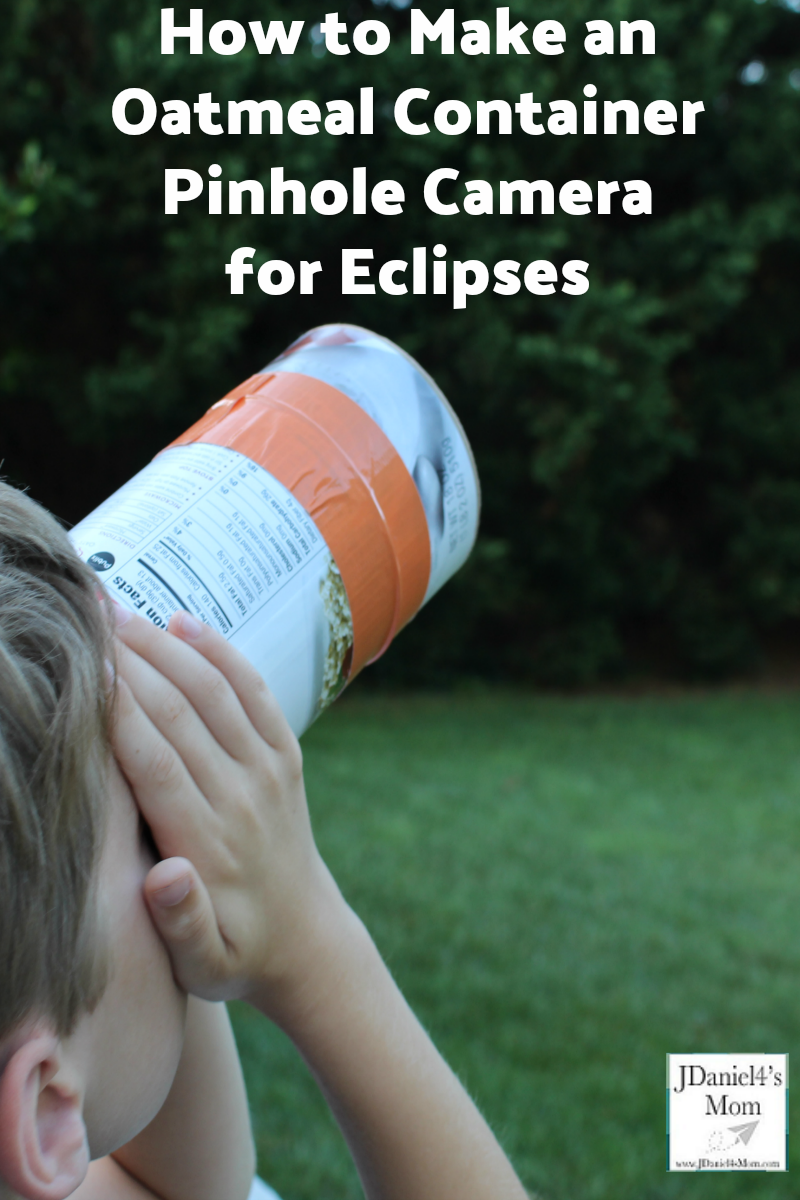
We happen to live in a wonderful area to see the total eclipse in August. It will be so exciting to watch it. You can’t look directly at the sun during an eclipse. You can use a pinhole camera or camera obscura to watch it. Today I am sharing with you how to make a pinhole camera. Later in the week, I will share with you how to make a cereal box camera obscura.
Even before the eclipse, it will be fun for your children to use the pinhole camera outside. They will have fun viewing the world upside down.
Creating the Pinhole Camera
Getting Ready
The first thing you will need to do is gather the supplies. You will need the following.
Supplies
Oatmeal Container
Sharp Object (Knife, Push Pin, Thumb Tack)
Parchment Paper
Glue
Scissors
Ruler
Clear Tape
Duct Tape
Constructing the Pinhole Camera
Getting the Oatmeal Container Ready
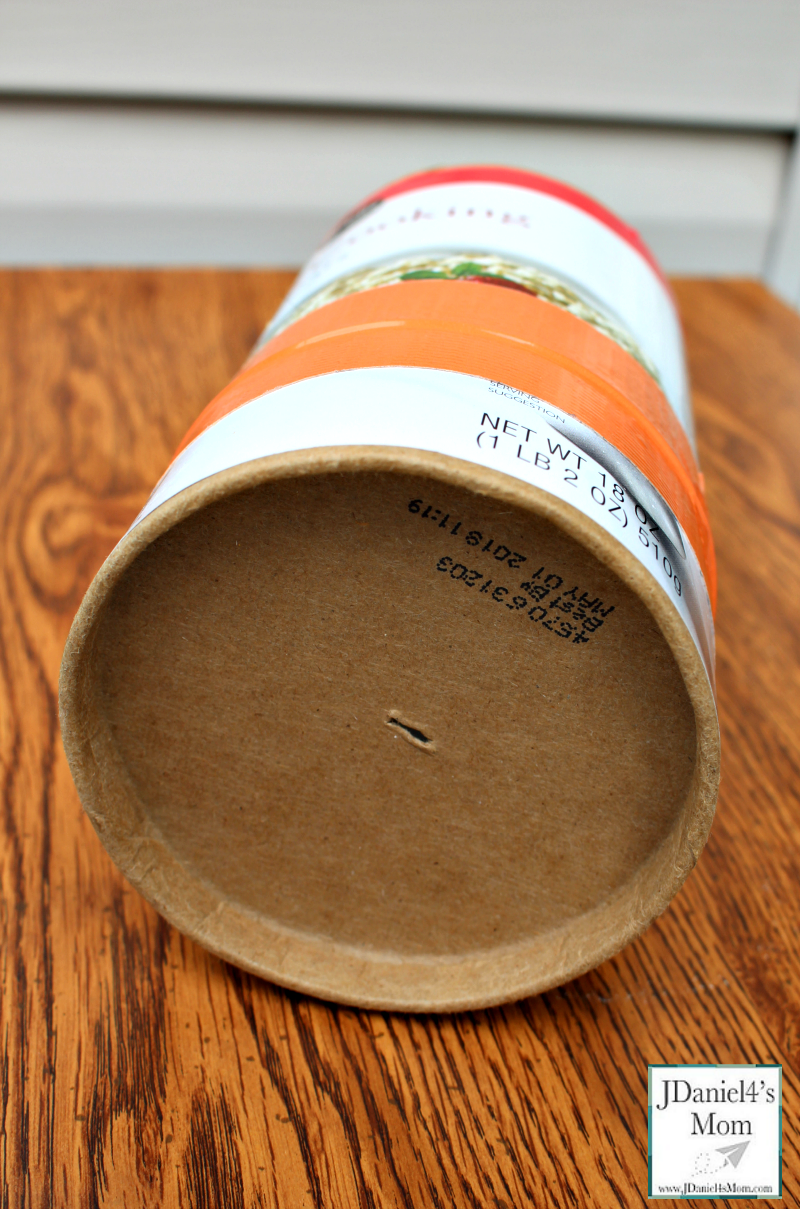
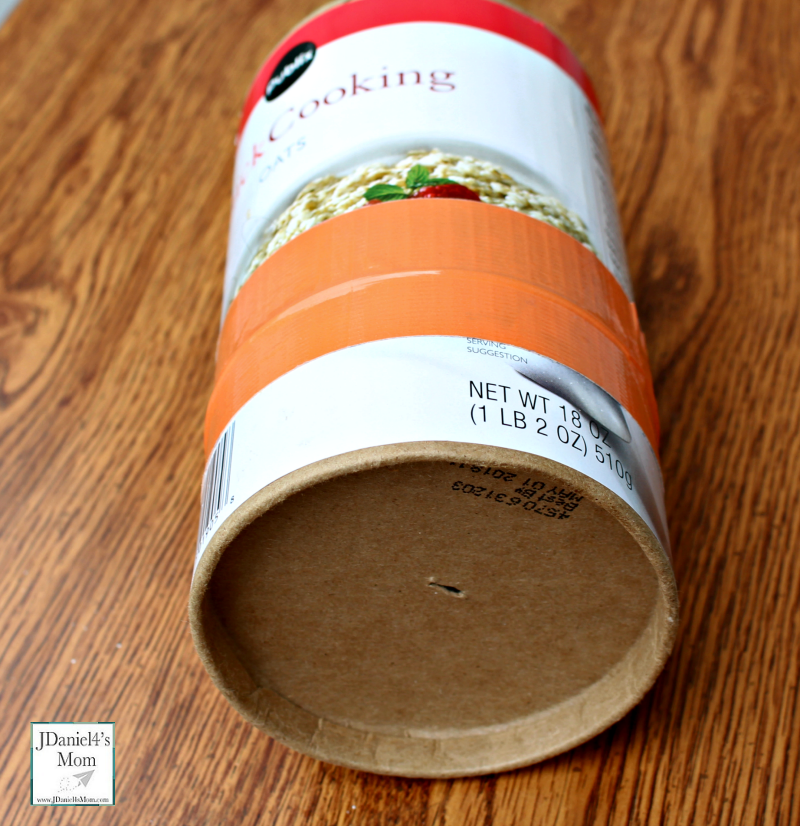
You will need to start by place a small hole in the bottom of the oatmeal container. It is easier to put the whole in the container while it is in one piece.
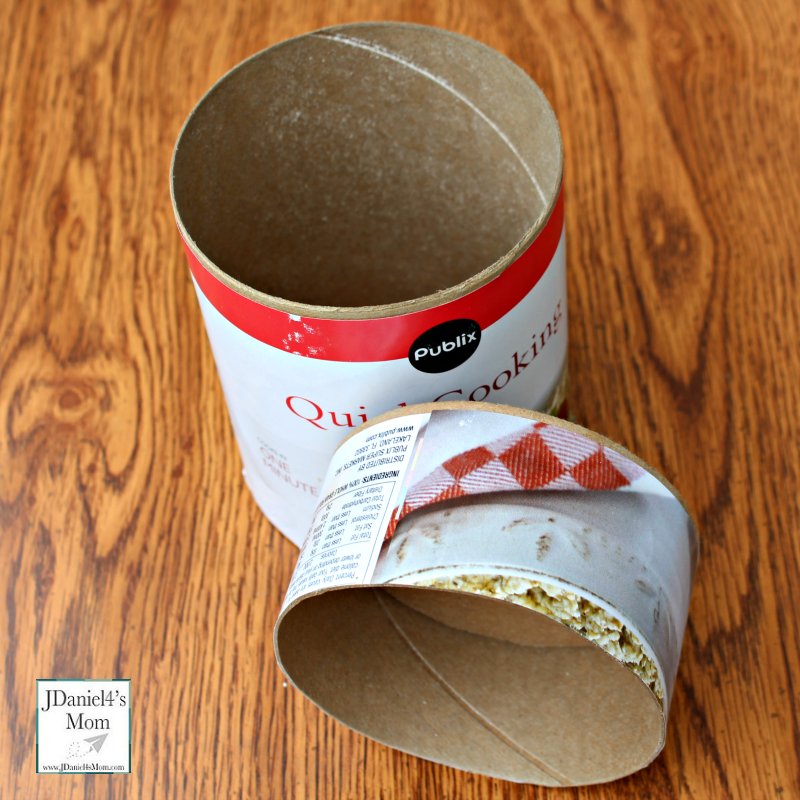
Then you will need to draw a line around the container about 2 1/4 inches from the bottom.
Next, you will cut along the line to separate the bottom section of the oatmeal container from the top.
Creating the Screen
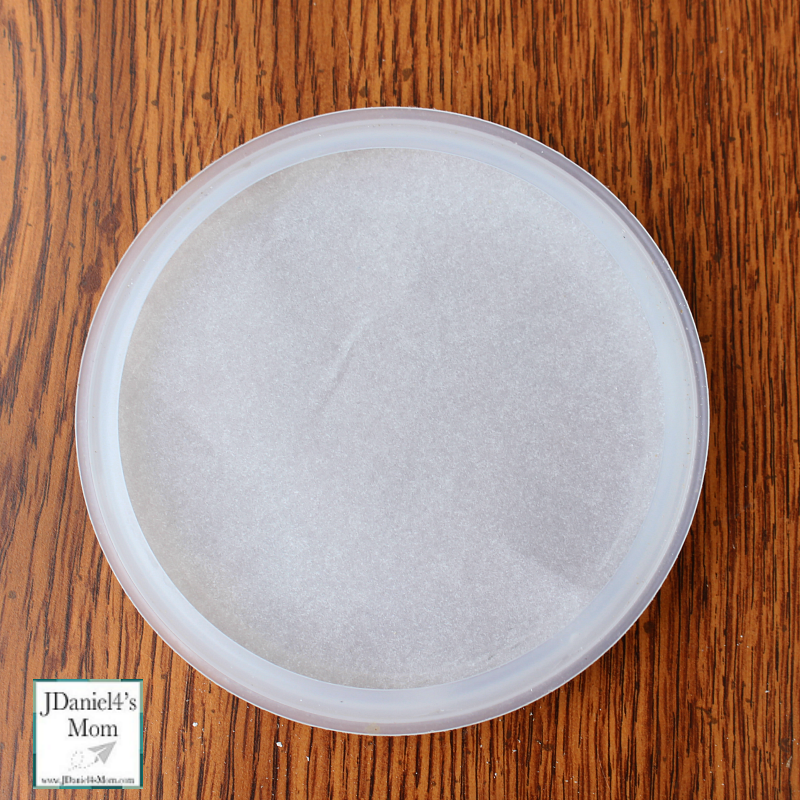
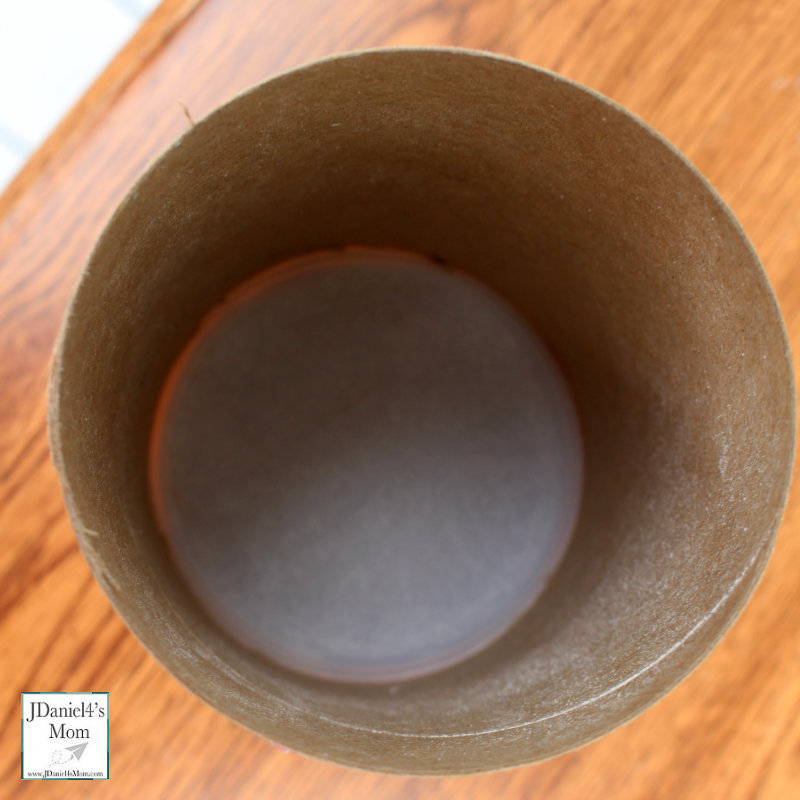
Now it is time to trace the bottom of the lid to the oatmeal container onto parchment paper. Once you have it traced you can cut it out.
The parchment paper circle will need to be glued onto the top of the lid. Once the glue is dry, you can place the lid on the bottom section of the oatmeal container.
Finishing Up the Pinhole Camera
The final step is to tape the two sections of the oatmeal container together. There are two steps to this process.
You will need to line up the edges and place clear tape vertically across the seam in several places. This will make it easier to add the duct tape. If you skip this step, the two sections may be hard to hold together and tape.
Finally, you will add the duct tape horizontally across the seam between the two sections. The thickness of the duct tape will keep light from seeping into the pinhole camera.
If you like this STEM experiment, here are some more I think you will like:
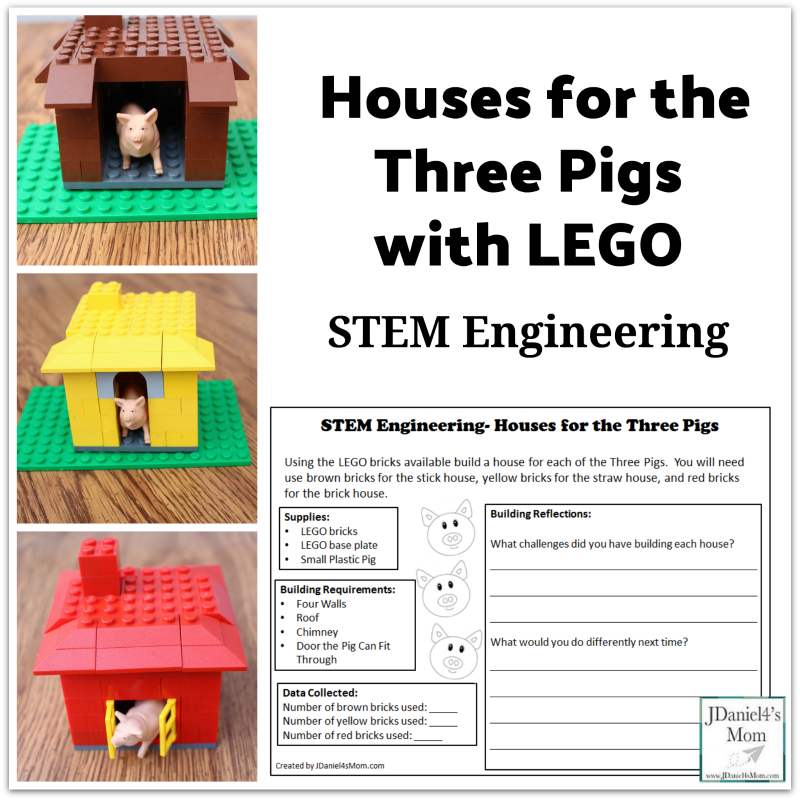
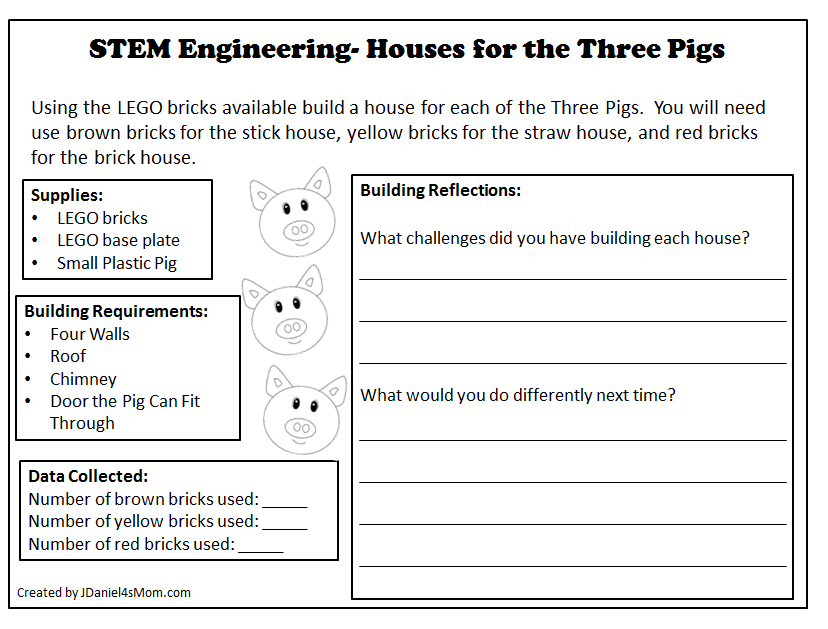
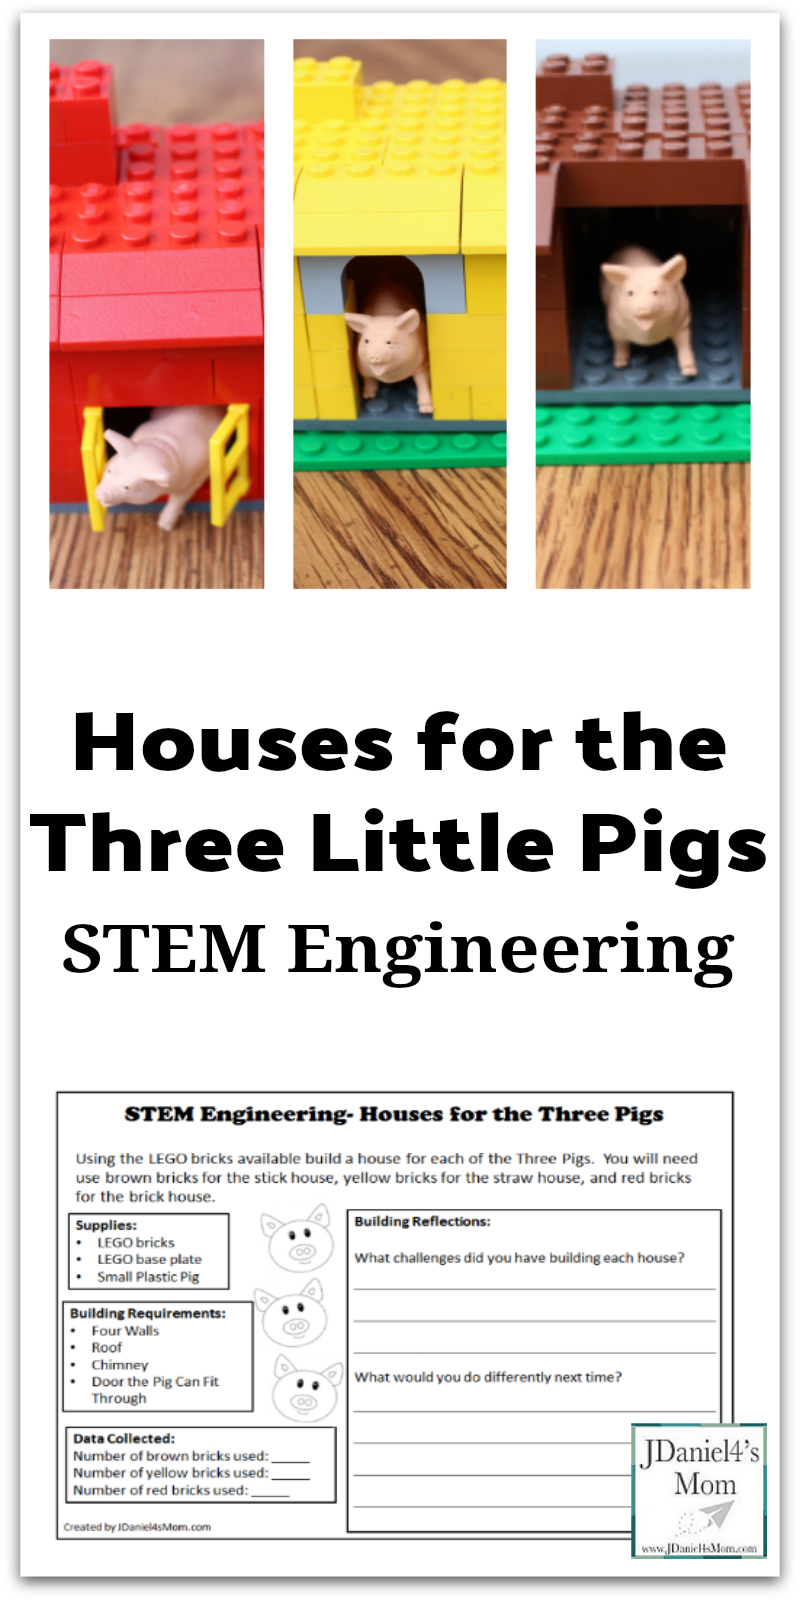
Your children will have a great time doing a STEM engineering project based on a familiar fable. It is always fun to take something familiar like the Three Little Pigs and create something based on it. This STEM engineering project is based on the original version of the tale. You could adapt it to work with other versions of the story if you like.
Getting Ready for This STEM Engineering Project
If you haven’t heard the story of the Three Little Pigs, you may want to read The Three Pigsto them. It will familiarize them with the story and let them see what the houses look like.
Then you will want to print out STEM Engineering – Houses for the Three Pigs Printable and go over it. Your children will need to know what the houses they build will have to have. Please remind them that the building requirements listed are just the minimum. They can add windows, shutters, or actual doors if they like.
Completing the STEM Engineering Activity
House Building
Links below is an affiliate link.
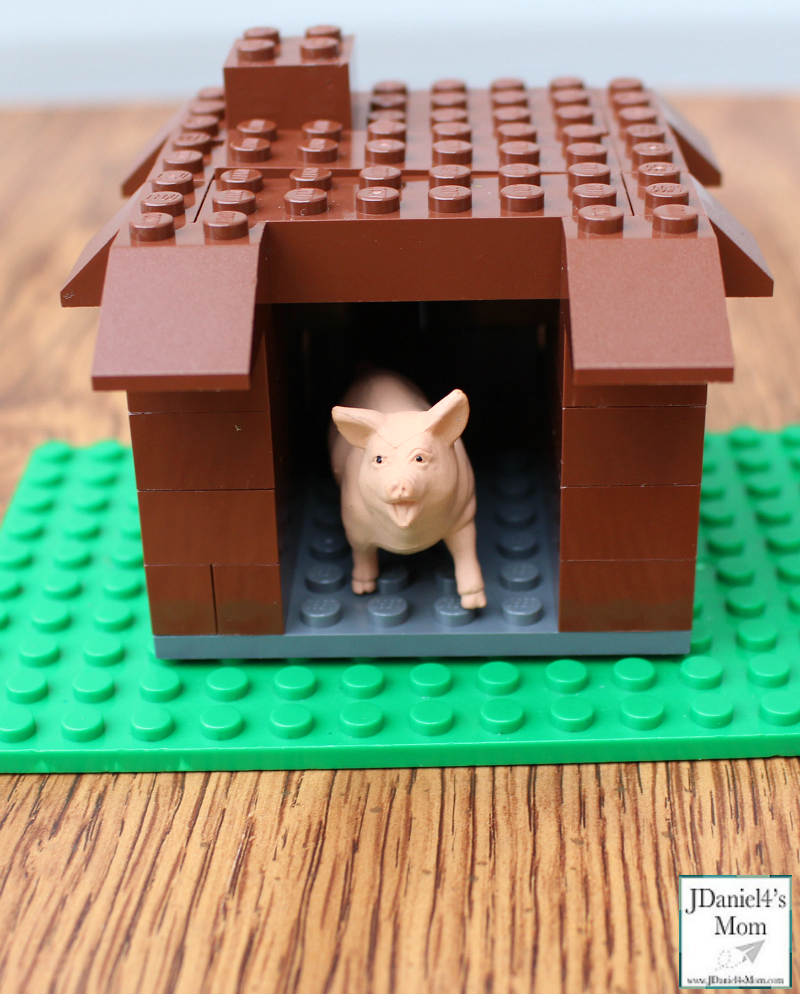
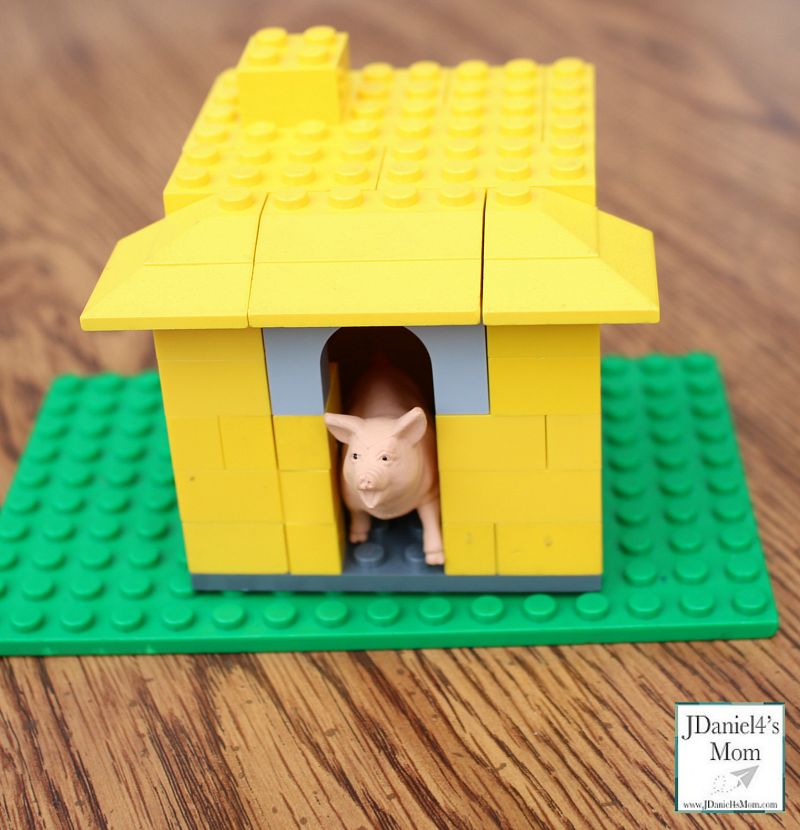
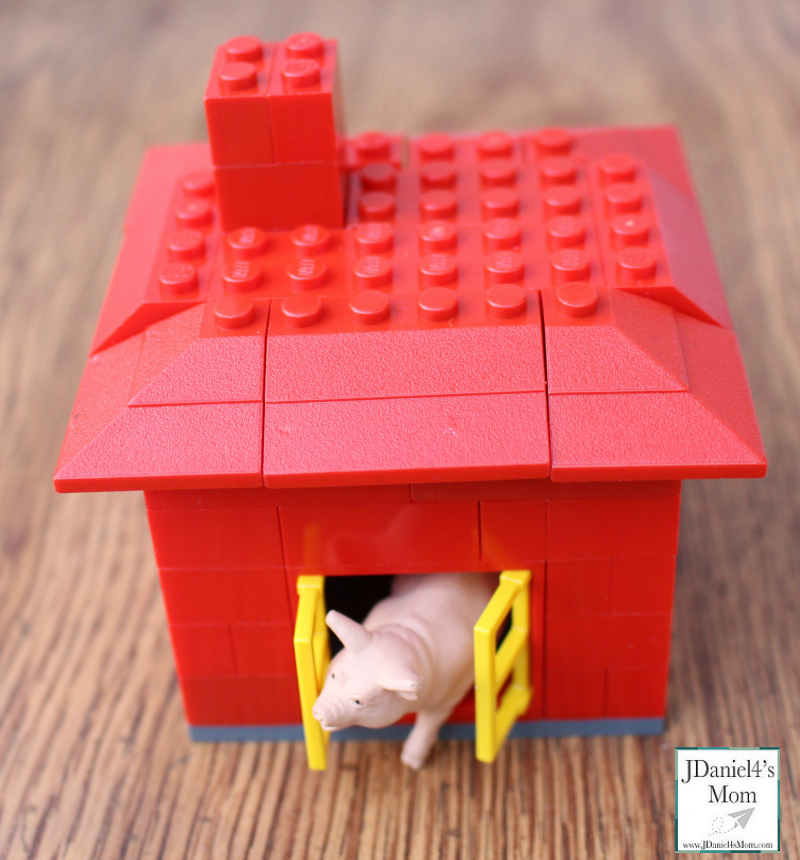
You or your children will need to gather the base plates (We used gray < gray8×8 base plates as the foundation for our house.), some roof bricks and a variety of bricks the color of each of the houses.
Then it is time to build. Your children may have no trouble building houses that have a roof, a chimney, and four walls. The tricky part may be making the door opening big enough for a small plastic pig to get in and out of.
Recording and Reflecting
When your children have finished their houses, they can fill out the building reflections and the number of bricks sections on the printable.
Brick Count
Finding out which house used the most or fewest blocks will be fun for your children. While each of their houses may look the same, children may have used totally different numbers of bricks to construct them. (Some of that will depend on what size bricks you put out for your kids.)
Building Reflections
It will be interesting to see what your children saw as building or engineering challenges. Some children may share that the planning was the hardest while others may say the constructing was the hardest. Children will reveal what they have learned while completing this STEM engineering challenge when they share what they would do differently.
Children will reveal what they have learned while completing this STEM engineering challenge when they share what they would do differently. It will be interesting to see what your children share.
If you like this LEGO activity, here are some more LEGO activities you will want to look at:
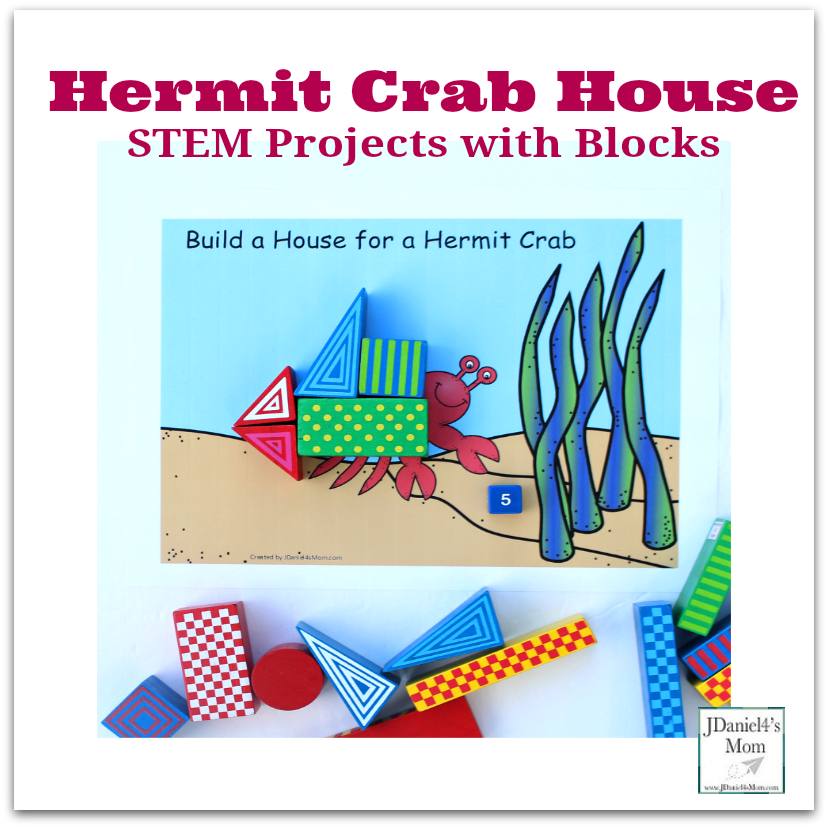
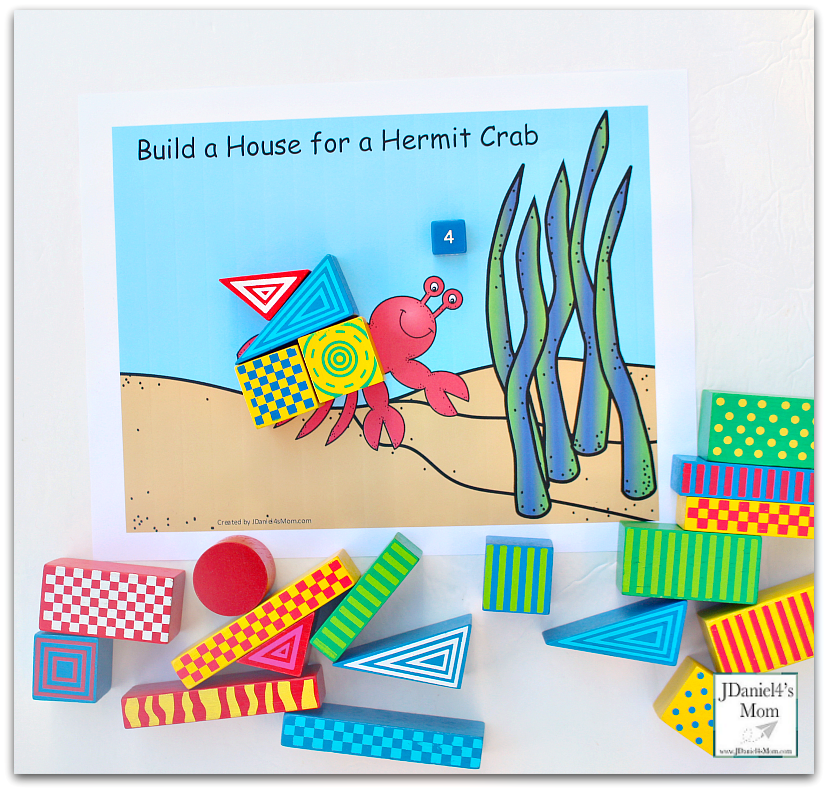
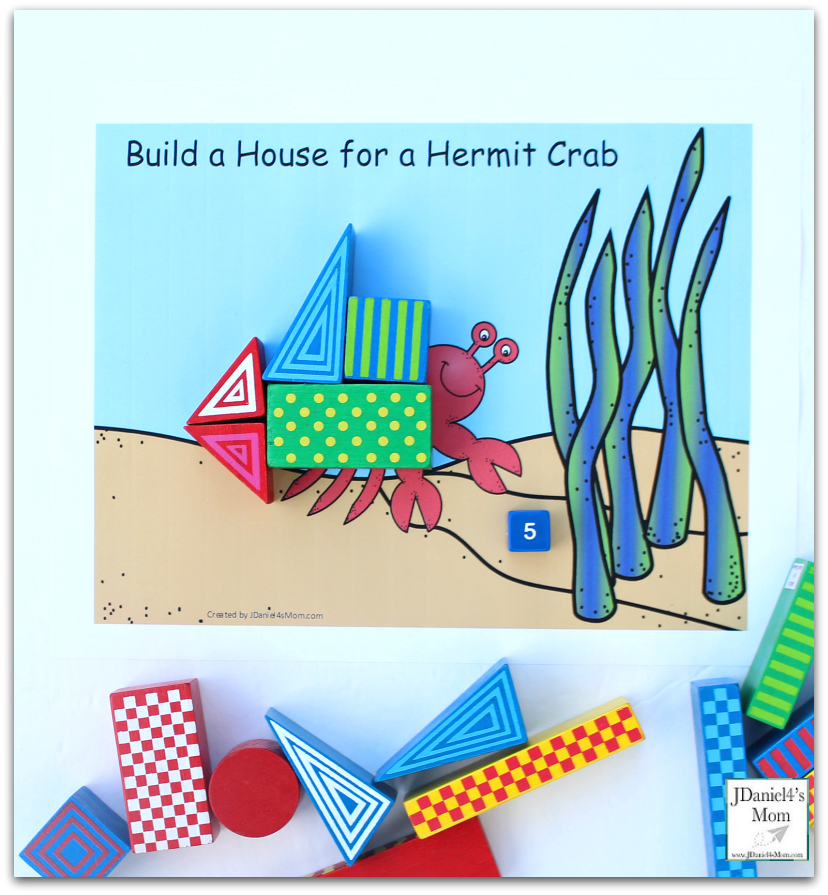
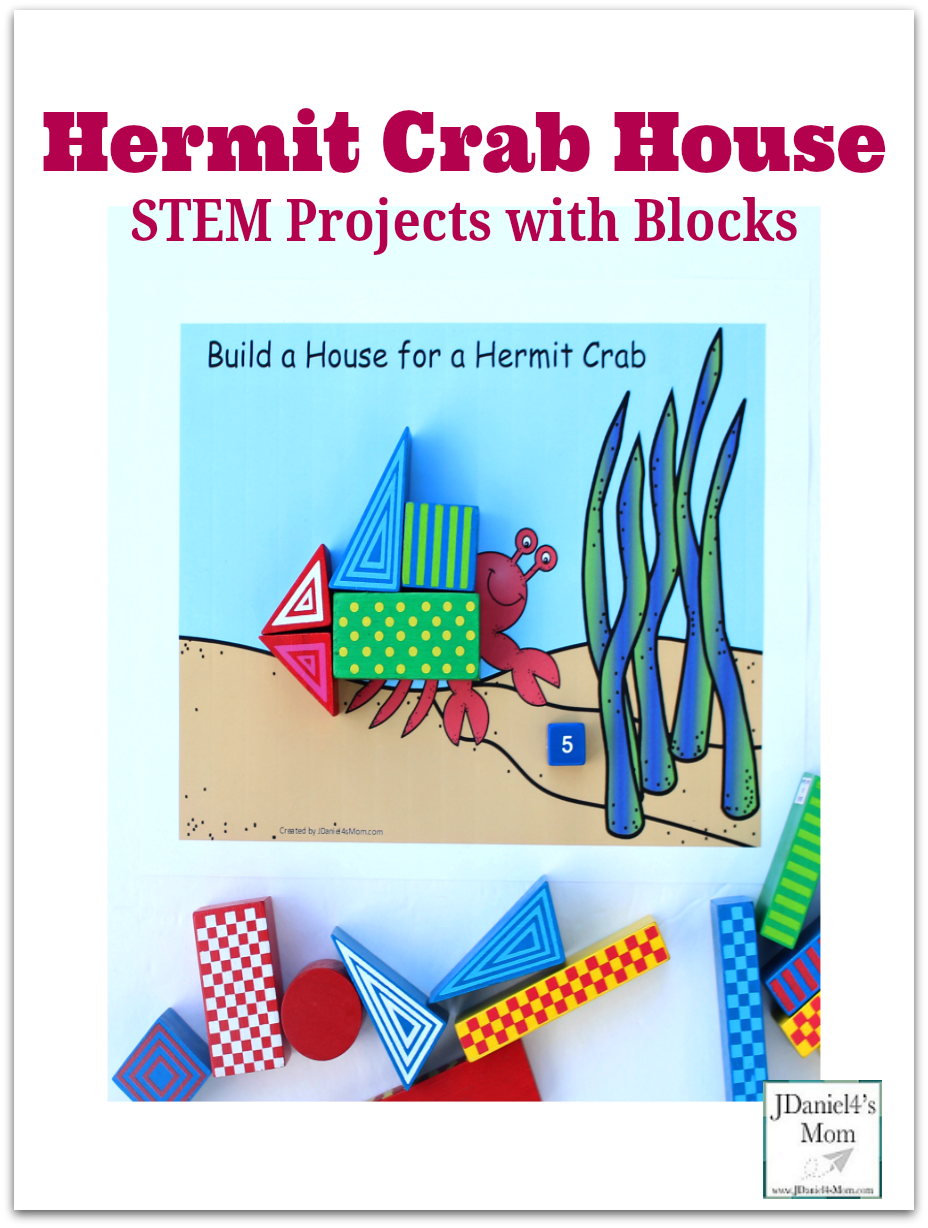
This week I have been I have been sharing with you activities that go along with the book A House for a Hermit Crab. The first activity I share with you was a calendar sequencing printable set. Then I shared with you a fun fine motor inspired paper plate crab. Today I have a fun STEM projects mat that can be used with a die and blocks to build a hermit crab house.
Getting Ready for the STEM Projects
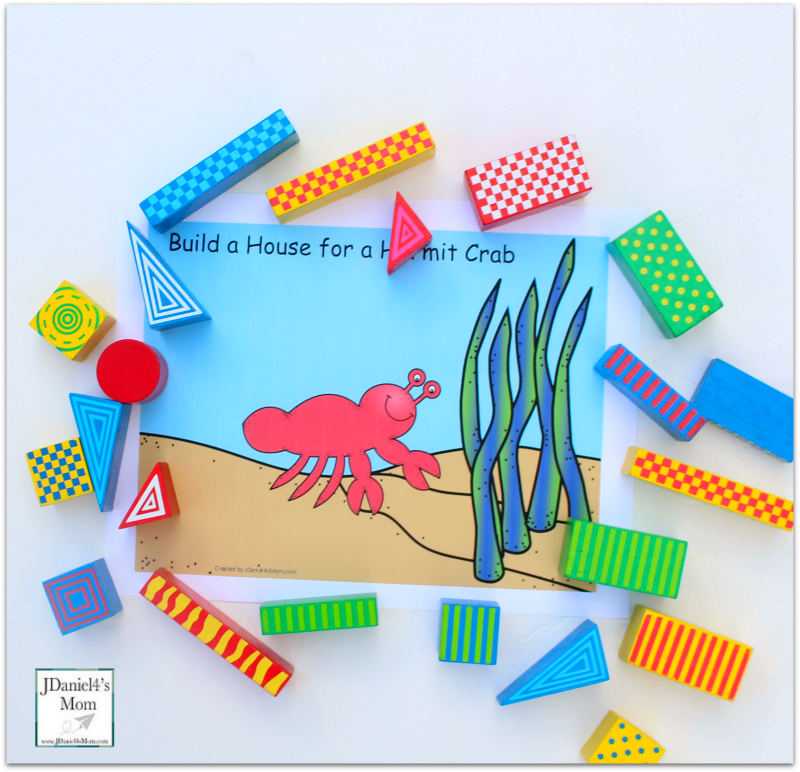
The first thing you are going to need to do is print out the STEM Build a House for a Hermit Crab House work mat. While you could print this out in black and white, it really looks nice in color.
The links below may be affiliate links.
Then you will need to gather the rest of the supplies for the STEM projects. First, you will need a die with numbers or dots on it. You can really use either. Then you will need a set ofbuilding blocks. (If you don’t have blocks available, you could use magna-tiles or tangrams.)
Conducting the STEM Projects
Free Exploration
You can give your children the opportunity to free explore the STEM project by just putting out the blocks and the work mat. If you work with young children you may just decide to do this project.
Roll and Build Crab House
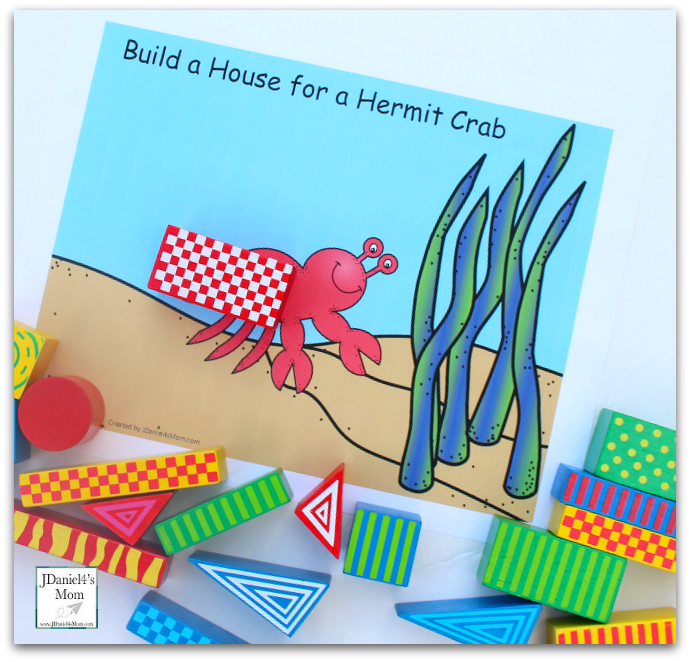
This second project will have your children rolling a die and using that number of blocks to build a house for the hermit crab. The goal of this STEM project is to use the correct number of blocks. If a small section of the crab is left showing it is totally okay. The house can be build up as well as across. This will give the house three dimensions.
Roll, Build and Cover the Crab
Children will need to decide how much of the crab needs to be covered with the blocks. Then they will roll the die. Next. they will need to build a house with blocks using the number on the die. Finally, children will need to create a house with the right number of blocks that cover the right amount of the crab.
If you like these STEM projects, here are some more STEM activities you will love doing with your kids: